Whip Up Cloud-Like Fluffy Jello Meringue Cookies Recipe Today
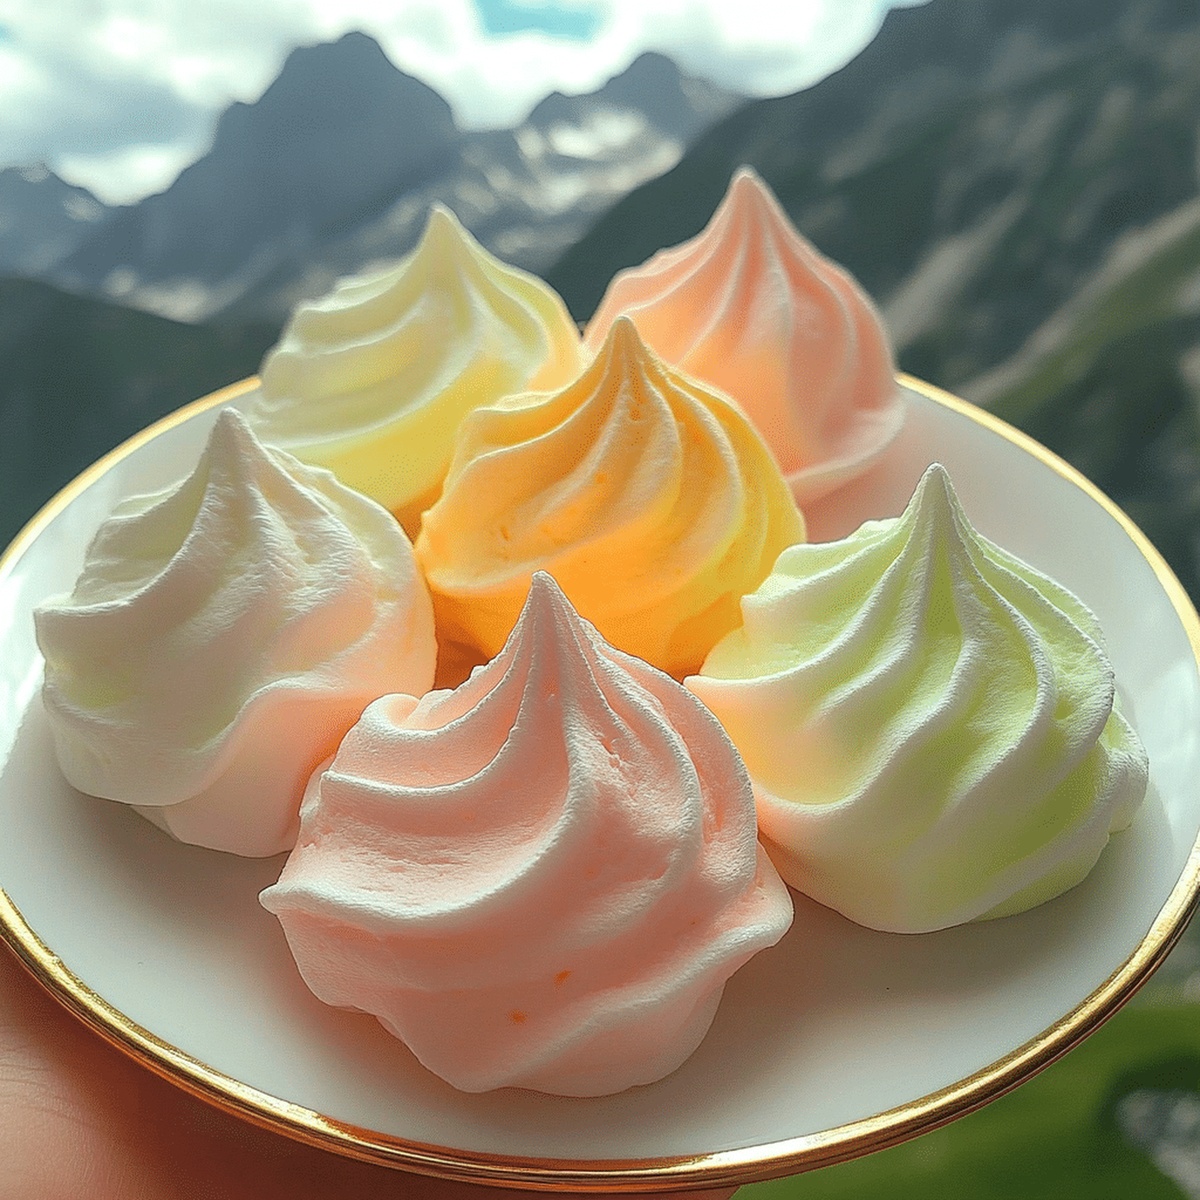
Sweet and airy, these jello meringue cookies dance with vibrant color and unexpected texture.
Whipping up a batch of delightful jello meringue cookies brings a burst of nostalgia and playful energy to your kitchen.
Light-as-air meringues blend perfectly with the bright, fruity essence of jello, creating a treat that surprises and delights.
Each delicate cookie offers a crisp exterior that melts into a cloud-like center, promising a moment of pure culinary joy.
The recipe transforms simple ingredients into a magical dessert that sparkles with whimsy and charm.
Guests will marvel at these eye-catching, gossamer-light confections that blend childhood memories with elegant baking technique.
Prepare to dazzle your taste buds with this irresistible sweet sensation.
Quick Recipe Overview
Jello Cookie Ingredient Rundown
For Base Ingredients:For Flavor and Color:For Baking Surface:Tools That Help Whip Up Meringue Cookies
Bake Bright, Airy Jello Meringues at Home
Crank your oven to a low 225F and grab two baking sheets. Line them with parchment paper so nothing sticks.
Grab a sparkly clean bowl and start beating egg whites with cream of tartar. Keep mixing until soft fluffy peaks appear like little clouds.
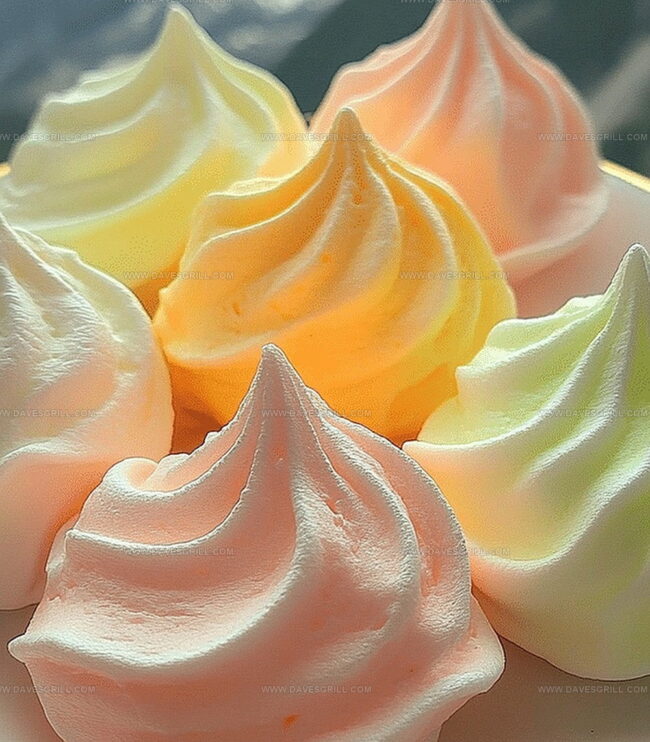
Slowly sprinkle sugar while whipping on high speed. Your mixture should look glossy and stand up in perfect peaks, almost like delicious marshmallow fluff.
Gently fold in gelatin powder, watching your meringue transform into a vibrant, colorful dream. The powder will give a fun pop of flavor and color.
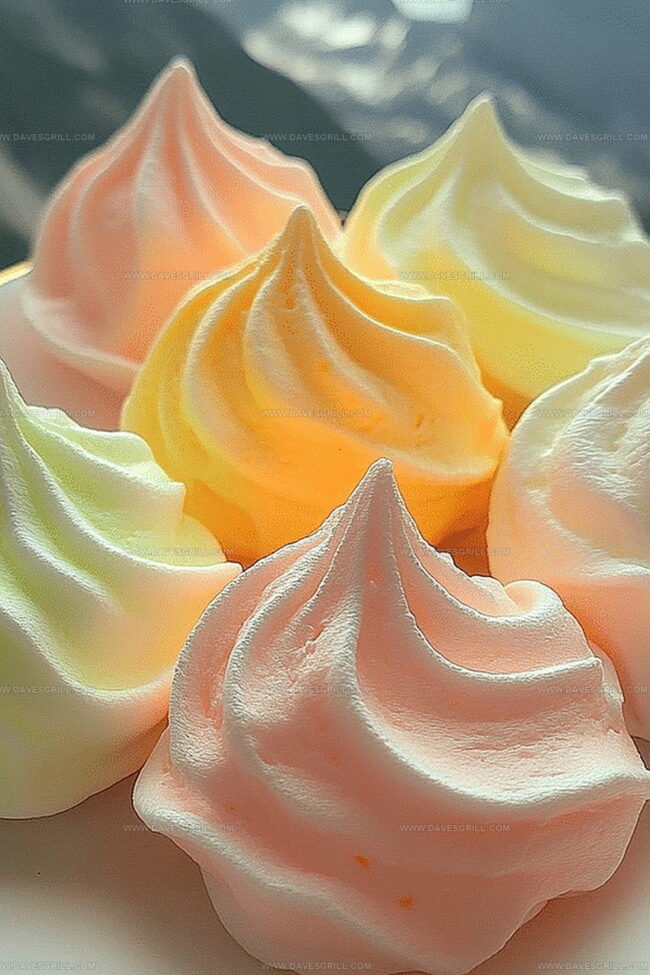
Use a piping bag with a star tip to create adorable swirly cookies. Squeeze out little cloud-like mounds onto your prepared baking sheets.
Slide the sheets into the oven and let them dry out for 1.5 hours. They’re done when they lift easily off the paper and feel crisp.
Turn off the oven and let cookies rest inside. This helps them get extra crunchy. Once completely cool, munch away or store in an airtight container for two weeks of sweet enjoyment.
Tips That Keep Meringues Light and Crisp
Serve on Platters or in Gift Bags
Store Meringue Cookies Without Losing Crunch
FAQs
Cream of tartar stabilizes egg whites, helps them hold their shape, and prevents sugar from crystallizing, resulting in smoother, more voluminous meringues.
Absolutely! Any flavor of Jello powder works great. Experiment with strawberry, raspberry, lime, or orange to create colorful and tasty variations.
The meringue is ready when it forms stiff, glossy peaks that stand straight up when you lift the beater. The mixture should look smooth and hold its shape without drooping.
Ensure your bowl and beaters are completely clean and dry. Any trace of oil or egg yolk can prevent egg whites from forming proper peaks. Use room temperature eggs for best results.
Print
Fluffy Jello Meringue Cookies Recipe
- Total Time: 2 hours 15 minutes
- Yield: 13 1x
Description
Meringue cookies with Jello offer a colorful, whimsical twist on classic desserts. Sweet, light confections showcase playful flavors from simple ingredients that delight taste buds and bring joy to baking enthusiasts.
Ingredients
- ¾ cup (150 g) granulated sugar
- 3 large egg whites, at room temperature
- ¼ tsp cream of tartar
- 1 small box 3 oz (85 g) flavored gelatin (Jello, any flavor)
Instructions
- Workspace Preparation: Line two baking sheets with parchment paper and preheat oven to 225F (110C), creating an ideal low-temperature baking environment.
- Meringue Formation: In a clean, dry mixing bowl, whip egg whites and cream of tartar using an electric mixer. Gradually introduce granulated sugar while beating, developing a glossy, stiff-peaked meringue with robust structure.
- Flavor Infusion: Delicately fold gelatin powder into the meringue, incorporating color and distinctive flavor while maintaining the mixture’s ethereal lightness.
- Shaping Technique: Pipe or spoon uniform meringue swirls onto prepared baking sheets, ensuring consistent sizing for even baking and aesthetic appeal.
- Baking Process: Place trays in preheated oven, allowing meringues to transform slowly. After 1.5-2 hours, confirm doneness by checking cookies’ easy release from parchment and complete dryness.
- Cooling Strategy: Turn off oven, leaving meringues inside to cool gradually. This method ensures optimal crispness and prevents textural compromise from sudden temperature changes.
- Storage Protocol: Once completely cooled, transfer delicate cookies to an airtight container. Preserve these vibrant, melt-in-your-mouth treats at room temperature for up to two weeks.
Notes
Manage Moisture Carefully: Protect meringue mixture from any water droplets or humidity, as even a tiny amount can destroy the fluffy egg white structure and prevent perfect peaks from forming.
Whip with Precision: Ensure egg whites reach room temperature before beating, which helps create more stable, voluminous peaks and allows sugar to incorporate more smoothly during mixing.
Control Sugar Integration: Add sugar slowly and steadily while continuously whipping to guarantee complete dissolution and prevent grainy texture, which could compromise the meringue’s silky smoothness.
Master Low-Temperature Baking: Maintain consistent low oven heat to dry out meringues gradually, preventing browning and preserving their delicate, crisp texture without creating harsh, brittle edges.
- Prep Time: 15 minutes
- Cook Time: 2 hours
- Category: Desserts, Snacks
- Method: Baking
- Cuisine: American
Nutrition
- Serving Size: 13
- Calories: 49
- Sugar: 11 g
- Sodium: 5 mg
- Fat: 0 g
- Saturated Fat: 0 g
- Unsaturated Fat: 0 g
- Trans Fat: 0 g
- Carbohydrates: 12 g
- Fiber: 0 g
- Protein: 1 g
- Cholesterol: 0 mg
Emily Lawson
Content Creator & Culinary Specialist
Expertise
Education
Oregon Culinary Institute
Diploma in Culinary Arts
Focus: Emphasis on farm-to-table cooking, sustainable practices, and the fusion of global flavors with traditional grilling methods.
Emily Lawson is the content creator at Daves Grill, turning tasty ideas into clear, easy recipes. Based in Portland, she trained at the Oregon Culinary Institute and loves cooking with fresh, seasonal ingredients, especially grilled veggies and global flavors.
Emily mixes food writing with hands-on cooking to bring you recipes that feel fun, not stressful. Her goal is to make every dish simple, flavorful, and worth coming back to. Together, she and Dave serve up real food, one recipe at a time.