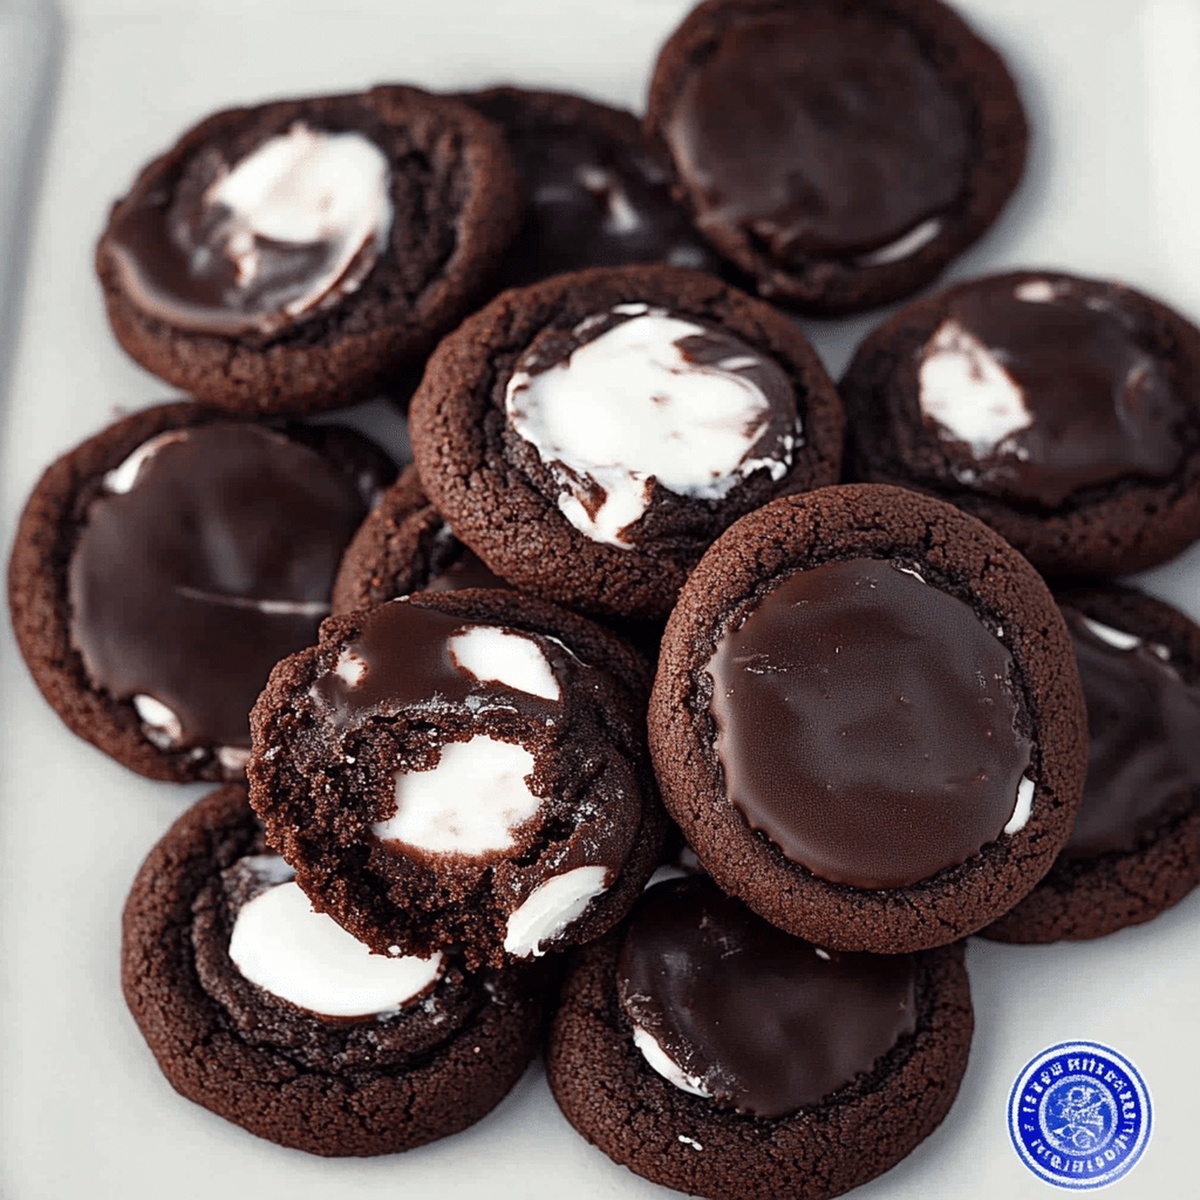
Dreamy Peppermint Patty Cookies Recipe: Sweet Minty Magic
Chocolate lovers swoon over this delectable peppermint patty cookies recipe that promises pure indulgence.
Rich cocoa meets cool mint in a delightful dance of flavors that melt in your mouth.
These heavenly treats combine the perfect balance of dark chocolate and refreshing peppermint essence.
Each cookie delivers a nostalgic burst of comfort and sweetness that beckons you closer.
Soft, chewy, and packed with intense chocolate depth, these cookies elevate your dessert game to new heights.
The simple ingredients transform into an irresistible delicacy that will have everyone asking for seconds.
Start baking and let the aroma of chocolate and mint fill your kitchen with pure magic.
Quick Recipe Overview
Prep Time: 10 minutes
Cook Time: 15 minutes
Total Time: 25 minutes
Calories: 152 kcal
Servings: 24
Peppermint Patty Cookie Ingredient List
For Dry Base:For Sweet Binding:For Moisture and Richness:Tools That Help You Get That Melted Center
Bake Cookies That Hide a Cool Surprise
Crank the oven to a cozy 350 degrees. Grab your baking sheets and give them a quick parchment paper makeover.
Grab a mixing bowl and dance your whisk through cocoa, flour, baking soda, and a pinch of salt until they’re perfectly blended.
Grab your mixer and transform butter and sugars into a dreamy, fluffy cloud of deliciousness. Beat until it looks light and irresistible.
Drop in your egg and vanilla, mixing until everything hugs together smoothly.
Slowly invite your dry ingredients into the wet mixture. Stir gently until everything just comes together – no overmixing allowed!
Scoop out rounds of dough onto your prepared sheets. Bake for 10-12 minutes until edges look perfectly crisp.
Let cookies chill on the baking sheet for a few minutes, then transfer to a wire rack. Place a peppermint patty on top of each warm cookie and watch it melt into chocolatey heaven.
Tips to Keep Mint Flavor Balanced
Serve with Hot Cocoa or Cold Milk
Store in a Cool Spot to Keep Fresh
FAQs
Yes, dark cocoa powder works perfectly and will give your cookies a richer, more intense chocolate flavor. Just use the same amount specified in the recipe.
Stop mixing as soon as the dry ingredients are incorporated and no flour streaks remain. Overmixing can make the cookies tough and dense.
Soften butter by cutting it into small cubes and letting it sit at room temperature for about 15-20 minutes. Avoid microwaving, which can melt the butter unevenly.
Yes, you can prepare the cookie dough in advance and refrigerate it for up to 3 days before baking. Just make sure to wrap the dough tightly in plastic wrap to prevent drying out.
Print
Heavenly Melted Peppermint Patty Cookies Recipe
- Total Time: 25 minutes
- Yield: 25 1x
Description
Melted Peppermint Patty Cookies combine classic chocolate chip goodness with mint chocolate patties for an irresistible dessert. Winter holiday baking reaches new heights with this delightful recipe that satisfies chocolate and mint enthusiasts.
Ingredients
- 15 mini peppermint patties (such as York Peppermint Patties)
- ½ cup (100 g / 3.5 oz) brown sugar (light or dark)
- ½ cup (100 g / 3.5 oz) granulated sugar
- ½ cup (115 g / 4 oz) unsalted butter (softened)
- 1 ½ cups (190 g / 6.7 oz) all-purpose flour
- ⅓ cup (35 g / 1.2 oz) unsweetened cocoa powder
- 1 large egg
- 1 tsp vanilla extract
- ½ tsp baking soda
- ¼ tsp salt
Instructions
- Oven Preparation: Position oven racks centrally and preheat to 350°F (175°C). Line baking sheets with parchment paper for effortless cookie removal.
- Dry Ingredient Fusion: Whisk flour, cocoa powder, baking soda, and salt in a mixing bowl until perfectly blended and lump-free.
- Creaming Process: Utilize an electric mixer to combine softened butter with granulated and brown sugars, whipping until the mixture becomes fluffy and pale, creating a smooth foundation.
- Liquid Integration: Introduce egg and vanilla extract, blending thoroughly until the mixture achieves a consistent, silky texture.
- Dough Formation: Gently fold dry ingredients into the wet mixture, stirring minimally to create a rich chocolate dough without overmixing.
- Cookie Shaping and Baking: Scoop uniform dough portions onto prepared sheets, spacing them two inches apart. Bake for 9-11 minutes, watching for slightly cracked edges and a tender center.
- Peppermint Patty Finishing: Immediately after removing from the oven, delicately press a peppermint patty into the center of each warm cookie, allowing the residual heat to gently melt the candy.
- Cooling and Setting: Let cookies rest on the baking sheet for 5 minutes, then transfer to a wire rack to complete cooling and stabilize the peppermint patty topping.
Notes
- Butter Temperature Matters: Ensure butter is softened but not melted for the perfect creamy texture that helps cookies spread evenly and maintain a rich, smooth consistency.
- Gentle Mixing Technique: Avoid overmixing the dough to prevent tough, dense cookies; mix just until ingredients are combined to keep the texture light and tender.
- Precise Candy Placement: Press peppermint patties into cookies immediately after removing from the oven while cookies are still warm, allowing the candy to melt slightly and create a glossy, smooth topping.
- Cooling Strategy: Let cookies rest on the baking sheet for 5 minutes to help them set and stabilize before transferring to a wire rack, preventing potential breakage and ensuring a perfect cookie shape.
- Prep Time: 10 minutes
- Cook Time: 15 minutes
- Category: Desserts, Snacks
- Method: Baking
- Cuisine: American
Nutrition
- Serving Size: 25
- Calories: 182
- Sugar: 10 g
- Sodium: 65 mg
- Fat: 8 g
- Saturated Fat: 5 g
- Unsaturated Fat: 3 g
- Trans Fat: 0 g
- Carbohydrates: 25 g
- Fiber: 1 g
- Protein: 2 g
- Cholesterol: 20 mg


Emily Lawson
Content Creator & Culinary Specialist
Expertise
Education
Oregon Culinary Institute
Diploma in Culinary Arts
Focus: Emphasis on farm-to-table cooking, sustainable practices, and the fusion of global flavors with traditional grilling methods.
Emily Lawson is the content creator at Daves Grill, turning tasty ideas into clear, easy recipes. Based in Portland, she trained at the Oregon Culinary Institute and loves cooking with fresh, seasonal ingredients, especially grilled veggies and global flavors.
Emily mixes food writing with hands-on cooking to bring you recipes that feel fun, not stressful. Her goal is to make every dish simple, flavorful, and worth coming back to. Together, she and Dave serve up real food, one recipe at a time.