Colossal Bacon Cheeseburger Burrito Recipe You Need Now
Crafting a massive bacon cheeseburger burrito sounds like a culinary adventure that’ll rock your taste buds.
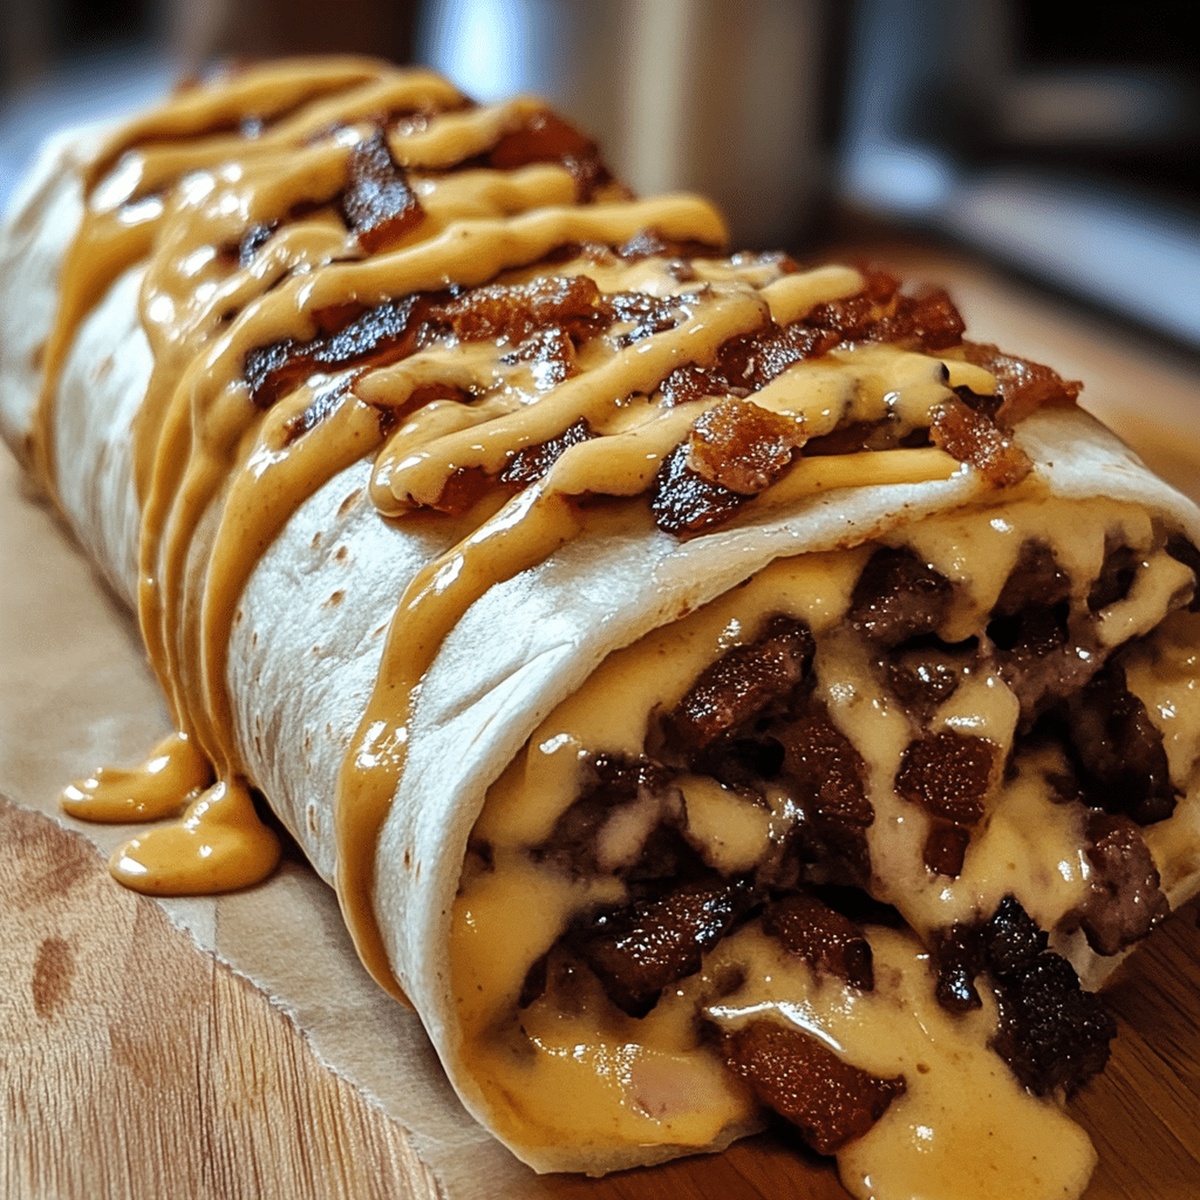
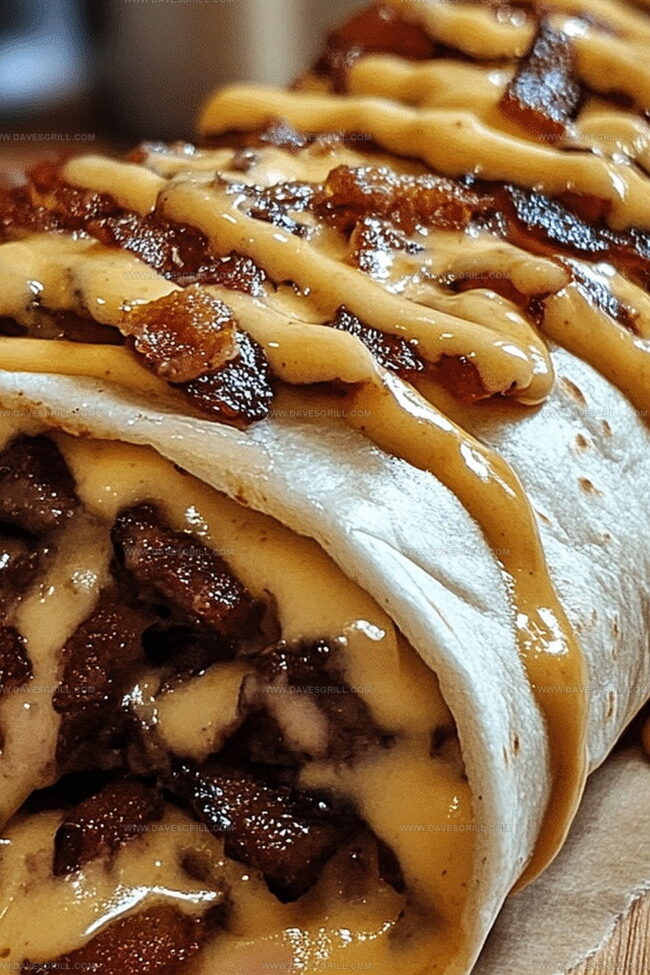
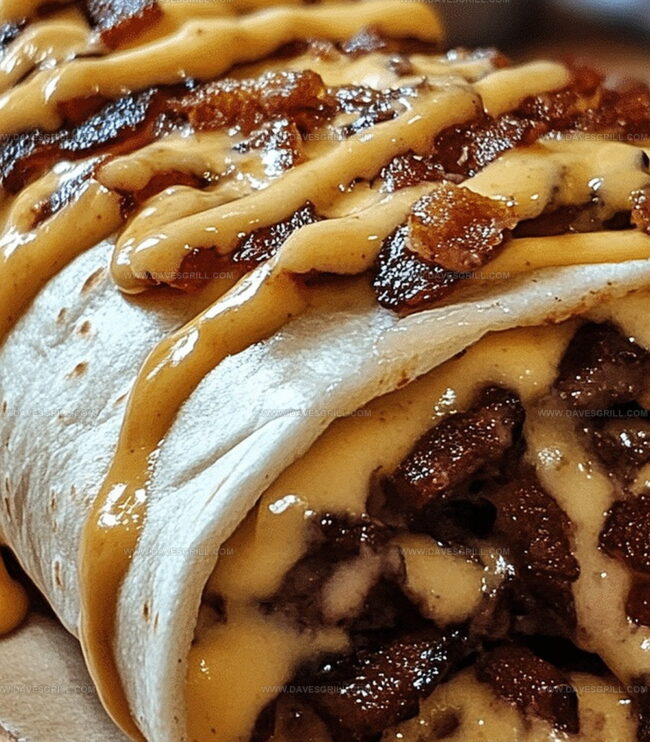
Massive flavor meets unexpected creativity in this epic handheld meal.
Bacon lovers and burger enthusiasts will absolutely go crazy for this wild fusion concept.
Each bite promises an explosion of savory goodness wrapped in a warm tortilla.
Melted cheese, crispy bacon bits, and juicy ground beef create a mouthwatering combination that defies traditional recipe boundaries.
Comfort food just got a serious upgrade with this indulgent twist.
Get ready to become the hero of your next meal and impress everyone around the table.
Why Everyone Talks About the Bacon Cheeseburger Burrito
Ingredients for the Ultimate Burrito
Tortilla Base:Protein Elements:Cheese and Dairy:Vegetable Components:Seasoning and Extras:Making a Giant Cheeseburger Burrito
Step 1: Microwave Warming
Unwrap the burrito from its foil and place on a microwave-safe plate. Zap on high power for 1-2 minutes until the entire burrito feels hot throughout. Check the center temperature to ensure even heating.
Step 2: Oven Reheating
Preheat the oven to 350°F (175°C). Keep the burrito wrapped in its original foil to lock in moisture. Slide the wrapped burrito onto a baking sheet and warm for 15-20 minutes. This method helps maintain the burrito’s crispy exterior while heating the inside completely.
Step 3: Skillet Revival
Heat a skillet over medium temperature. Place the burrito directly in the pan without unwrapping. Cook for 5-7 minutes, rotating occasionally to ensure all sides warm evenly. This technique helps crisp up the tortilla and restore the burrito’s original delicious texture.
Tips for Rolling and Baking Burritos
How to Store and Reheat Your Burrito
Perfect Pairings for This Burrito Beast
Fun Twists on Cheeseburger Burritos
Print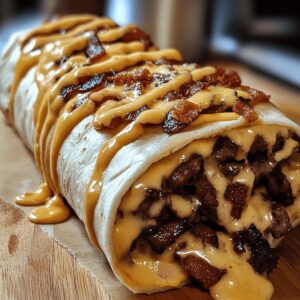
Huge Bacon Cheeseburger Burrito Recipe
- Total Time: 30 minutes
- Yield: 4 1x
Description
Massive bacon cheeseburger burrito blends American comfort classics into one epic handheld feast. Melted cheese, crispy bacon, and seasoned ground beef wrap together in a warm tortilla, delivering maximum flavor for hungry appetites wanting something extraordinary.
Ingredients
Proteins:
- 1 lb (450g) ground beef
- 6 slices bacon, cooked and crumbled
Dairy and Cheese:
- 2 cups (200g) shredded cheddar cheese
- ¼ cup (60g) mayonnaise
Vegetables and Seasonings:
- 1 small onion, diced
- 2 garlic cloves, minced
- 1 cup (90g) shredded lettuce
- 1 large tomato, diced
- ½ cup (120g) dill pickles, sliced
Sauces and Condiments:
- 2 tablespoons ketchup
- 1 tablespoon mustard
- 1 tablespoon Worcestershire sauce
- 2 tablespoons yellow mustard
- 2 tablespoons ketchup
Wrapping:
- 4 large flour tortillas (burrito-sized)
Seasonings:
- ½ teaspoon salt
- ½ teaspoon black pepper
Instructions
- Unwrap the burrito from foil when reheating in the microwave to ensure even heating.
- Microwave on high for 1-2 minutes, checking periodically to prevent overheating and maintain optimal texture.
- For oven reheating, preheat to 350F (175C) while keeping the burrito wrapped in its original foil.
- Bake the foil-wrapped burrito for 15-20 minutes to preserve its crispy exterior and warm interior.
- When using a skillet, place the burrito directly on medium heat without additional oil.
- Rotate the burrito every 1-2 minutes to ensure uniform heating and prevent burning.
- Cook in the skillet for approximately 5-7 minutes until the internal temperature is consistently hot.
- Remove from heat and let the burrito rest for a minute to allow heat distribution.
- Check the internal temperature to confirm it’s thoroughly warmed before serving.
- For best results, consume immediately after reheating to enjoy maximum flavor and texture.
Notes
- Reheat carefully to maintain the crispy tortilla texture and prevent sogginess.
- Choose high-moisture tortillas for better wrapping and preventing tearing during stuffing.
- Drain excess grease from bacon and ground beef to reduce burrito’s heaviness and improve overall taste.
- Experiment with lower-fat cheese and lean ground turkey for a lighter, healthier version of this indulgent dish.
- Prep Time: 10 minutes
- Cook Time: 20 minutes
- Category: Lunch, Dinner, Snacks
- Method: Baking
- Cuisine: Mexican
Nutrition
- Serving Size: 4
- Calories: 800
- Sugar: 6g
- Sodium: 1200mg
- Fat: 50g
- Saturated Fat: 20g
- Unsaturated Fat: 25g
- Trans Fat: 1g
- Carbohydrates: 60g
- Fiber: 4g
- Protein: 35g
- Cholesterol: 100mg
Dave Mitchell
Founder & Chief Recipe Developer
Expertise
Education
Asheville-Buncombe Technical Community College
Associate of Applied Science in Culinary Arts
Focus: Comprehensive training in culinary techniques, kitchen management, and menu planning, with a special emphasis on grilling and outdoor cooking.
Dave Mitchell is the heart behind Daves Grill, a cook, writer, and lover of all things grilled. He studied Culinary Arts at Asheville-Buncombe Technical Community College and spent years cooking, testing, and sharing recipes that actually work.
Dave started Daves Grill to keep things simple: one great recipe at a time. His food is bold, easy to follow, and made for real people with regular kitchens. From juicy steaks to quick sides, Dave’s recipes bring the heat without the hassle.