Quick & Tasty Homemade Payday Candy Bars Recipe for Sweet Lovers
Chocolate and peanuts dance together in these homemade payday candy bars that capture the essence of sweet nostalgia.
Sweet memories flood back with every bite of this classic treat.
Crafting these bars at home brings a special kind of joy to snack time.
The combination of salty peanuts and creamy marshmallow creates a texture that sings with deliciousness.
Each layer adds depth and richness to the beloved candy bar.
These bars are simple to make yet feel like a gourmet indulgence.
Unleash your inner confectioner and create a treat that will have everyone begging for more.
Quick Recipe Overview
What Goes Into Payday Candy Bars
For Nutty Base:For Soft Binding Layer:For Caramel Coating:Tools to Build That Classic Sweet Snack
Make Homemade Candy Bars in Just a Few Steps
Line a baking dish with parchment paper, creating easy lift-out handles for your sweet creation. This will help you remove the candy bars smoothly later.
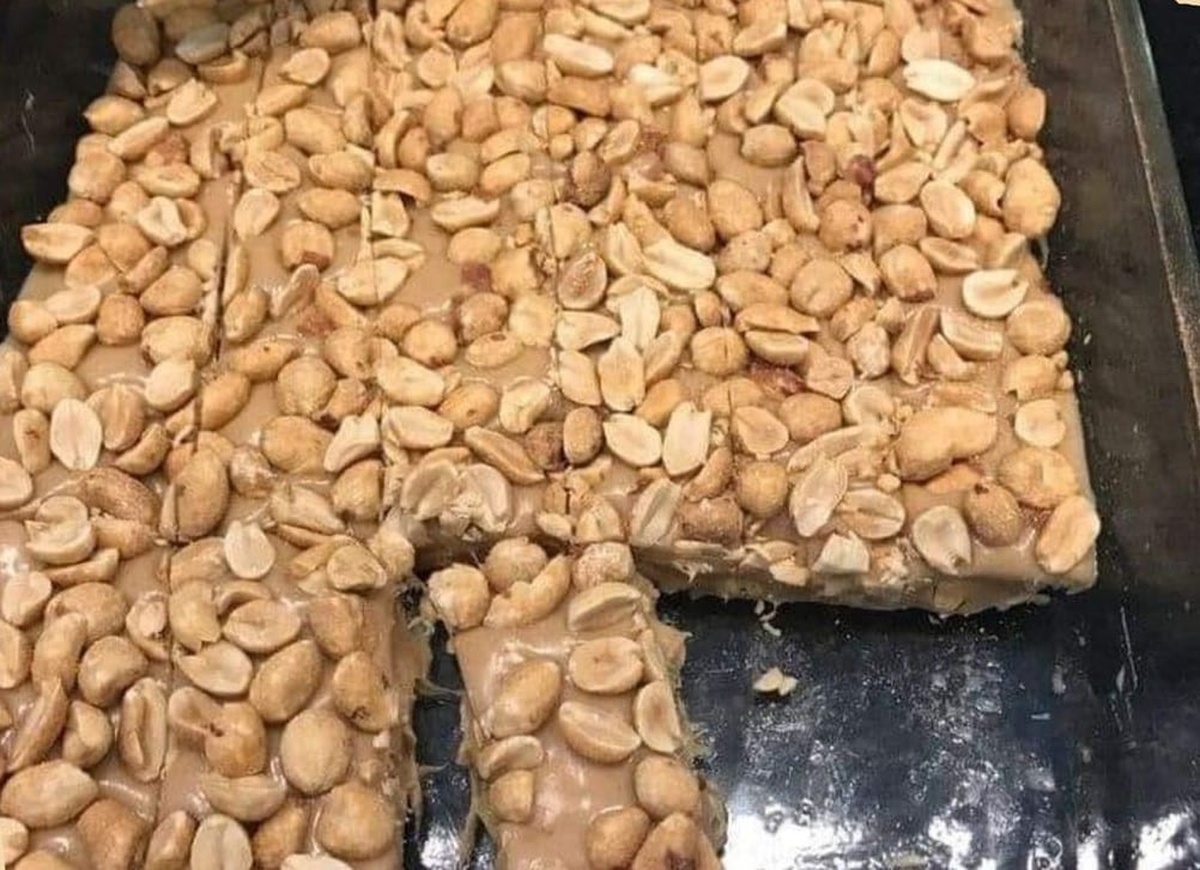
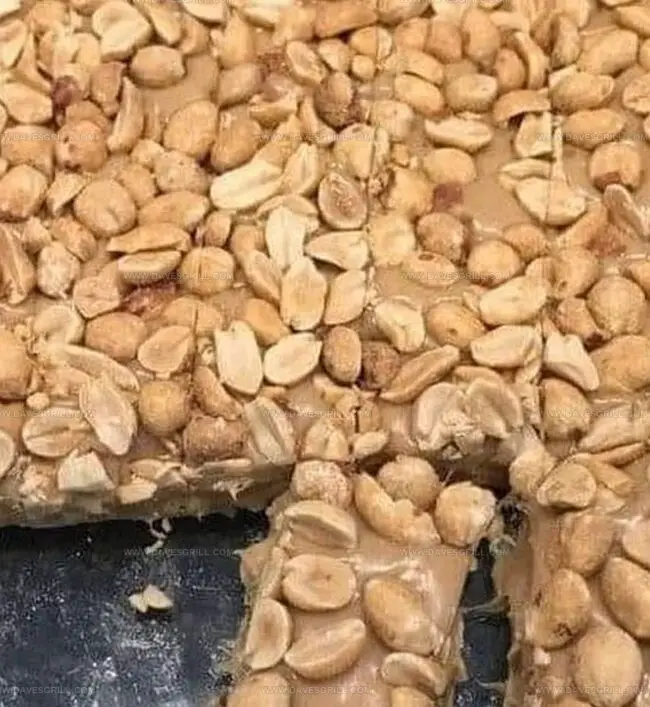
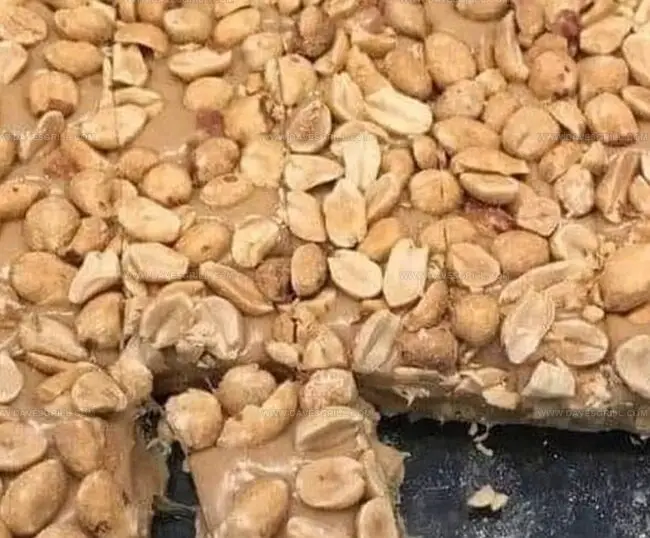
Scatter a generous layer of salty roasted peanuts across the bottom of your prepared pan, forming a crunchy base that will give your candy bars incredible texture.
Melt butter in a saucepan and blend in marshmallow fluff, sweetened condensed milk, and vanilla until silky smooth. Pour this dreamy mixture over the peanuts, spreading it evenly to create a pillowy layer.
Combine soft caramels and heavy cream in a microwave-safe bowl. Heat in short bursts, stirring between each interval, until the mixture transforms into a golden, glossy river. Drizzle this caramel goodness over the nougat layer, ensuring complete coverage.
Rain the remaining peanuts across the caramel layer, gently pressing them down so they nestle into the sticky surface.
Refrigerate your creation for at least two hours until completely set. Lift out the candy using parchment handles and slice into mouthwatering bars.
Store your homemade Payday-style bars in an airtight container. They’ll stay fresh and delicious at room temperature for five days or chilled for two weeks.
Tips for Salted Nut
How to Serve These as Crowd Favorites
Wrap and Store for a Quick Grab-and-Go
FAQs
Yes, salted roasted peanuts are essential for creating the authentic Payday candy bar texture and flavor. They provide a crunchy base and topping that mimics the original candy.
While peanuts are traditional, you could substitute with roasted almonds or cashews. However, this will change the classic Payday candy bar taste and texture significantly.
No, this recipe doesn’t require a candy thermometer. The microwave and stovetop methods make it easy to melt ingredients without precise temperature control.
Allow each layer to cool slightly before adding the next, and pour them gently. Using a spatula to spread evenly helps maintain distinct layers without blending them unintentionally.
Print
Incredible Homemade Payday Candy Bars Recipe
- Total Time: 2 hours 20 minutes
- Yield: 13 1x
Description
Homemade Payday candy bars blend salty peanuts with sweet caramel in a nostalgic treat. Peanut lovers will savor this classic American confection that combines simple ingredients for maximum deliciousness.
Ingredients
- 2 cups (300 g / 10.6 oz) salted roasted peanuts
- 1 cup (250 g / 8.8 oz) marshmallow fluff
- 1 (14 oz / 400 g) bag of soft caramels
- ¼ cup (60 g / 2 oz) unsalted butter
- 2 tbsps (30 ml / 1 fl oz) heavy cream
- ¼ cup (60 ml / 2 fl oz) sweetened condensed milk
- 1 tsp vanilla extract
Instructions
- Preparation: Line a rectangular baking dish with parchment paper, allowing edges to overhang for easy removal.
- Base Layer: Spread the first portion of salted roasted peanuts evenly across the bottom of the prepared pan.
- Nougat Creation: Melt butter in a saucepan, blend with marshmallow fluff, sweetened condensed milk, and vanilla extract until achieving a smooth, glossy texture. Pour this luscious mixture over the peanut base, smoothing with a spatula to create an even layer.
- Caramel Infusion: Combine soft caramels and heavy cream in a microwave-safe bowl. Heat in brief intervals, stirring until the mixture becomes completely fluid. Drizzle the molten caramel over the nougat, ensuring comprehensive coverage.
- Peanut Topping: Sprinkle the remaining salted peanuts across the caramel layer, gently pressing to secure them in place.
- Chilling and Setting: Refrigerate the confection for a minimum of two hours to achieve complete solidification.
- Finishing Touch: Remove the candy from the pan using parchment paper edges, then slice into individual bars of desired size.
- Storage: Preserve the homemade candy bars in an airtight container, maintaining freshness at room temperature for up to five days or refrigerated for two weeks.
Notes
- Control Peanut Distribution: Ensure even peanut spreading across layers for consistent texture and flavor in every bite.
- Master Nougat Consistency: Stir marshmallow mixture gently and consistently to prevent burning or uneven texture, watching for smooth, glossy appearance.
- Caramel Melting Technique: Use short microwave intervals and frequent stirring to prevent scorching, achieving a silky-smooth caramel without separation.
- Chilling Optimization: Allow sufficient refrigeration time to help layers set properly, creating firm bars that hold their shape when cut.
- Prep Time: 20 minutes
- Cook Time: 2 hours
- Category: Snacks, Desserts
- Method: Blending
- Cuisine: American
Nutrition
- Serving Size: 13
- Calories: 261
- Sugar: 20 g
- Sodium: 204 mg
- Fat: 13 g
- Saturated Fat: 4 g
- Unsaturated Fat: 7 g
- Trans Fat: 0 g
- Carbohydrates: 32 g
- Fiber: 1 g
- Protein: 5 g
- Cholesterol: 15 mg
Emily Lawson
Content Creator & Culinary Specialist
Expertise
Education
Oregon Culinary Institute
Diploma in Culinary Arts
Focus: Emphasis on farm-to-table cooking, sustainable practices, and the fusion of global flavors with traditional grilling methods.
Emily Lawson is the content creator at Daves Grill, turning tasty ideas into clear, easy recipes. Based in Portland, she trained at the Oregon Culinary Institute and loves cooking with fresh, seasonal ingredients, especially grilled veggies and global flavors.
Emily mixes food writing with hands-on cooking to bring you recipes that feel fun, not stressful. Her goal is to make every dish simple, flavorful, and worth coming back to. Together, she and Dave serve up real food, one recipe at a time.