The Perfect Zesty Key Lime Pie Bars Recipe for Sweet Tooths
Sweet tropical dreams meet creamy decadence in these irresistible key lime pie bars that dance between tangy and smooth.
Zesty citrus notes promise a refreshing escape from ordinary desserts.
Coastal Florida influences shine through each bright, silky bite.
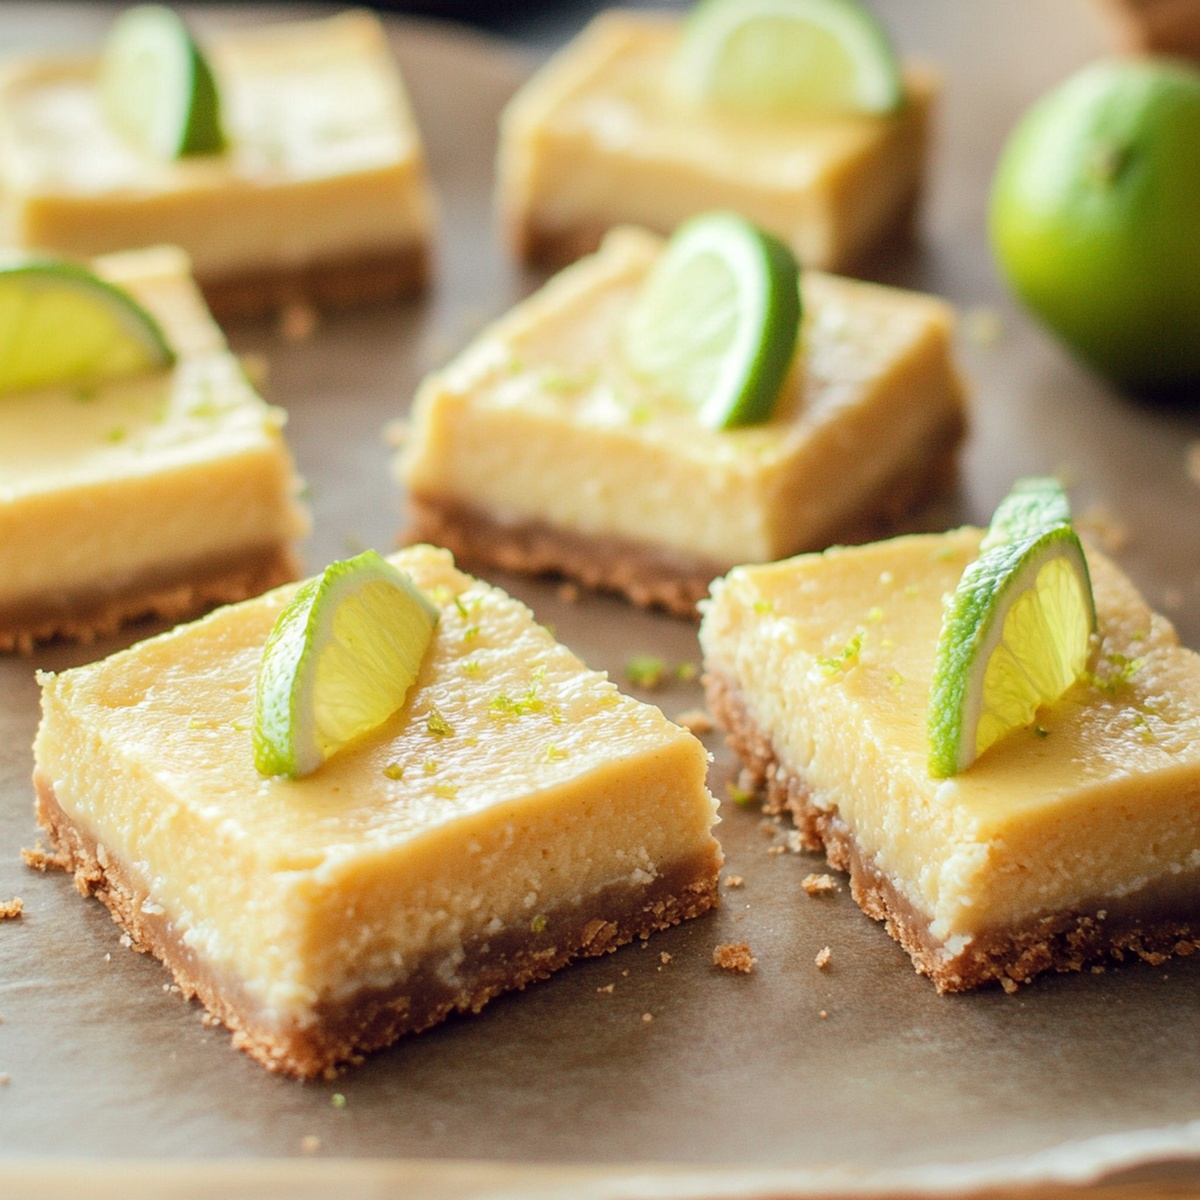
Crumbly graham cracker crusts provide the perfect textural contrast to smooth, velvety fillings.
Cool cream cheese blends seamlessly with sharp lime juice, creating a luxurious backdrop for every mouthwatering slice.
Summer memories sparkle in this simple yet elegant treat that feels like a mini vacation on your plate.
Let this recipe whisk you toward delicious adventure.
Why Key Lime Pie Bars Are A Must-Try Dessert
All You Need For Key Lime Pie Bars
Crust Ingredients:Filling Ingredients:Topping Ingredients:Simple Instructions For Key Lime Pie Bars
Step 1: Prepare Baking Workspace
Warm up the oven to 350°F. Line a square baking pan with parchment paper, letting extra paper hang over the sides for easy removal later.
Step 2: Create Crumbly Crust
Mix together in a bowl:Press the mixture firmly into the bottom of the pan. Bake for 8-10 minutes until lightly golden. Allow the crust to cool slightly.
Step 3: Whip Up Tangy Filling
Grab a large mixing bowl and combine:Whisk until the mixture looks slightly thickened. Pour in sweetened condensed milk and blend until smooth. Add fresh lime juice and mix completely.
Step 4: Bake the Bars
Pour the zesty filling over the partially cooled crust. Slide the pan back into the oven and bake for 15-18 minutes. The center should look slightly wobbly but set.
Step 5: Chill and Set
Let the bars cool down to room temperature. Transfer to the refrigerator and allow to firm up for at least 3 hours or overnight.
Step 6: Slice and Serve
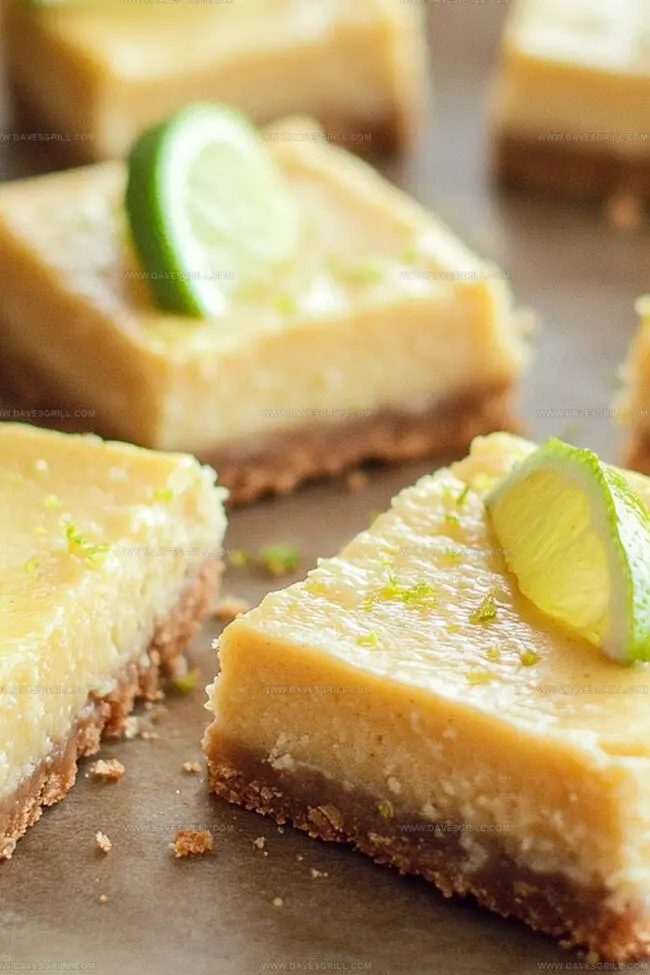
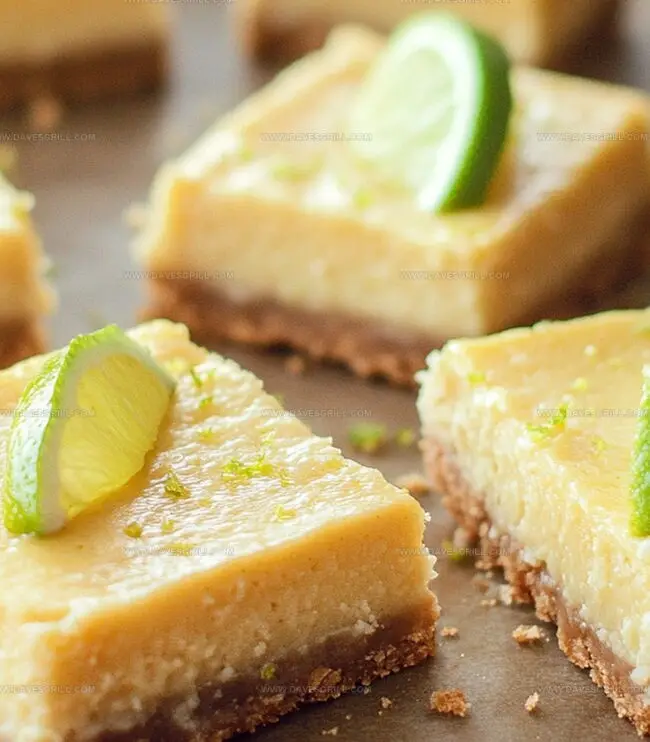
Lift the bars out of the pan using the parchment paper edges. Cut into neat squares. Serve chilled with a dollop of whipped cream or a light dusting of powdered sugar if you like.
Tips That Make Key Lime Pie Bars Better
How To Store Key Lime Pie Bars The Right Way
Great Pairings For Key Lime Pie Bars
Fun New Takes On Key Lime Pie Bars
Quick FAQs About Key Lime Pie Bars
These bars offer a convenient, portable version of the classic pie. They’re easier to serve and eat, with a perfect graham cracker crust and a tangy lime filling that’s sliceable and shareable.
Fresh lime juice is best for the most vibrant flavor, but bottled Key lime juice can work in a pinch. Just avoid artificial lime juice, as it won’t provide the same bright, authentic taste.
The filling should look just set with a slight jiggle in the center when you gently shake the pan. Overbaking can cause the filling to crack or become too firm, so watch it carefully in the last few minutes of baking.
Chilling allows the filling to set completely and helps develop the rich, creamy texture. It also intensifies the flavors and makes the bars easier to cut into clean, neat squares.
Print
Key Lime Pie Bars Recipe
- Total Time: 3 hours 40 minutes
- Yield: 12 1x
Description
Sweet and tangy key lime pie bars bring zesty Florida flavors to classic dessert magic. Creamy graham cracker crust and silky lime filling promise refreshing indulgence you’ll crave after one delightful bite.
Ingredients
Crust Ingredients:
- 1.5 cups graham cracker crumbs
- ¼ cup granulated sugar
- 6 tablespoons (85 grams) unsalted butter, melted
- 1 pinch salt
Key Lime Filling Ingredients:
- 3 large egg yolks
- 1 can (14 ounces / 397 grams) sweetened condensed milk
- ½ cup fresh Key lime juice (or regular lime juice)
- 1 tablespoon lime zest
Topping Ingredients (Optional):
- Powdered sugar (for dusting)
- Whipped cream
Instructions
- Prepare the oven environment by heating to 350F (175C) and strategically line an 8-inch or 9-inch baking pan with parchment paper, ensuring extended edges for easy removal.
- Craft the foundational graham cracker crust by thoroughly blending crumbs, sugar, melted butter, and a subtle salt accent until uniformly combined and compressed firmly into the pan’s base.
- Toast the crust briefly for 8-10 minutes, allowing it to develop a golden, crisp texture while cooling to room temperature.
- Create the vibrant lime filling by whisking egg yolks and fragrant lime zest until the mixture transforms into a slightly thickened consistency.
- Incorporate sweetened condensed milk into the egg mixture, stirring until achieving a smooth, luxurious texture.
- Introduce freshly squeezed lime juice, gently mixing until the filling becomes completely homogeneous and bright.
- Carefully pour the zesty filling over the pre-baked crust, ensuring even distribution.
- Return the pan to the oven, baking for 15-18 minutes until the center displays a subtle, elegant jiggle – indicating perfect custard-like setting.
- Allow the bars to cool completely at room temperature, then transfer to the refrigerator for a minimum of 3 hours to solidify and intensify flavors.
- Utilize the parchment paper overhang to gracefully lift the entire dessert from the pan.
- Slice into precise squares, presenting the chilled bars with optional garnishes like billowy whipped cream or a delicate dusting of powdered sugar.
Notes
- Select graham crackers with the least sugar for a less sweet crust that balances the tangy lime filling perfectly.
- Zest limes carefully to avoid the bitter white pith, ensuring only the bright green outer layer gets incorporated for maximum flavor intensity.
- Chill the bars completely before cutting to achieve clean, precise edges and prevent the filling from crumbling or spreading.
- Swap traditional graham cracker crust with gluten-free alternatives like almond flour or crushed gluten-free cookies for those with dietary restrictions.
- Prep Time: 15 minutes
- Cook Time: 25 minutes
- Category: Desserts, Snacks
- Method: Baking
- Cuisine: American
Nutrition
- Serving Size: 12
- Calories: 250
- Sugar: 15 g
- Sodium: 150 mg
- Fat: 12 g
- Saturated Fat: 7 g
- Unsaturated Fat: 4 g
- Trans Fat: 0 g
- Carbohydrates: 34 g
- Fiber: 1 g
- Protein: 3 g
- Cholesterol: 80 mg
Dave Mitchell
Founder & Chief Recipe Developer
Expertise
Education
Asheville-Buncombe Technical Community College
Associate of Applied Science in Culinary Arts
Focus: Comprehensive training in culinary techniques, kitchen management, and menu planning, with a special emphasis on grilling and outdoor cooking.
Dave Mitchell is the heart behind Daves Grill, a cook, writer, and lover of all things grilled. He studied Culinary Arts at Asheville-Buncombe Technical Community College and spent years cooking, testing, and sharing recipes that actually work.
Dave started Daves Grill to keep things simple: one great recipe at a time. His food is bold, easy to follow, and made for real people with regular kitchens. From juicy steaks to quick sides, Dave’s recipes bring the heat without the hassle.