Jolly Holiday Fudge Recipe: Christmas Magic in Every Bite
Sweet chocolate and festive cheer collide in this irresistible Christmas fudge recipe that promises to become a holiday tradition.
Creamy, rich, and bursting with seasonal charm, this dessert delivers pure indulgence.
Crafted with simple ingredients and minimal effort, the fudge brings warmth to your kitchen.
Each bite carries the magic of Christmas memories and celebration.
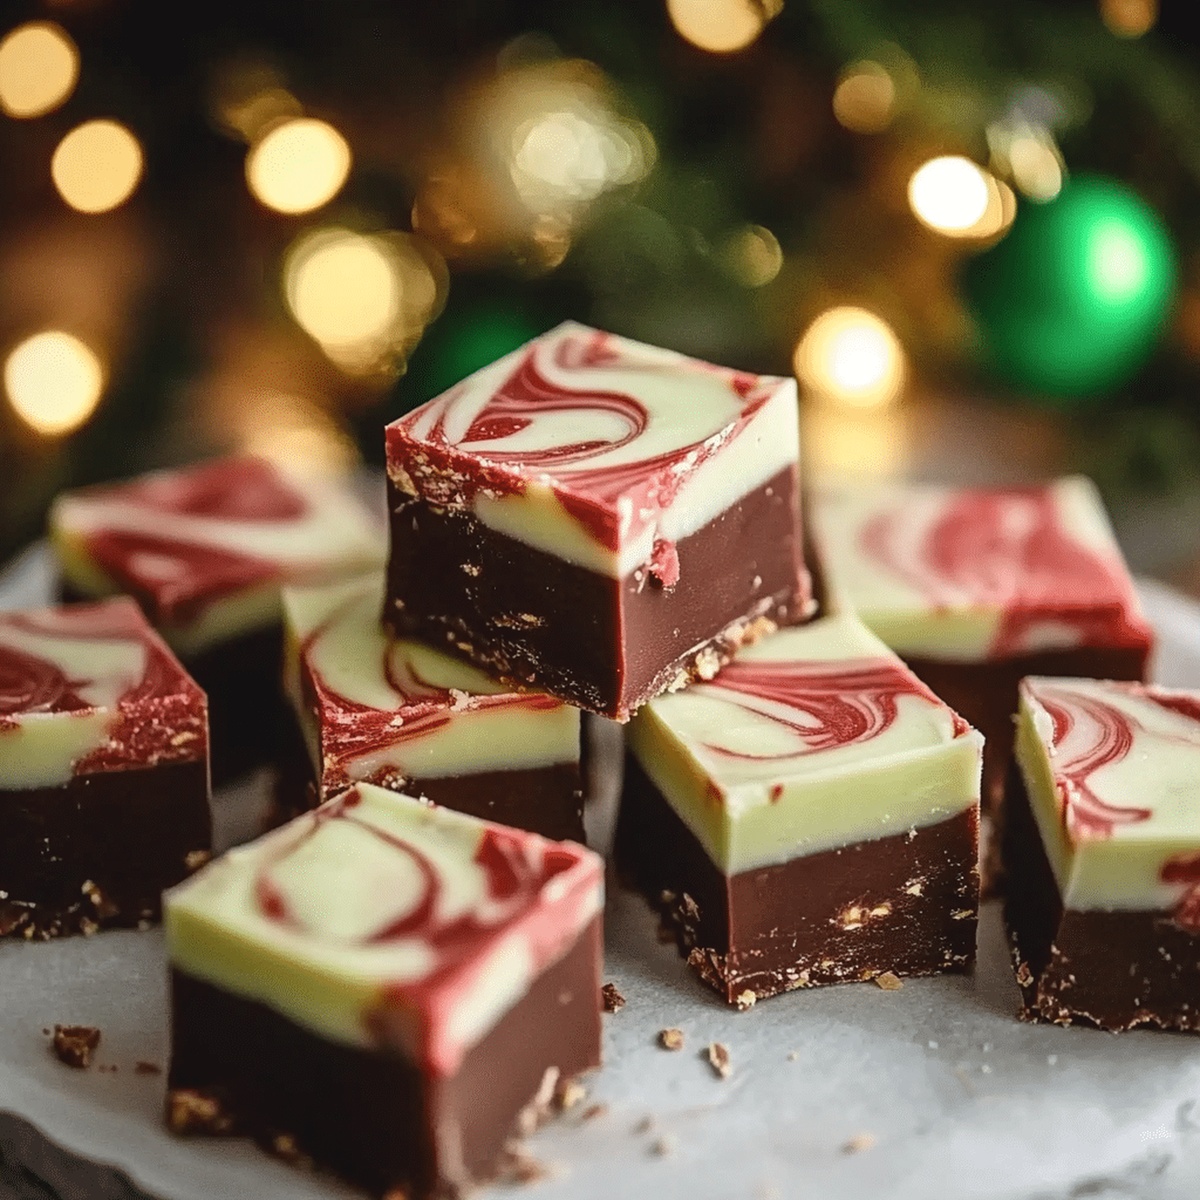
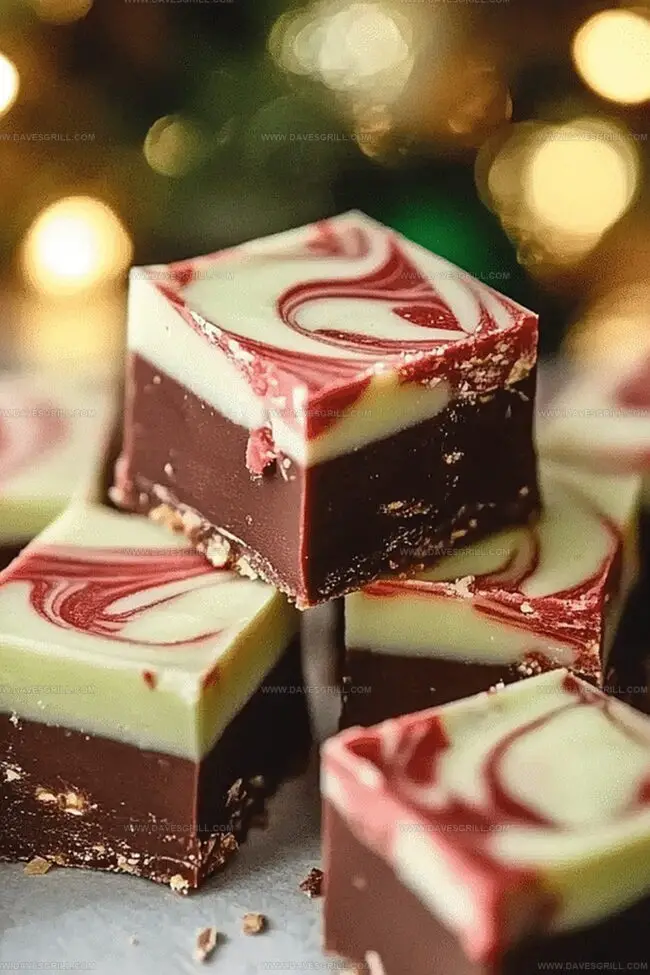
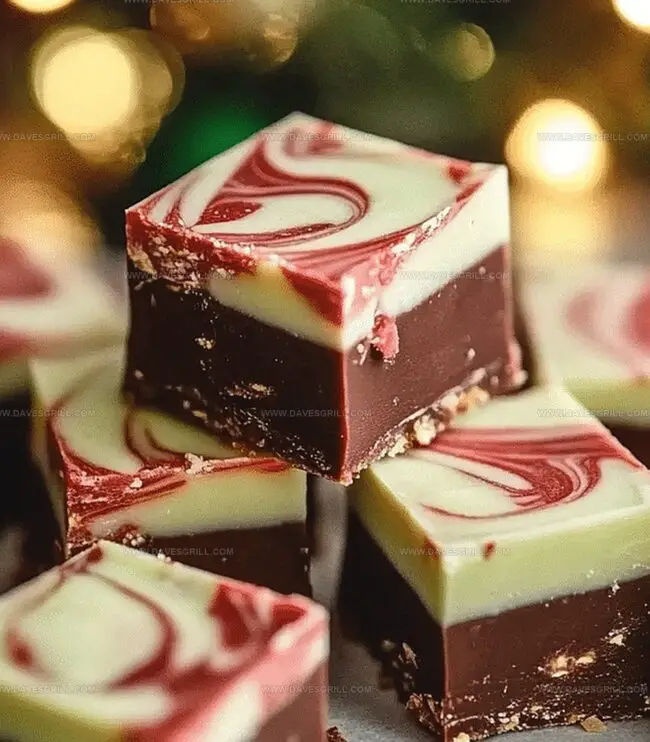
The velvety texture melts effortlessly on your tongue, creating a delightful sensory experience.
Topped with festive sprinkles or crushed candy canes, this treat transforms an ordinary moment into something extraordinary.
You’ll want to share every delectable square with loved ones.
Quick Recipe Overview
Christmas Fudge Ingredient Checklist
For Pan Preparation:For Base Ingredients:For Flavor Enhancement:Supplies for Making Christmas Fudge
Create Christmas Fudge That Brings Joy
Line a pan with parchment paper, letting edges hang over for simple lifting. Quickly brush paper with light grease to prevent sticking.
Toss chocolate chips, sweet milk, and butter into a saucepan. Warm gently over low heat, stirring smoothly until everything melts into a silky mixture.
Pour vanilla extract into the warm chocolate blend, stirring until perfectly combined.
Pour melted mixture into prepared pan, spreading evenly. Refrigerate for several hours until fudge becomes firm and sliceable.
Lift fudge from pan using parchment paper edges. Slice into bite-sized squares on a cutting board. Arrange on a festive platter and enjoy your homemade treat.
Little Tweaks That Boost Fudge Flavor
How to Serve Christmas Fudge for Sharing
Keep Christmas Fudge Tasting Fresh
FAQs
Yes, you can substitute semi-sweet, milk, or dark chocolate chips based on your preference. Just ensure they’re high-quality baking chips that melt smoothly.
Stir constantly while melting ingredients and use low heat. Avoid temperature fluctuations and overmixing, which can cause sugar crystallization and a grainy texture.
Absolutely! This recipe requires minimal ingredients and basic cooking skills. The process is straightforward and forgiving, making it perfect for novice cooks and bakers.
Definitely! After melting the base ingredients and adding vanilla, fold in chopped nuts, mini marshmallows, or other mix-ins before pouring into the prepared pan.
Print
Mouthwatering Christmas Fudge Recipe
- Total Time: 2 hours 10 minutes
- Yield: 17 1x
Description
Homemade Christmas Fudge brings festive cheer with classic chocolate richness and holiday nostalgia. Simple ingredients and easy preparation make this sweet treat perfect for seasonal celebrations and family gatherings.
Ingredients
- 3 cups (525 g) semi-sweet chocolate chips
- 1 can (14 oz/397 g) sweetened condensed milk
- ¼ cup (60 g) unsalted butter, cut into pieces
- 1 tsp vanilla extract
- ½ cup crushed peppermint candies or candy canes
- ¼ cup red and green sprinkles
- ½ cup chopped nuts (walnuts, pecans, or almonds)
- Mini marshmallows
Instructions
- Preparation: Line a square baking pan with parchment paper, allowing excess to hang over edges for easy removal. Lightly grease the surface to prevent sticking.
- Chocolate Base: Melt chocolate chips, sweetened condensed milk, and butter in a saucepan over low heat. Stir continuously until the mixture becomes a smooth, glossy liquid. Remove from heat and incorporate vanilla extract, blending thoroughly to distribute the flavor evenly.
- Setting Process: Pour the molten chocolate mixture into the prepared pan, using a spatula to spread uniformly and eliminate air bubbles. Refrigerate for 2-3 hours until the fudge firms up completely and develops a rich, creamy consistency.
- Serving: Lift the fudge block from the pan using the overhanging parchment paper. Transfer to a cutting board and slice into precise squares using a knife warmed under hot water to ensure clean, sharp cuts.
Notes
- Prevent Sticking Strategically: Spray parchment paper lightly with cooking spray to ensure effortless fudge removal and clean cutting.
- Master Chocolate Melting Technique: Use low, gentle heat while stirring constantly to create a smooth, glossy chocolate base without burning or separating ingredients.
- Control Cooling Process: Stir mixture periodically during cooling to maintain silky texture and prevent ingredient separation, ensuring professional-quality fudge.
- Slice Like a Pro: Warm knife under hot water before cutting to achieve clean, precise squares without crumbling or jagged edges.
- Prep Time: 10 minutes
- Cook Time: 2 hours
- Category: Desserts, Snacks
- Method: Blending
- Cuisine: American
Nutrition
- Serving Size: 17
- Calories: 223
- Sugar: 24 g
- Sodium: 66 mg
- Fat: 11 g
- Saturated Fat: 6 g
- Unsaturated Fat: 5 g
- Trans Fat: 0 g
- Carbohydrates: 30 g
- Fiber: 1 g
- Protein: 2 g
- Cholesterol: 15 mg
Emily Lawson
Content Creator & Culinary Specialist
Expertise
Education
Oregon Culinary Institute
Diploma in Culinary Arts
Focus: Emphasis on farm-to-table cooking, sustainable practices, and the fusion of global flavors with traditional grilling methods.
Emily Lawson is the content creator at Daves Grill, turning tasty ideas into clear, easy recipes. Based in Portland, she trained at the Oregon Culinary Institute and loves cooking with fresh, seasonal ingredients, especially grilled veggies and global flavors.
Emily mixes food writing with hands-on cooking to bring you recipes that feel fun, not stressful. Her goal is to make every dish simple, flavorful, and worth coming back to. Together, she and Dave serve up real food, one recipe at a time.