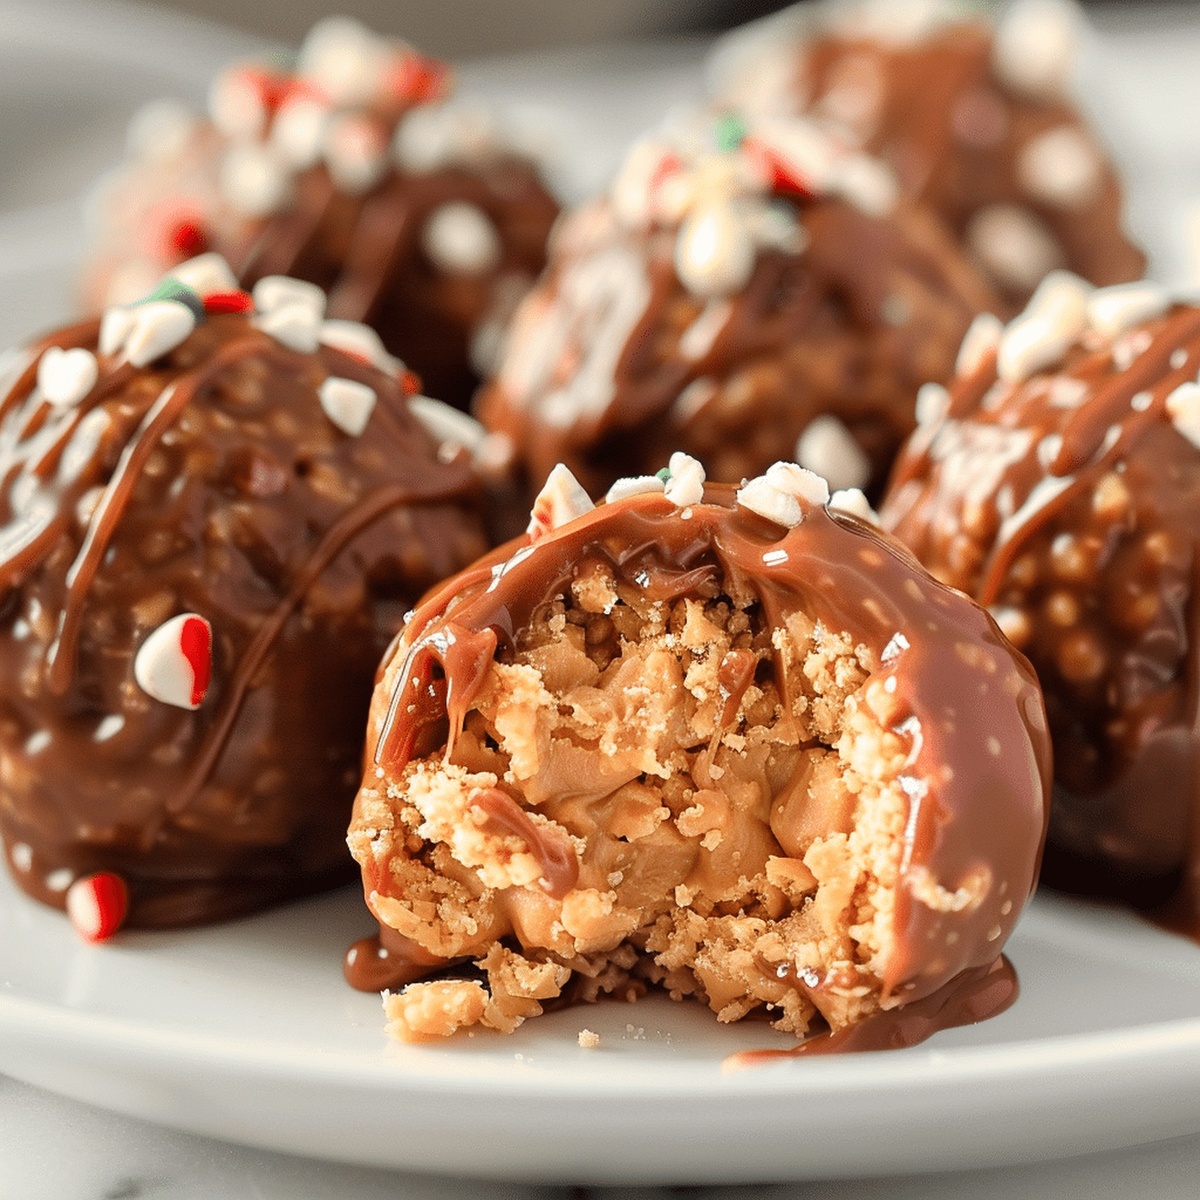
These mouthwatering no-bake peanut butter balls dance between decadent dessert and quick energy bite.
Sweet meets salty in a delightful protein-packed treat that comes together faster than you can raid the pantry.
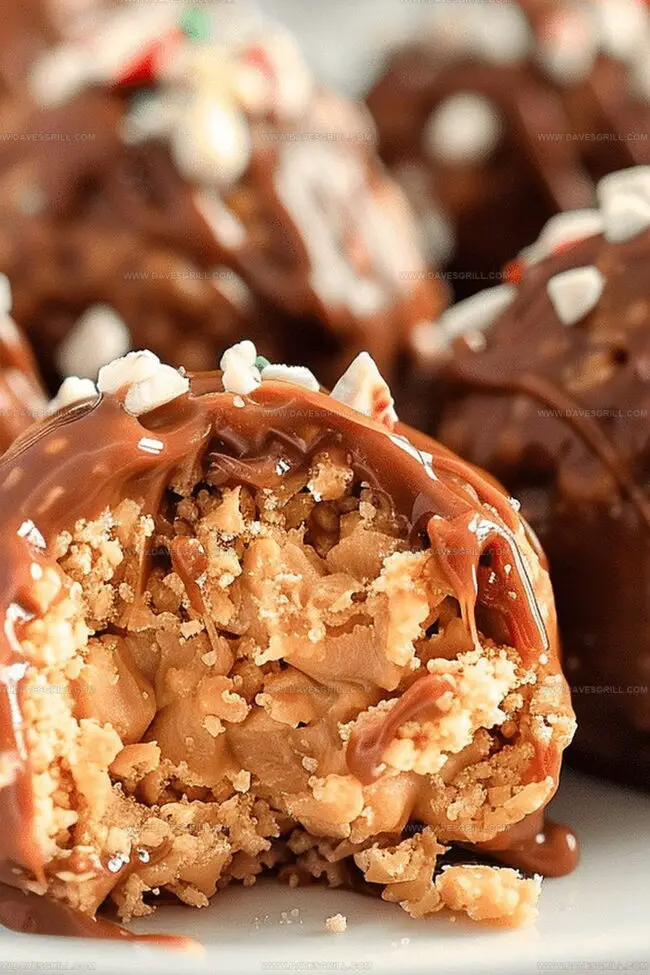
Crispy rice cereal adds unexpected crunch to each creamy morsel.
Simple ingredients transform into irresistible spheres of deliciousness with minimal kitchen effort.
Rich chocolate coating takes these little rounds from good to absolutely phenomenal.
Your friends and colleagues will beg you for the secret recipe.
Whip up a batch and watch them disappear in record time.
Why These PB Balls Are a No-Bake Favorite
Grab just a few pantry staples like peanut butter, chocolate, and graham crackers to create this crowd-pleasing dessert.
Children can help roll balls and dip in chocolate, making it a fun family cooking activity that keeps little hands engaged.
Prepare these treats in advance and store in the refrigerator, perfect for unexpected guests or sweet cravings without last-minute stress.
What’s in No-Bake Peanut Butter Balls
Base Ingredients:
Peanut Butter: Creamy base that provides rich, nutty flavor. Natural or commercial brands work well.
Butter: Adds smoothness and helps bind ingredients. Use softened, unsalted butter for best results.
Powdered Sugar: Sweetens and helps create a stable filling. Ensure no lumps are present.
Binding and Texture Ingredients:
Graham Crackers, Pretzels: Adds crunch and helps firm up the mixture. Choose finely crushed for smooth texture.
Coating Ingredients:
Chocolate Chips: Provides sweet chocolate shell. Dark, milk, or semi-sweet varieties are good options.
Coconut Oil: Helps chocolate melt smoothly and creates glossy finish. Refined or unrefined work equally well.
Optional Add-ins (Not Mentioned in Original Recipe):
Vanilla Extract: Can enhance overall flavor if desired.
Salt: Tiny pinch can balance sweetness of mixture.
Directions for No-Bake Peanut Butter Balls
Step 1: Whip Up the Creamy Base
Grab a large mixing bowl
Combine peanut butter, softened butter, and powdered sugar
Beat until smooth and silky
Fold in crushed graham crackers or pretzels
Mix until the blend becomes thick and moldable
If mixture feels too soft, add more crushed crackers or pop in the refrigerator for a quick chill
Step 2: Shape Delightful Spheres
Roll mixture into bite-sized balls
Place each ball on a parchment-lined baking sheet
Slide the sheet into the refrigerator
Chill for at least half an hour until firm
Step 3: Prepare Chocolate Coating
Select a microwave-safe bowl
Add chocolate chips and coconut oil
Melt in short 20-second bursts
Stir between each heating cycle
Continue until chocolate becomes smooth and glossy
Step 4: Dunk and Decorate
Remove chilled peanut butter balls
Use a fork or toothpick to dip each ball into melted chocolate
Allow excess chocolate to drip off
Return chocolate-covered balls to parchment paper
Step 5: Final Chill and Store
Place balls back in refrigerator
Let chocolate set for 15-20 minutes
Transfer to an airtight container
Keep refrigerated until ready to enjoy
Tips for Perfect Peanut Butter Balls
Prevent Sticky Situation: Lightly grease your hands with cooking spray or butter when rolling the peanut butter mixture to avoid sticking and create smooth, uniform balls.
Chocolate Coating Trick: Use a dipping fork or slotted spoon to ensure even chocolate coverage and easy removal from the melted chocolate.
Texture Perfection: If the mixture feels too crumbly, add a bit more softened butter or a splash of milk to achieve the right consistency for rolling.
Customize Your Crunch: Swap graham crackers with crushed pretzels or add chopped nuts for extra texture and flavor variation.
Make-Ahead Magic: These peanut butter balls can be prepared and stored in the freezer for up to a month, making them a convenient make-ahead treat.
How to Keep PB Balls Fresh
Store leftovers in an airtight container for up to 7 days, keeping them cool and fresh.
Wrap individual balls in plastic wrap, then place in a freezer-safe container for maximum 3 months.
Remove frozen peanut butter balls from freezer and let sit at room temperature for 15-20 minutes before enjoying.
Place wax paper between layers when storing to keep the chocolate coating intact and prevent clumping.
Great Pairings for PB Balls
Robust cabernet sauvignon cuts through the rich, creamy peanut butter and complements the sweet chocolate coating, creating a luxurious dessert experience.
Dark, malty stout beer enhances the nutty peanut butter flavor and provides a smooth, complex contrast to the sweet chocolate-covered balls.
Creamy whole milk or almond milk offers a classic, comforting pairing that softens the intense peanut butter and chocolate flavors, creating a nostalgic taste sensation.
Strong espresso provides a bold, bitter counterpoint to the sweet peanut butter balls, cleansing the palate and intensifying the dessert’s rich flavor profile.
Peanut Butter Ball Flavor Upgrades
Gluten-Free Option: Replace graham crackers with gluten-free crushed rice cereal or almond flour to make the recipe celiac-friendly and safe for those with wheat sensitivities.
Vegan Chocolate Coating: Swap regular chocolate chips with dairy-free dark chocolate and use coconut oil or vegan butter to create a plant-based version suitable for vegan diets.
Nut-Free Alternative: Substitute peanut butter with sunflower seed butter or soy nut butter for those with peanut allergies, maintaining the creamy texture and similar taste profile.
Low-Sugar Version: Use sugar-free powdered sweetener and dark chocolate with minimal sugar content to reduce overall sugar while keeping the classic flavor intact.
Sweet peanut butter balls dance through childhood memories, bringing nostalgic comfort. Creamy chocolate-coated morsels deliver quick energy and pure delight for snack enthusiasts craving simple, irresistible pleasure.
Ingredients
Scale
Main Ingredients:
1 cup (240 g / 8.5 oz) creamy peanut butter
1 ½ cups (180 g / 6.3 oz) crushed graham crackers or crushed pretzels
Binding Ingredients:
1 cup (120 g / 4.2 oz) powdered sugar
¼ cup (60 g / 2.1 oz) unsalted butter, softened
Coating Ingredients:
1 ½ cups (270 g / 9.5 oz) semi-sweet or milk chocolate chips
1 tablespoon (15 ml) coconut oil or shortening (optional, for smoother coating)
Instructions
Craft a decadent peanut butter filling by vigorously blending creamy peanut butter with softened butter and powdered sugar until the mixture achieves a velvety consistency.
Incorporate crushed graham crackers or pretzels into the mixture, ensuring thorough incorporation. Adjust texture by adding more crumbs if the mixture seems too soft, or briefly chill to enhance firmness.
Gently shape the consolidated mixture into uniform spherical portions, approximately one inch in diameter. Arrange these delicate orbs on a parchment-lined tray.
Temporarily transfer the tray to the refrigerator, allowing the peanut butter spheres to solidify for a minimum of 30 minutes.
Prepare a smooth chocolate coating by carefully melting chocolate chips with coconut oil in short microwave intervals, stirring between each session to prevent scorching.
Carefully immerse each chilled peanut butter sphere into the molten chocolate, utilizing a fork or toothpick to ensure complete and even coverage. Allow excess chocolate to delicately cascade off.
Return the chocolate-enrobed spheres to the parchment-lined tray, facilitating quick and even setting.
Conclude the process by returning the tray to the refrigerator, permitting the chocolate shell to completely solidify for 15-20 minutes.
Transfer the completed confections to an airtight container and store within the refrigerator for optimal preservation and enjoyment.
Notes
Customize the crunch by using pretzels or graham crackers for varied texture and flavor profiles.
Ensure ingredients are at room temperature for smoother mixing and easier ball formation.
Chill the mixture if it’s too soft, making rolling easier and preventing sticky hands.
Experiment with different chocolate coatings like dark, milk, or white chocolate for unique variations.
Asheville-Buncombe Technical Community College Associate of Applied Science in Culinary Arts Focus: Comprehensive training in culinary techniques, kitchen management, and menu planning, with a special emphasis on grilling and outdoor cooking.
Dave Mitchell is the heart behind Daves Grill, a cook, writer, and lover of all things grilled. He studied Culinary Arts at Asheville-Buncombe Technical Community College and spent years cooking, testing, and sharing recipes that actually work.
Dave started Daves Grill to keep things simple: one great recipe at a time. His food is bold, easy to follow, and made for real people with regular kitchens. From juicy steaks to quick sides, Dave’s recipes bring the heat without the hassle.


Dave Mitchell
Founder & Chief Recipe Developer
Expertise
Education
Asheville-Buncombe Technical Community College
Associate of Applied Science in Culinary Arts
Focus: Comprehensive training in culinary techniques, kitchen management, and menu planning, with a special emphasis on grilling and outdoor cooking.
Dave Mitchell is the heart behind Daves Grill, a cook, writer, and lover of all things grilled. He studied Culinary Arts at Asheville-Buncombe Technical Community College and spent years cooking, testing, and sharing recipes that actually work.
Dave started Daves Grill to keep things simple: one great recipe at a time. His food is bold, easy to follow, and made for real people with regular kitchens. From juicy steaks to quick sides, Dave’s recipes bring the heat without the hassle.