The Perfect Old-Fashioned Chocolate Cream Pie Recipe for Dessert
Chocolate lovers adore this classic chocolate cream pie that brings nostalgia rushing back with every creamy bite.
Memories of grandma’s kitchen swirl through each silky layer of rich chocolate goodness.
My family has cherished this recipe for generations, passing down the secret to creating the most decadent dessert.
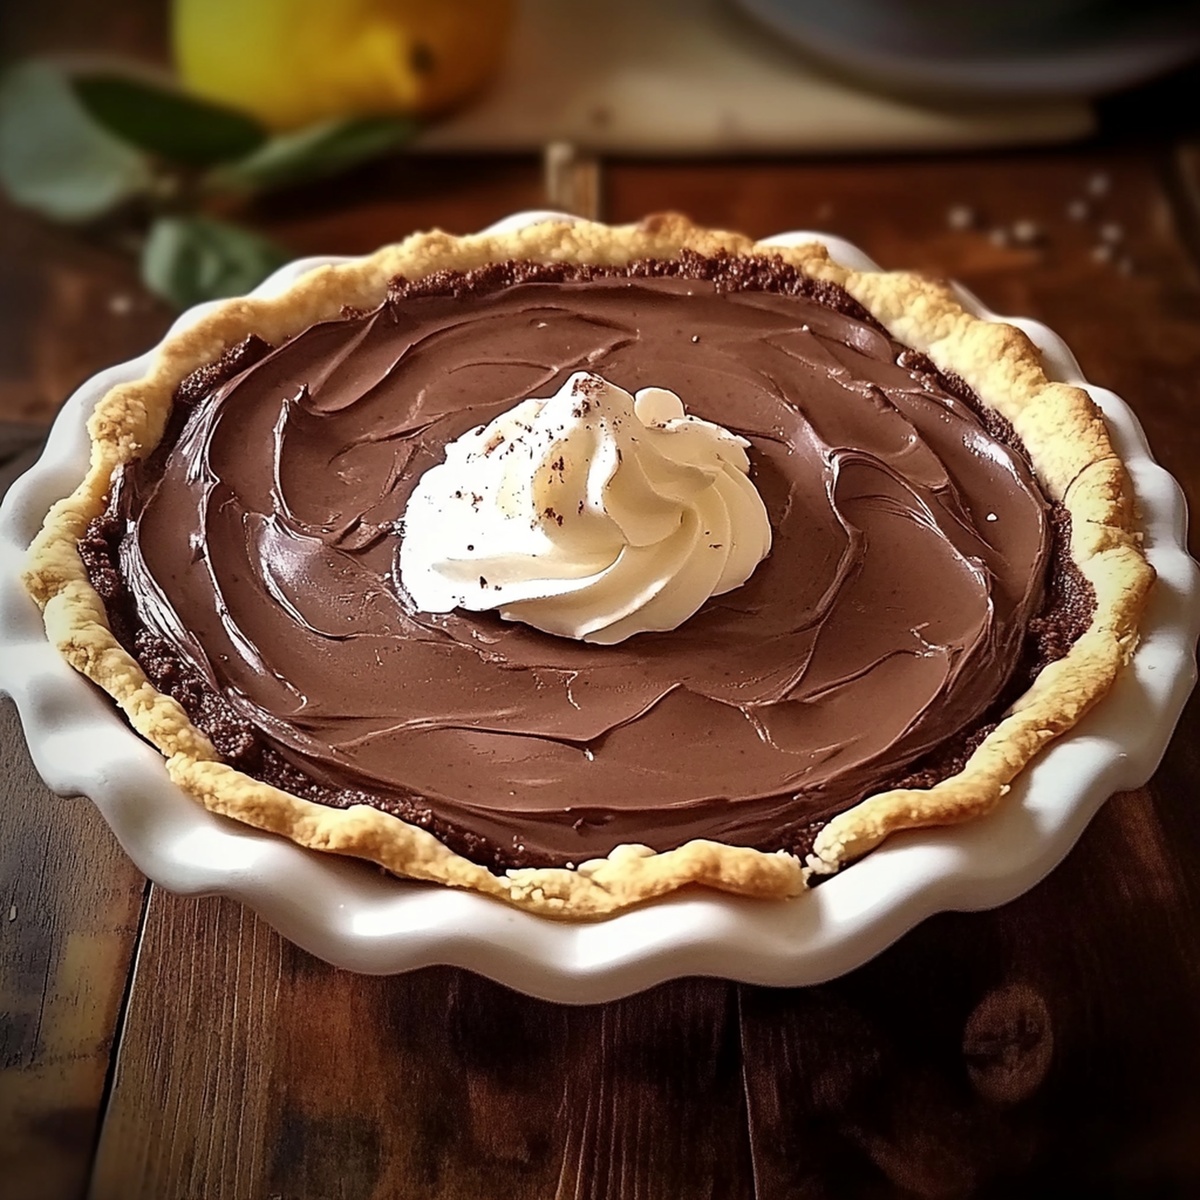
Smooth chocolate pudding nestles into a perfectly crisp graham cracker crust, promising pure indulgence.
The combination of simple ingredients creates magic that feels both comforting and extraordinary.
Whispers of vanilla and deep chocolate notes dance together, making this pie impossible to resist.
You’ll want to grab a fork and experience this beloved dessert that turns an ordinary moment into something spectacular.
Why Old-Fashioned Chocolate Cream Pie Brings Comfort

What You’ll Need For Old-Fashioned Chocolate Cream Pie
Pie Crust Ingredients:Chocolate Filling Ingredients:Whipped Cream Topping:Steps To Make Old-Fashioned Chocolate Cream Pie

Step 1: Prepare Pie Crust
In a mixing bowl, combine flour and salt. Break cold butter into small pieces and work into the flour mixture until it looks like coarse sand. Slowly add ice-cold water, mixing gently until the dough comes together. Shape the dough into a flat circle, wrap in plastic wrap, and refrigerate for half an hour. Roll out the chilled dough and carefully transfer to a 9-inch pie dish. Trim the edges and create a decorative crimp. Line the crust with parchment paper and fill with pie weights or dried beans. Bake in a preheated oven at 375°F (190°C) for 15 minutes. Remove weights and continue baking for an additional 10 minutes until the crust turns golden brown. Let the crust cool completely.
Step 2: Create Chocolate Filling
In a medium saucepan, whisk together:Slowly pour in milk, stirring constantly to create a smooth mixture. Place the pan over medium heat and cook, continuing to stir. The mixture will gradually thicken and start to bubble (approximately 8-10 minutes).
In a separate small bowl, whisk egg yolks. Carefully temper the egg yolks by slowly adding a bit of the hot chocolate mixture. Pour the tempered yolks back into the saucepan and cook for 2 more minutes. Remove from heat and stir in:Mix until the filling becomes silky smooth. Pour the filling into the cooled pie crust. Cover the surface directly with plastic wrap and refrigerate for at least 4 hours until completely set.
Step 3: Top With Whipped Cream
Using an electric mixer, whip together:Beat until soft, billowy peaks form. Spread or pipe the whipped cream over the chilled chocolate filling just before serving.
Best Tips For Old-Fashioned Chocolate Cream Pie
How To Keep Old-Fashioned Chocolate Cream Pie Fresh
Great Matches For Old-Fashioned Chocolate Cream Pie
Different Versions Of Old-Fashioned Chocolate Cream Pie
Old-Fashioned Chocolate Cream Pie FAQ Guide
This pie follows a classic, traditional method of making cream pie from scratch, using simple ingredients like butter, eggs, and real chocolate instead of instant pudding mixes. It represents the homemade baking style of generations past.
Yes! Dark, milk, or semi-sweet chocolate all work well. Just make sure to use high-quality chocolate for the best flavor. The key is chopping the chocolate into small pieces so it melts smoothly into the filling.
The filling is ready when it thickens and starts to bubble, which usually takes about 8-10 minutes. It should coat the back of a spoon and look glossy. Constant stirring prevents lumps and ensures a smooth, creamy texture.
Not at all! While it requires some patience and attention to detail, each step is straightforward. The most important skills are whisking consistently and following the temperature instructions carefully. The results are definitely worth the effort.
Print
Old-Fashioned Chocolate Cream Pie Recipe
- Total Time: 4 hours 50 minutes
- Yield: 8 1x
Description
Grandma’s classic Chocolate Cream Pie delivers pure dessert nostalgia with rich chocolate custard nestled in a buttery graham cracker crust. Silky smooth filling and billowy whipped cream create a comforting slice that connects generations through sweet, homemade memories.
Ingredients
Old-Fashioned Chocolate Cream Pie
Main Ingredients:
- 3 cups whole milk
- 4 large egg yolks
- 4 ounces (113 grams) semi-sweet chocolate, chopped
- 1 ¼ cups all-purpose flour
- ½ cup cold unsalted butter, cubed
Sugar and Sweeteners:
- ¾ cup granulated sugar
- 2 tablespoons powdered sugar
Thickeners and Seasonings:
- ¼ cup cornstarch
- ¼ cup unsweetened cocoa powder
- ½ teaspoon salt
- 1 teaspoon vanilla extract
- ½ teaspoon vanilla extract
- 34 tablespoons ice water
- 2 tablespoons unsalted butter
- 1 cup heavy whipping cream
Instructions
- Prepare the pastry crust by combining flour and salt in a mixing bowl. Incorporate cold butter using a pastry cutter until the mixture resembles coarse, sandy texture. Gradually introduce ice water, stirring until the dough coheres into a unified mass.
- Shape the dough into a compact disk, encase in plastic wrap, and refrigerate for half an hour to firm up the butter and relax the gluten.
- Roll out the chilled dough on a lightly floured surface, carefully transferring it to a 9-inch pie dish. Trim excess dough and create an elegant crimped edge.
- Line the crust with parchment paper, filling with ceramic pie weights or dried beans to prevent puffing during baking.
- Bake the crust in a preheated oven at 375F (190C) for 15 minutes, then remove the weights and continue baking until the surface turns a golden amber color. Allow the crust to cool completely.
- For the chocolate filling, combine sugar, cocoa powder, cornstarch, and salt in a medium saucepan. Gradually whisk in milk, ensuring a smooth, lump-free consistency.
- Cook the mixture over medium heat, stirring continuously until it thickens and begins to bubble, approximately 8-10 minutes.
- Temper the egg yolks by slowly introducing a small amount of the hot mixture while whisking vigorously. Return the tempered yolks to the saucepan.
- Continue cooking for an additional 2 minutes, then remove from heat. Incorporate vanilla extract, chopped chocolate, and butter, stirring until the filling becomes silky and uniform.
- Pour the luxurious chocolate filling into the cooled crust, smoothing the top with a spatula. Cover the surface directly with plastic wrap to prevent skin formation.
- Refrigerate the pie for a minimum of 4 hours, allowing the filling to set completely and develop a rich, creamy texture.
- Prepare the whipped cream by beating heavy cream with powdered sugar and vanilla until soft, billowy peaks form.
- Just before serving, generously spread or artfully pipe the whipped cream over the chilled chocolate filling, creating an inviting and decadent dessert.
Notes
- Ensure butter is cold when making the pie crust to achieve a flaky, tender texture that melts in your mouth.
- Use a food processor for cutting butter into flour quickly and evenly, creating uniform crumb-like consistency for the perfect crust.
- Blind baking prevents a soggy bottom by creating a crisp, golden crust that holds the creamy chocolate filling beautifully.
- Temper egg yolks carefully by slowly adding hot chocolate mixture to prevent scrambling, which keeps the filling silky smooth.
- For a gluten-free version, swap wheat flour with almond or gluten-free flour blend in the crust.
- Enhance chocolate flavor by using high-quality dark chocolate with 60-70% cocoa content for deeper, more complex taste.
- Make ahead and refrigerate pie overnight to allow flavors to meld and filling to set perfectly.
- Garnish with chocolate shavings, cocoa powder dusting, or fresh berries for an elegant presentation that impresses guests.
- Prep Time: 20 minutes
- Cook Time: 30 minutes
- Category: Desserts
- Method: Baking
- Cuisine: American
Nutrition
- Serving Size: 8
- Calories: 400
- Sugar: 20 g
- Sodium: 150 mg
- Fat: 25 g
- Saturated Fat: 15 g
- Unsaturated Fat: 8 g
- Trans Fat: 0 g
- Carbohydrates: 40 g
- Fiber: 2 g
- Protein: 5 g
- Cholesterol: 80 mg
Dave Mitchell
Founder & Chief Recipe Developer
Expertise
Education
Asheville-Buncombe Technical Community College
Associate of Applied Science in Culinary Arts
Focus: Comprehensive training in culinary techniques, kitchen management, and menu planning, with a special emphasis on grilling and outdoor cooking.
Dave Mitchell is the heart behind Daves Grill, a cook, writer, and lover of all things grilled. He studied Culinary Arts at Asheville-Buncombe Technical Community College and spent years cooking, testing, and sharing recipes that actually work.
Dave started Daves Grill to keep things simple: one great recipe at a time. His food is bold, easy to follow, and made for real people with regular kitchens. From juicy steaks to quick sides, Dave’s recipes bring the heat without the hassle.