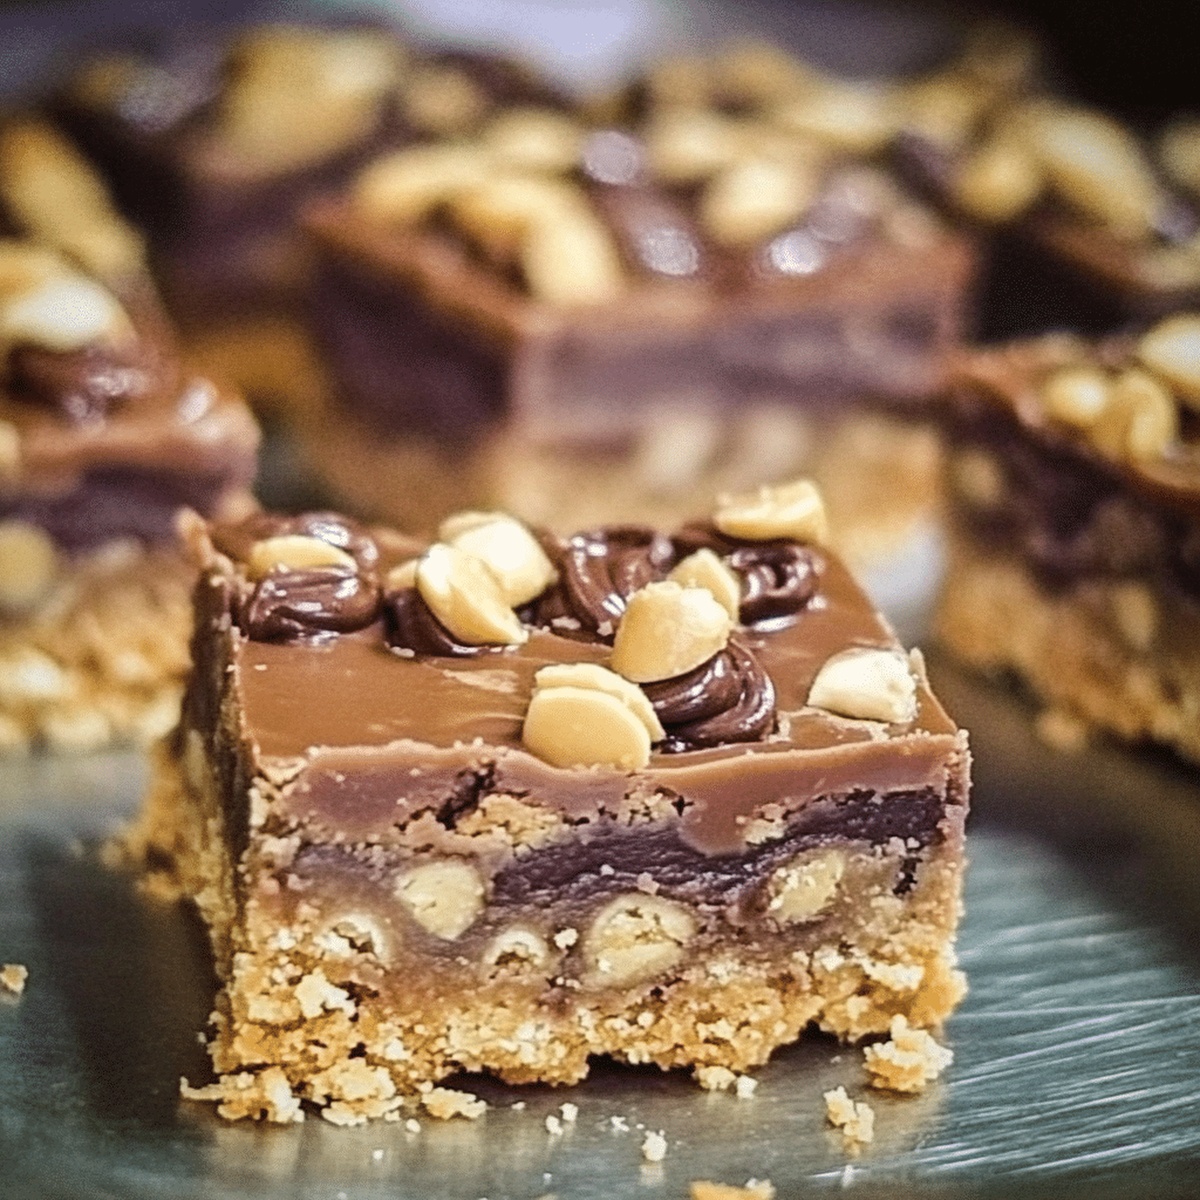
Peanut Butter Passion Bars Recipe for Sweet Lovers
Sweet memories collide with this peanut butter passion bar creation that sparks joy in every bite.
Layers of creamy goodness nestle between rich graham cracker bases, promising pure indulgence.
Childhood comfort meets gourmet delight in this simple yet stunning dessert.
Chocolate and peanut butter dance together, creating a symphony of flavors that mesmerize your taste buds.
Crumbly textures interplay with smooth fillings, making each square a miniature celebration.
Home bakers will adore how effortlessly these bars come together with minimal ingredients.
Treat yourself to a slice of happiness that guarantees smiles and second helpings.
Why Peanut Butter Passion Bars Are a Chocoholic’s Dream
Must-Have Ingredients for Peanut Butter Passion Bars
Base Components:Binding Agents:Topping Elements:How to Make Peanut Butter Passion Bars Like a Pro
Step 1: Craft the Crumbly Foundation
Create a delectable base by mixing graham cracker crumbs, sugar, and melted butter in a medium bowl until the texture resembles damp beach sand. Press the mixture firmly into a greased 9×13-inch baking dish, using the back of a spoon to create a compact layer. Pop the crust into the refrigerator for a quick 15-20 minute chill to set its structure.
Step 2: Whip Up the Dreamy Peanut Butter Layer
In a separate bowl, blend peanut butter, powdered sugar, melted butter, and vanilla extract until the mixture transforms into a silky-smooth consistency. Carefully spread this luscious layer over the chilled crust, ensuring an even coating with a gentle sweep of a spatula.
Step 3: Drench in Chocolate Decadence
Grab a microwave-safe bowl and gently melt chocolate chips with butter. Stir every 30 seconds to prevent burning, continuing until the mixture becomes glossy and completely liquid. Lovingly pour the molten chocolate over the peanut butter layer, using a spatula to create a perfectly even topping.
Step 4: Chill and Indulge
Slide the pan into the refrigerator and let the bars rest for at least 2 hours. This crucial waiting period allows the chocolate to set and the flavors to meld together. Once firm, slice into delectable squares and surrender to the ultimate taste adventure of creamy, crunchy, chocolatey bliss!
Tips to Get Peanut Butter Passion Bars Just Right
Keeping Peanut Butter Passion Bars Fresh and Tasty
Perfect Pairings for Peanut Butter Passion Bars
Ways to Mix Up Peanut Butter Passion Bars
Print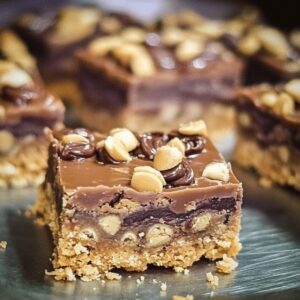
Peanut Butter Passion Bars Recipe
- Total Time: 35 minutes
- Yield: 12 1x
Description
Dive into pure indulgence with these peanut butter passion bars, a heavenly dessert marrying rich chocolate and creamy peanut butter. Dessert enthusiasts will savor each luxurious bite, experiencing a perfect balance of sweet and nutty flavors that dance across the palate.
Ingredients
Main Ingredients:
- 1 package (17.5 ounces / 496 grams) peanut butter cookie mix
- 1 can (14 ounces / 397 grams) sweetened condensed milk
- ½ cup (120 milliliters) creamy peanut butter
- 1 cup (170 grams) semi-sweet chocolate chips
Binding Ingredients:
- ¼ cup (57 grams) melted butter
- 1 large egg
Topping Ingredients:
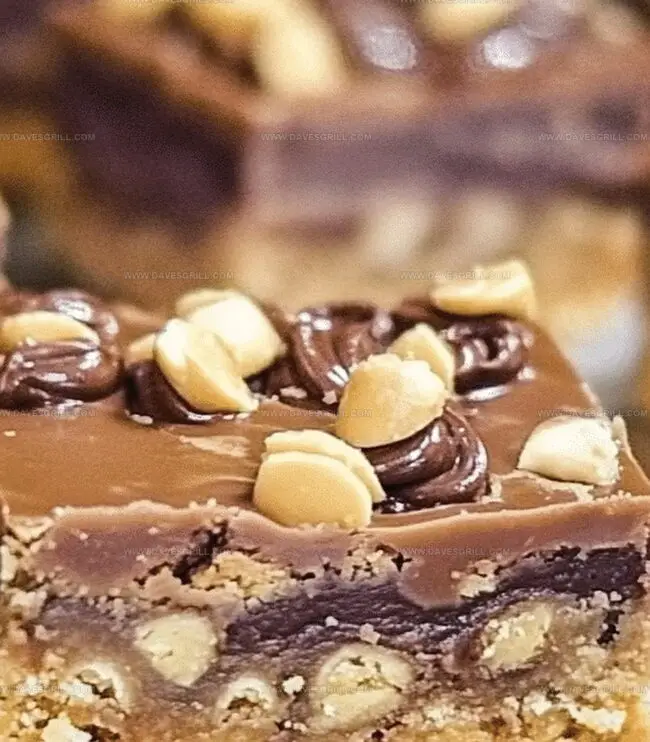
- ¼ cup (30 grams) chopped peanuts (optional)
Instructions
- Craft a crumbly foundation by blending graham cracker fragments with sugar and liquefied butter until the texture mimics damp sand.
- Transfer the graham mixture into a prepared baking vessel, pressing firmly with a utensil to create a compact, even layer.
- Allow the crust to stabilize in the refrigerator for approximately 15-20 minutes, ensuring a solid base.
- Whisk together creamy peanut butter, powdered sweetener, melted butter, and vanilla extract until achieving a silky, uniform consistency.
- Gently spread the peanut butter mixture across the chilled crust, creating a smooth, even landscape.
- Melt semi-sweet chocolate chips with butter in short microwave intervals, stirring between each session to prevent scorching.
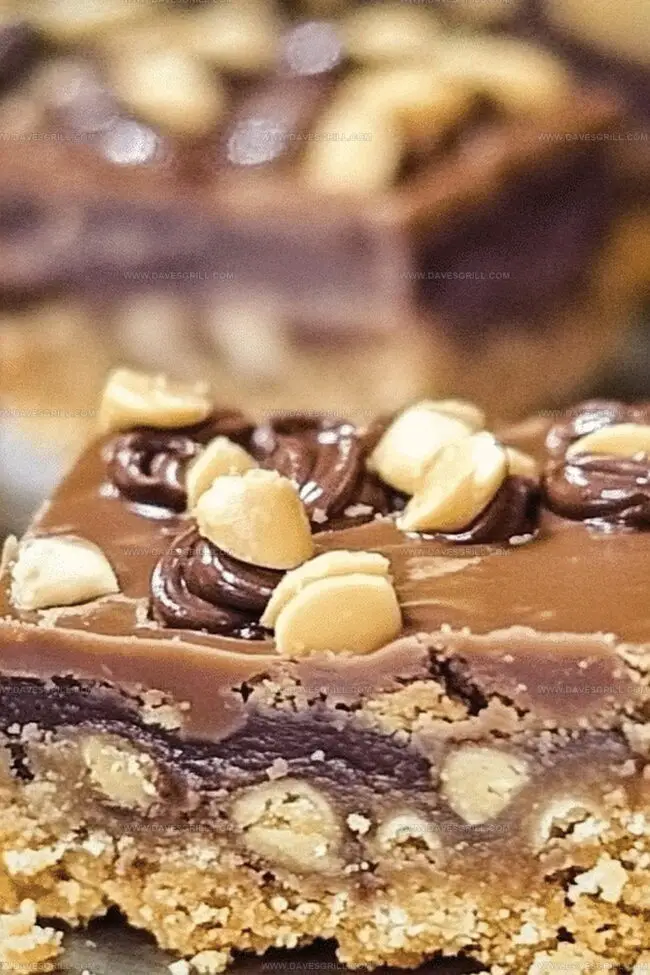
- Cascade the glossy, molten chocolate over the peanut butter layer, using a spatula to distribute evenly.
- Refrigerate the entire creation for a minimum of two hours, allowing the chocolate to solidify completely.
- Once set, slice into precise squares, revealing layers of decadent textures and rich flavors.
- Serve and relish the harmonious blend of sweet, nutty, and chocolatey elements.
Notes
- Select gluten-free graham crackers to make the recipe celiac-friendly and accommodate wheat allergies.
- Use natural peanut butter with no added sugars for a healthier version that reduces overall sweetness.
- Swap regular butter with coconut oil for a dairy-free alternative that maintains the rich, creamy texture.
- Sprinkle sea salt or chopped roasted peanuts on top of the chocolate layer to enhance flavor complexity and add subtle crunch.
- Prep Time: 10 minutes
- Cook Time: 25 minutes
- Category: Desserts, Snacks
- Method: None
- Cuisine: American
Nutrition
- Serving Size: 12
- Calories: 270
- Sugar: 22 g
- Sodium: 210 mg
- Fat: 14 g
- Saturated Fat: 6 g
- Unsaturated Fat: 8 g
- Trans Fat: 0 g
- Carbohydrates: 31 g
- Fiber: 1 g
- Protein: 5 g
- Cholesterol: 25 mg
Dave Mitchell
Founder & Chief Recipe Developer
Expertise
Education
Asheville-Buncombe Technical Community College
Associate of Applied Science in Culinary Arts
Focus: Comprehensive training in culinary techniques, kitchen management, and menu planning, with a special emphasis on grilling and outdoor cooking.
Dave Mitchell is the heart behind Daves Grill, a cook, writer, and lover of all things grilled. He studied Culinary Arts at Asheville-Buncombe Technical Community College and spent years cooking, testing, and sharing recipes that actually work.
Dave started Daves Grill to keep things simple: one great recipe at a time. His food is bold, easy to follow, and made for real people with regular kitchens. From juicy steaks to quick sides, Dave’s recipes bring the heat without the hassle.