Cozy Rustic Brown Bag Apple Pie Recipe – Country Charm in Every Bite
Baking a delightful brown bag apple pie creates a nostalgic kitchen experience that connects generations through sweet, warm memories.
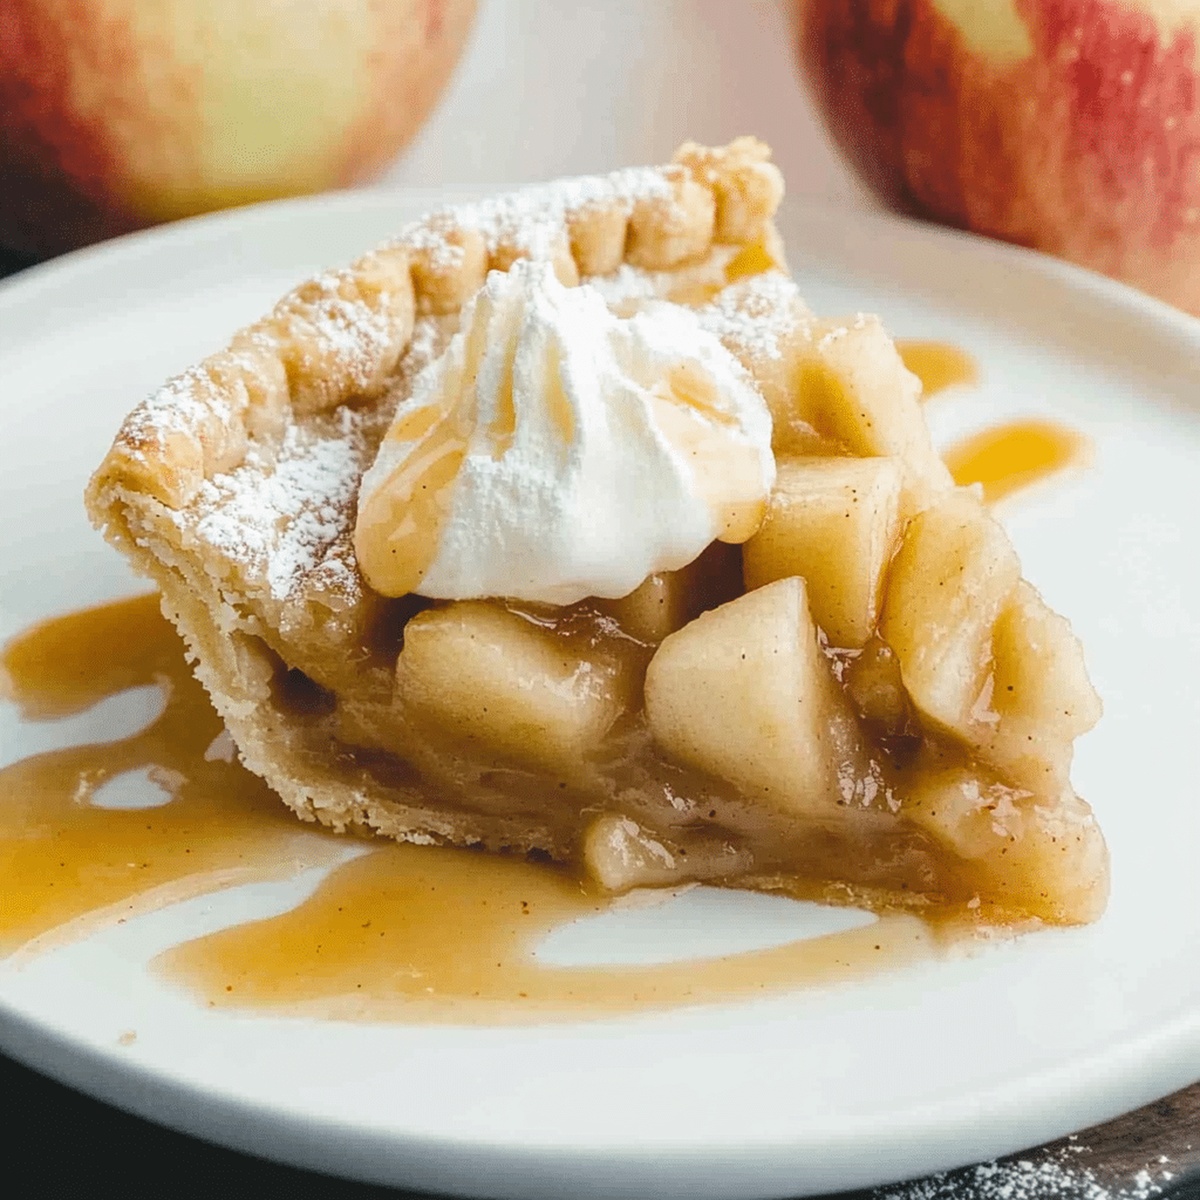
This rustic brown bag apple pie recipe captures the essence of homemade comfort with its golden, flaky crust and tender, spiced apple filling.
The unique brown bag technique ensures a perfectly crisp exterior while keeping the inner layers deliciously moist.
Seasonal apples burst with flavor, nestled between layers of buttery pastry that melt in your mouth.
Each slice tells a story of traditional baking methods passed down through family kitchens.
The aroma of cinnamon and baked apples will fill your home with warmth and anticipation.
Roll up your sleeves and embrace this delectable dessert that promises to become a cherished favorite at any gathering.
Quick Recipe Overview
Brown Bag Apple Pie Ingredient Rundown
For Pie Crust:For Filling:For Topping:Tools That Help with This Unique Baking Method
Bake an Apple Pie That’s Crisp and Juicy
Mix dry ingredients in a big bowl, blending flour, salt, and sugar smoothly. Break cold butter into tiny pieces and work it into the mixture until it looks like rough sand.
Drizzle icy water slowly into the flour blend, stirring gently until the dough holds together. Split the dough into two equal parts, shape into flat circles, and tuck them into the refrigerator for a cool rest.
Slice apples into thin, delicate pieces. Sprinkle with cinnamon and a touch of sweet sugar. Gently toss the apple slices to coat them evenly with the warm spices.
Roll out one dough circle and place it in a brown paper bag-lined baking dish. Pour the spiced apple mixture into the crust, spreading it evenly. Cover with the second dough circle, sealing the edges with a playful crimp.
Slide the pie into a preheated oven. Let it bake until the crust turns a beautiful golden brown and the apples become tender and bubbling. The aroma will fill your kitchen with warmth and comfort.
Remove the pie from the oven and let it rest. The waiting is the hardest part! Once cooled, slice and serve, watching everyone’s eyes light up with delight.
Tips to Keep the Crust Golden in the Bag
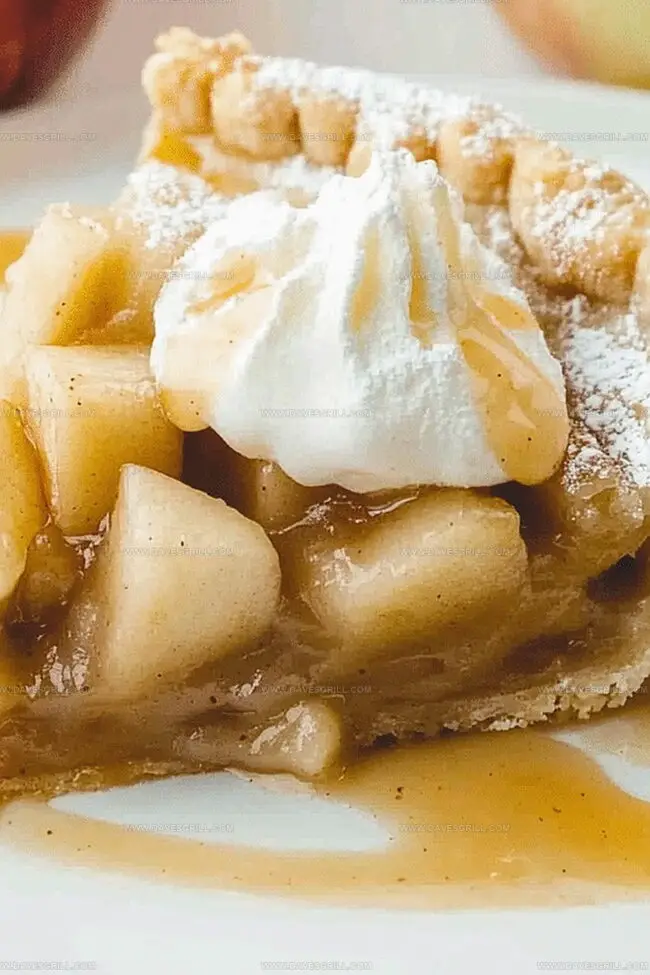
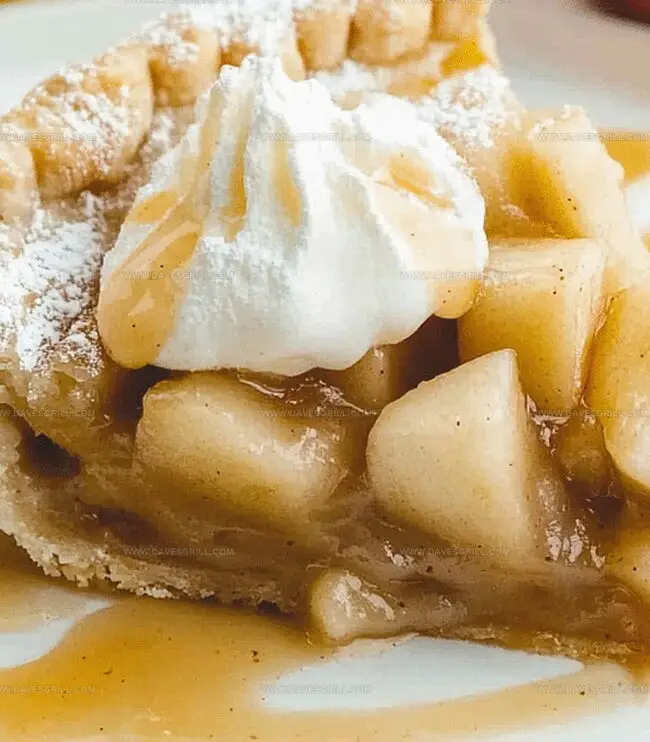
Serve Sliced with a Scoop of Vanilla Ice Cream
Store Pie at Room Temp or in the Fridge
FAQs
Look for a texture like coarse, pea-sized crumbs. The dough should hold together when squeezed but not be too wet or sticky. Chilling helps the butter stay cold and creates flaky layers.
Butter provides the best flavor and flaky texture. Margarine might work, but it won’t give the same rich taste and tender crust that butter creates. Stick to unsalted butter for the best results.
Cold ingredients prevent the butter from melting before baking. This helps create those coveted flaky, layered textures in your pie crust by keeping small butter pieces intact during baking.
Add ice water very slowly, one tablespoon at a time. Mix gently after each addition. Stop when the dough just comes together – you don’t want it too wet or tough. The right moisture helps bind the dough without overworking it.
Print
Rustic Brown Bag Apple Pie Recipe
- Total Time: 1 hour 30 minutes
- Yield: 9 1x
Description
Nostalgic Brown Bag Apple Pie brings classic American dessert traditions to your kitchen table. Warm cinnamon and buttery crust create a comforting experience you’ll savor with pure delight.
Ingredients
- 6 cups/1.4 L apples (about 6 medium, Granny Smith or Honeycrisp), peeled, cored, and thinly sliced
- ¾ cup/150 g granulated sugar
- ¼ cup/55 g brown sugar
- 2 ½ cups/310 g all-purpose flour
- 1 cup/225 g unsalted butter (cold, cubed)
- ½ cup/100 g granulated sugar (for topping)
- ½ cup/65 g all-purpose flour (for topping)
- ¼ cup/55 g unsalted butter (cold, cubed, for topping)
- 6 tbsps ice water
- 1 tbsp lemon juice
- 1 tsp ground cinnamon
- 1 tsp salt
- 1 tsp sugar
- ¼ tsp nutmeg (optional)
Instructions
- Pastry Preparation: Blend flour, salt, and sugar in a large bowl, creating a uniform dry base for the pie crust.
- Butter Integration: Incorporate chilled butter into the flour mixture, using fingertips to break down fat until the texture resembles coarse, uneven crumbs.
- Dough Formation: Gradually add ice water, gently mixing until the dough coheres without becoming excessively wet, then divide into two equal portions and shape into discs.
- Dough Chilling: Wrap each dough disc in plastic film and refrigerate for 30 minutes, allowing gluten to relax and butter to firm up, ensuring a perfectly flaky crust.
- Apple Preparation: Peel, core, and slice apples into uniform wedges, tossing with cinnamon, nutmeg, sugar, and a touch of lemon juice to enhance their natural sweetness and prevent browning.
- Pie Assembly: Roll out one dough disc and carefully transfer to a pie dish, trimming excess edges while leaving a slight overhang for crimping.
- Filling Distribution: Arrange seasoned apple slices in the prepared crust, creating an even, slightly mounded layer that will settle during baking.
- Top Crust Application: Cover the apple filling with the second rolled-out dough disc, sealing edges by crimping and creating decorative vents to allow steam escape.
- Baking Preparation: Nestle the pie inside a brown paper bag, folding the opening to create a sealed environment that promotes even cooking and moisture retention.
- Oven Transformation: Bake in a preheated 425°F oven for 45 minutes, then reduce temperature to 350°F and continue baking until the crust turns golden and apples become tender and bubbling.
- Cooling Ritual: Remove the pie from the oven and paper bag, allowing it to rest for at least 30 minutes, which helps the filling set and intensifies the flavors.
Notes
- Maintain Cold Butter: Keep butter extremely cold and work quickly to prevent melting, which ensures a flaky, delicate pie crust texture.
- Gentle Dough Handling: Minimize hand contact with dough to prevent warming butter, using light touches and swift movements during preparation.
- Chill Before Rolling: Allow dough to rest in refrigerator for at least 30 minutes, helping gluten relax and preventing shrinkage during baking.
- Use Brown Bag Technique: Place pie in brown paper bag during baking to create even heat distribution and prevent excessive browning of crust edges.
- Prep Time: 30 minutes
- Cook Time: 1 hour
- Category: Desserts, Snacks
- Method: Baking
- Cuisine: American
Nutrition
- Serving Size: 9
- Calories: 350
- Sugar: 23 g
- Sodium: 150 mg
- Fat: 20 g
- Saturated Fat: 12 g
- Unsaturated Fat: 8 g
- Trans Fat: 0 g
- Carbohydrates: 40 g
- Fiber: 2 g
- Protein: 3 g
- Cholesterol: 30 mg
Emily Lawson
Content Creator & Culinary Specialist
Expertise
Education
Oregon Culinary Institute
Diploma in Culinary Arts
Focus: Emphasis on farm-to-table cooking, sustainable practices, and the fusion of global flavors with traditional grilling methods.
Emily Lawson is the content creator at Daves Grill, turning tasty ideas into clear, easy recipes. Based in Portland, she trained at the Oregon Culinary Institute and loves cooking with fresh, seasonal ingredients, especially grilled veggies and global flavors.
Emily mixes food writing with hands-on cooking to bring you recipes that feel fun, not stressful. Her goal is to make every dish simple, flavorful, and worth coming back to. Together, she and Dave serve up real food, one recipe at a time.