Autumn’s golden embrace calls for a delectable pumpkin pie crisp that dances with seasonal warmth.
Layers of sweet, spiced pumpkin meld perfectly with a crunchy, buttery topping in this irresistible dessert.
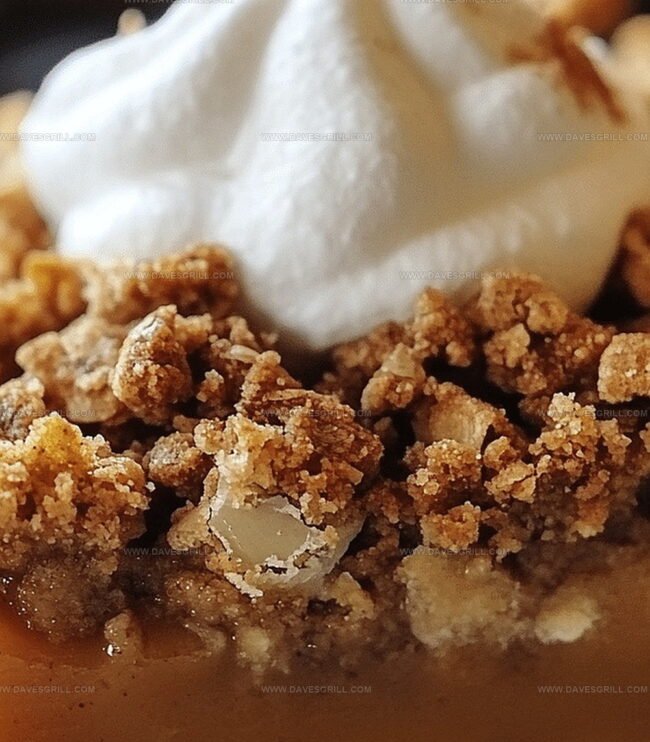
The rustic pumpkin pie crisp blends traditional comfort with unexpected texture and depth.
Warm cinnamon and nutmeg weave through each delightful bite, promising pure comfort.
Crisp edges and a velvety center create a harmonious balance that speaks to classic fall flavors.
Baked until golden and bubbling, this dessert transforms simple ingredients into a celebration of harvest magic.
Serve this crowd-pleasing treat and watch smiles bloom around your table.
Quick Recipe Overview
Prep Time: 15 minutes
Cook Time: 45 minutes
Total Time: 1 hour
Calories: 366 kcal
Servings: 8
Pumpkin Pie Crisp Ingredient Snapshot
For Filling Base:
Pumpkin Puree: Smooth, rich base that delivers authentic autumn flavor and creamy texture for the dessert’s foundation.
Sugar: Balances the pumpkin’s earthiness and adds essential sweetness to enhance overall taste.
Heavy Cream: Creates luxurious, silky consistency and adds richness to the filling.
Milk: Helps thin the mixture and create perfect custard-like texture.
Eggs: Bind ingredients together and provide structure to the filling.
Pumpkin Pie Spice: Classic blend that infuses warm, comforting seasonal notes.
Cinnamon: Adds depth and signature warmth to the dessert.
Salt: Enhances and balances all other flavor profiles.
Vanilla Extract: Introduces elegant, aromatic undertone that elevates the entire dish.
For Crisp Topping:
Oats: Provides hearty, nutty crunch and rustic texture to the dessert.
Flour: Helps bind topping ingredients and creates crispy layer.
Brown Sugar: Delivers deep caramel-like sweetness and helps topping become golden.
Pecans: Optional ingredient that introduces delightful crunch and toasty flavor.
Melted Butter: Binds ingredients and creates irresistible golden-brown color.
For Serving Optional:
Vanilla Ice Cream: Offers cool, creamy contrast to warm dessert.
Whipped Cream: Light, airy topping that complements pumpkin’s richness.
Tools That Help With Crisp Topping
Large mixing bowl: Perfect for whisking together pumpkin filling ingredients smoothly.
Medium mixing bowl: Ideal for combining crisp topping components.
9×13-inch baking dish or deep pie dish: Essential for holding and baking the entire dessert.
Whisk: Crucial for blending filling ingredients without lumps.
Measuring cups and spoons: Necessary for accurate ingredient measurements.
Wooden spoon or spatula: Great for stirring topping mixture and creating crumbly texture.
Oven mitts: Protect hands when handling hot baking dish.
Make Pumpkin Pie Crisp from Scratch
Fire Up the Oven: Crank your oven to a toasty 350F and give a quick spray or butter to a 9×13 baking dish.
Whip the Pumpkin: Grab a big mixing bowl and blend pumpkin puree with sugar, cream, milk, eggs, spices, and vanilla until silky smooth. Pour this dreamy mixture into your prepped dish.
Create the Crunchy Crown: In another bowl, toss together oats, flour, brown sugar, warming spices, and chopped pecans. Drizzle melted butter and mix until it looks like delicious crumbly goodness.
Layer and Bake: Shower the pumpkin base with your crunchy topping. Slide the dish into the oven and let it transform for 40-50 minutes. You’ll know it’s done when the edges are golden and the center has a gentle wobble.
Cool and Indulge: Let your masterpiece rest for 10-15 minutes. Scoop out a generous portion and crown it with a dollop of vanilla ice cream or billowy whipped cream. Enjoy the autumn deliciousness!
Tips That Add Flavor to Every Crumb
Replace pecans with sunflower seeds for nut-free diets, or use gluten-free oats and flour blend to make this dessert celiac-friendly.
Prepare the entire crisp up to 24 hours in advance, cover, and refrigerate – then bake right before serving for stress-free entertaining.
Adjust pumpkin pie spice quantity to match personal taste preferences, or create a homemade blend using ground cinnamon, ginger, nutmeg, and cloves.
Ensure crisp topping stays crunchy by avoiding overmixing and spreading it loosely over the filling, allowing small air pockets for ideal crispness.
Enhance the dessert by adding a dash of bourbon to the filling, sprinkling extra toasted pecans on top, or including a layer of cream cheese underneath the pumpkin mixture for rich complexity.
Serve Pumpkin Crisp Warm and Cozy
Festive Family Gathering: Bring this warm pumpkin pie crisp to holiday potlucks or family dinners as a show-stopping dessert that everyone will love.
Cozy Autumn Breakfast: Serve a small portion alongside morning coffee or tea for a delightful seasonal breakfast treat that feels indulgent yet comforting.
Dessert Pairing: Top with a scoop of vanilla bean ice cream or dollop of cinnamon-spiced whipped cream to elevate the rich, spicy flavors of the crisp.
Gifting Gourmet Style: Pack individual portions in mason jars with cute ribbons for a homemade gift that captures the warmth of autumn baking.
Keep Your Pumpkin Crisp Fresh Overnight
Keep leftovers in an airtight container inside the refrigerator for up to 4 days, maintaining delicious texture and flavor.
Wrap individual portions or entire crisp tightly in plastic wrap and aluminum foil, storing flat in freezer for maximum 2 months without quality loss.
Warm refrigerated or thawed crisp in 350F oven for 15-20 minutes, covering loosely with foil to prevent topping from burning while restoring original crispness.
Prepare unbaked crisp up to 24 hours ahead, covering and refrigerating. When ready to serve, bake directly from refrigerated state, adding 5-10 extra minutes to cooking time.
FAQs
What makes the topping crispy and crunchy?
The combination of oats, flour, brown sugar, and pecans creates a textured, crisp layer. Melted butter helps bind the ingredients and promotes golden-brown crispiness when baked.
Can I make this recipe gluten-free?
Yes, simply substitute regular flour with gluten-free flour or almond flour. Ensure all other ingredients are gluten-free certified to maintain the recipe’s integrity.
Is this dessert considered healthy?
While delicious, it’s a treat with sugar and butter. The pumpkin provides some nutritional benefits like vitamin A and fiber, but it’s best enjoyed in moderation as a seasonal dessert.
How do I know when the pumpkin crisp is perfectly baked?
Look for a golden-brown topping and a set filling that still has a slight jiggle in the center. When a knife inserted near the edge comes out clean, it’s ready to be removed from the oven.
Delightful Pumpkin Pie Crisp brings comfort straight from grandma’s Southern kitchen to modern tables. Nutty streusel topping and creamy pumpkin filling create a dessert perfect for autumn celebrations that will charm family and friends.
Ingredients
Scale
1 can (15 oz/425 g) pumpkin puree
¾ cup granulated sugar
2 large eggs
½ cup heavy cream
½ cup whole milk
½ tsp cinnamon
2 tsps pumpkin pie spice
1 tsp vanilla extract
¼ tsp salt
1 cup old-fashioned oats
¾ cup all-purpose flour
¾ cup brown sugar, packed
½ cup unsalted butter, melted
½ tsp cinnamon
¼ tsp nutmeg
½ cup chopped pecans (optional)
Instructions
Oven Preparation: Calibrate the oven to 350°F (175°C) and generously lubricate a 9×13-inch baking dish to prevent adhering.
Pumpkin Base Creation: Blend pumpkin puree, granulated sweetener, cream, milk, eggs, pumpkin pie seasoning, cinnamon, salt, and vanilla into a velvety, uniform mixture, ensuring no lumps remain.
Topping Assembly: Merge rolled oats, flour, brown sugar, cinnamon, nutmeg, and pecans in a mixing bowl, then incorporate melted butter until the mixture develops a crumbly, rustic texture.
Layering Process: Gently pour the pumpkin mixture into the prepared dish, spreading evenly, then generously sprinkle the nutty, spiced topping across the surface to create a complete coverage.
Baking Transformation: Position the dish in the preheated oven and bake for 40-50 minutes, monitoring until the filling sets firmly and the topping transforms into a rich, golden-brown crust.
Cooling and Serving: Extract from the oven and allow the crisp to stabilize for 10-15 minutes, then serve warm with a luxurious accompaniment of vanilla ice cream or billowing whipped cream.
Notes
Achieve Smooth Filling: Whisk ingredients thoroughly to prevent lumps and ensure a silky, uniform pumpkin base.
Control Topping Texture: Gently fold butter into dry ingredients to create a perfect crumbly consistency without overworking the mixture.
Prevent Burning: Cover with aluminum foil if topping browns too quickly, protecting the crisp from excessive darkening.
Customize Dietary Needs: Swap pecans with gluten-free oats, use dairy-free milk alternatives, or replace eggs with flax eggs for adaptable dietary restrictions.
Oregon Culinary Institute Diploma in Culinary Arts Focus: Emphasis on farm-to-table cooking, sustainable practices, and the fusion of global flavors with traditional grilling methods.
Emily Lawson is the content creator at Daves Grill, turning tasty ideas into clear, easy recipes. Based in Portland, she trained at the Oregon Culinary Institute and loves cooking with fresh, seasonal ingredients, especially grilled veggies and global flavors.
Emily mixes food writing with hands-on cooking to bring you recipes that feel fun, not stressful. Her goal is to make every dish simple, flavorful, and worth coming back to. Together, she and Dave serve up real food, one recipe at a time.


Emily Lawson
Content Creator & Culinary Specialist
Expertise
Education
Oregon Culinary Institute
Diploma in Culinary Arts
Focus: Emphasis on farm-to-table cooking, sustainable practices, and the fusion of global flavors with traditional grilling methods.
Emily Lawson is the content creator at Daves Grill, turning tasty ideas into clear, easy recipes. Based in Portland, she trained at the Oregon Culinary Institute and loves cooking with fresh, seasonal ingredients, especially grilled veggies and global flavors.
Emily mixes food writing with hands-on cooking to bring you recipes that feel fun, not stressful. Her goal is to make every dish simple, flavorful, and worth coming back to. Together, she and Dave serve up real food, one recipe at a time.