The Dreamiest Silky Cheesecake Fudge Recipe for Sweet Lovers
Sweet treats always spark joy, and this chocolate marble cheesecake fudge delivers pure deliciousness in every single bite.
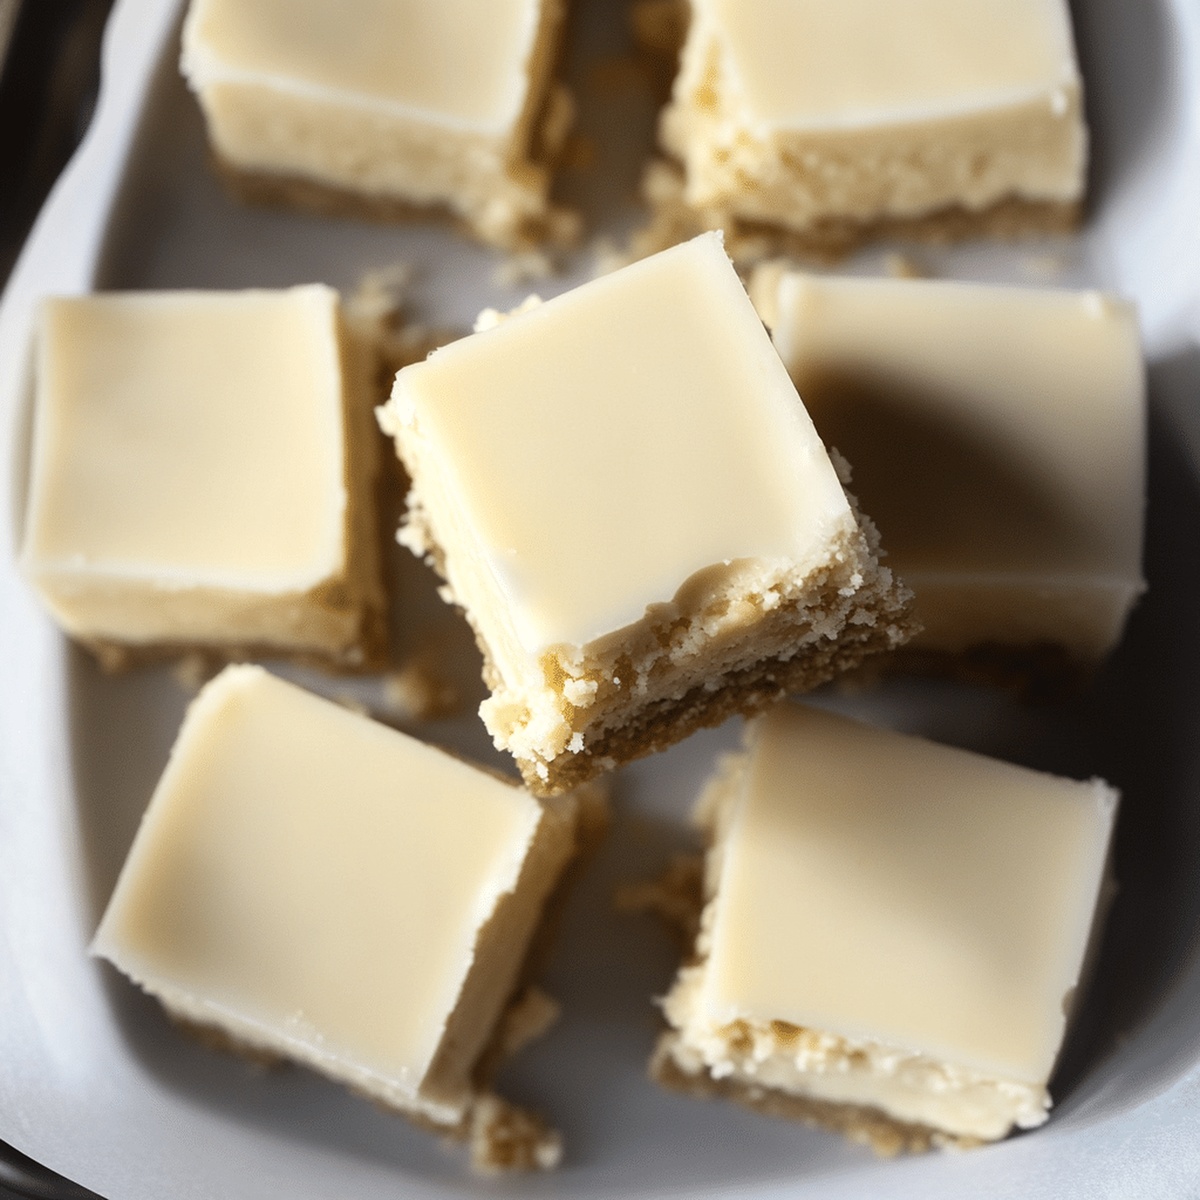
Creamy cheesecake swirls dance through rich chocolate layers, creating a dessert that looks as incredible as it tastes.
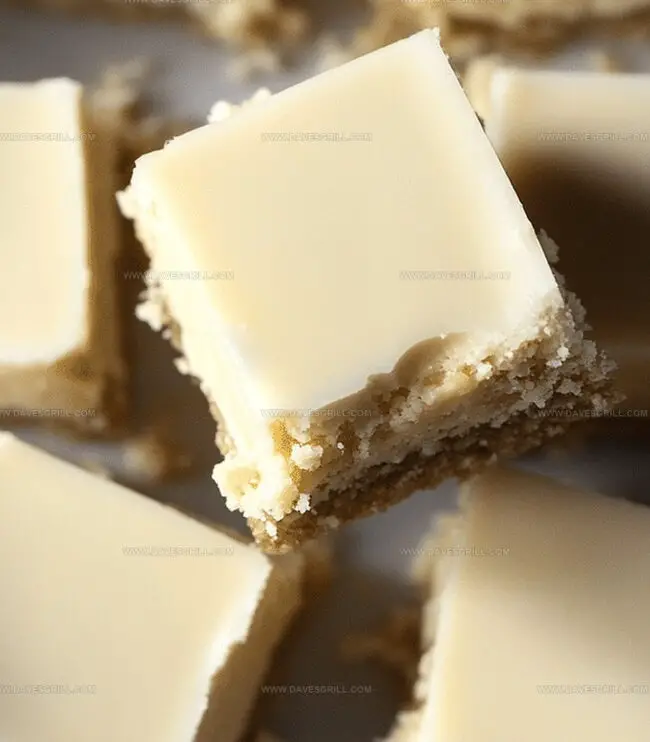
The combination of smooth cream cheese and decadent chocolate makes this fudge irresistibly tempting.
Each square promises a melt-in-your-mouth experience that balances tangy and sweet perfectly.
Professional bakers and home cooks alike will appreciate how simple the recipe comes together.
These elegant fudge pieces work wonderfully for elegant dinner parties or casual weekend indulgences.
You won’t be able to resist cutting just one more piece of this luxurious chocolate cheesecake fudge.
Quick Recipe Overview
Cheesecake Fudge Ingredient List
For Base and Binding:For Creamy Mixture:For Optional Garnish:Tools for a Creamy Fudge Texture
Make Cheesecake Fudge in Easy Steps
Line your rectangular pan with parchment paper, creating easy-lift edges for smooth removal later.
Grab your electric mixer and transform cream cheese into a silky, cloud-like mixture with smooth, gentle strokes.
Gradually fold powdered sugar into the cream cheese, mixing thoroughly after each addition. Splash in vanilla extract for a warm, aromatic touch.
Gently pour melted white chocolate into your creamy mixture, stirring continuously until everything blends into a luxurious, glossy texture.
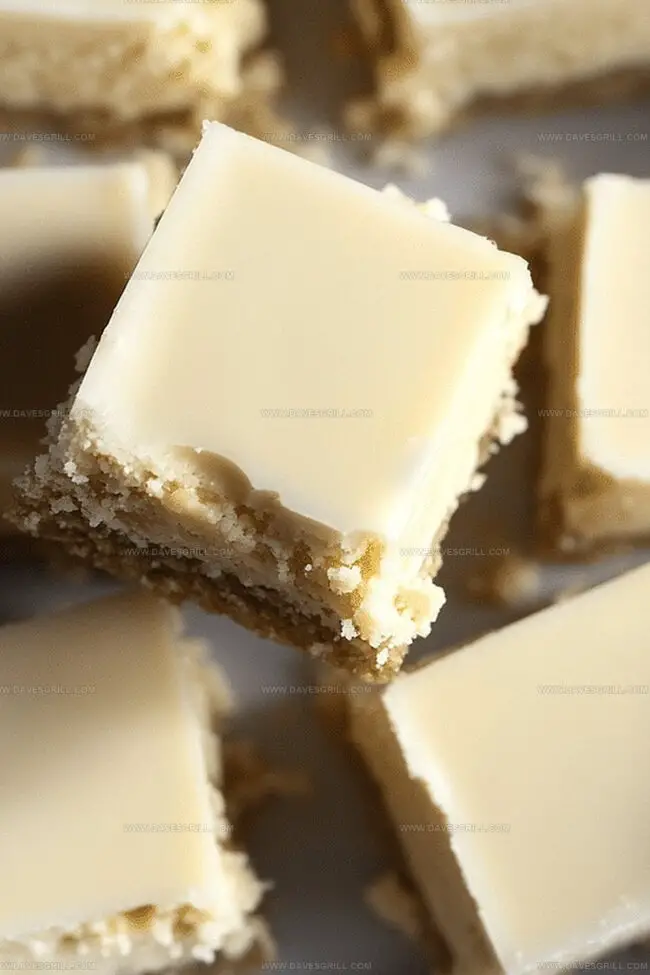
Pour half the fudge mixture into the pan, spreading evenly. Sprinkle graham cracker crumbs across the surface, then cover with remaining fudge mixture.
Tuck your creation into the refrigerator for at least 4 hours, allowing the fudge to firm up and develop its rich, decadent character.
Lift the fudge from the pan using parchment edges. Slice into bite-sized squares and embellish with extra crumbs or a chocolate drizzle if desired.
Add Swirls or Toppings to Your Fudge
Serve Fudge Squares with Flair
Store Cheesecake Fudge the Right Way
FAQs
Yes, you can swap white chocolate for milk or dark chocolate. Just ensure it’s high-quality baking chocolate that melts smoothly.
Always use room temperature cream cheese, mix ingredients gradually, and avoid overbeating. This helps maintain a smooth, creamy texture without crystallization.
Absolutely! This cheesecake fudge requires minimal baking skills. The steps are simple, and the ingredients are easy to find. Just follow the instructions carefully and take your time.
Definitely! Replace regular graham crackers with gluten-free graham crackers or crushed gluten-free cookie alternatives. Double-check all ingredient labels to ensure they’re gluten-free.
Print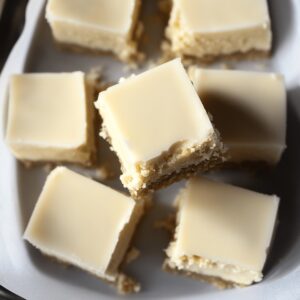
Silky Cheesecake Fudge Recipe
- Total Time: 4 hours 10 minutes
- Yield: 17 1x
Description
Silky smooth cheesecake fudge blends creamy Philadelphia cream cheese with rich chocolate for an indulgent dessert. Sweet chocolate swirls melt perfectly with tangy cream cheese, creating a luxurious treat you cannot resist.
Ingredients
- 12 oz (340g) white chocolate, melted
- 8 oz (225g) cream cheese, softened
- 4 cups (500g) powdered sugar, sifted
- 1 tsp vanilla extract
- ½ cup (50g) graham cracker crumbs (or digestive biscuit crumbs)
- Crushed graham crackers
- Chocolate drizzle
- Fruit preserves
Instructions
- Preparation: Line a rectangular baking dish with parchment paper, allowing excess to hang over edges for easy removal.
- Cream Cheese Base: Blend cream cheese using an electric mixer until smooth and lump-free, gradually incorporating powdered sugar to maintain a silky consistency.
- Flavor Infusion: Gently fold in vanilla extract and melted white chocolate, creating a harmonious, creamy mixture.
- Layering Foundation: Pour half the fudge mixture into the prepared pan, spreading evenly across the surface.
- Cracker Incorporation: Sprinkle graham cracker crumbs uniformly over the initial layer, ensuring complete coverage.
- Final Layering: Delicately pour remaining fudge mixture over the cracker layer, smoothing to create a pristine, level surface.
- Chilling Process: Refrigerate for a minimum of four hours until the fudge sets completely and becomes firm enough to slice.
- Serving Preparation: Remove from pan using parchment paper overhang, then cut into elegant, bite-sized squares.
- Optional Embellishment: Garnish with additional graham cracker crumbs, chocolate drizzle, or a touch of fruit preserves for enhanced visual appeal and flavor complexity.
Notes
Prevent Cream Cheese Lumps: Ensure cream cheese is at room temperature before mixing to achieve a smooth, lump-free texture that guarantees a silky fudge consistency.
Melt Chocolate Carefully: Use a double boiler or microwave in short intervals, stirring frequently to prevent chocolate from burning and maintain a glossy, even mixture.
Chill for Perfect Texture: Allow sufficient refrigeration time (minimum 4 hours) to help fudge set properly, creating a firm yet creamy bite that holds its shape when sliced.
Customize Dietary Needs: Swap graham crackers with gluten-free alternatives or use crushed nuts for low-carb versions, making the recipe adaptable to various dietary restrictions.
- Prep Time: 10 minutes
- Cook Time: 4 hours
- Category: Desserts, Snacks
- Method: Blending
- Cuisine: American
Nutrition
- Serving Size: 17
- Calories: 260
- Sugar: 40g
- Sodium: 90mg
- Fat: 12g
- Saturated Fat: 7g
- Unsaturated Fat: 4g
- Trans Fat: 0g
- Carbohydrates: 39g
- Fiber: 0g
- Protein: 2g
- Cholesterol: 30mg
Emily Lawson
Content Creator & Culinary Specialist
Expertise
Education
Oregon Culinary Institute
Diploma in Culinary Arts
Focus: Emphasis on farm-to-table cooking, sustainable practices, and the fusion of global flavors with traditional grilling methods.
Emily Lawson is the content creator at Daves Grill, turning tasty ideas into clear, easy recipes. Based in Portland, she trained at the Oregon Culinary Institute and loves cooking with fresh, seasonal ingredients, especially grilled veggies and global flavors.
Emily mixes food writing with hands-on cooking to bring you recipes that feel fun, not stressful. Her goal is to make every dish simple, flavorful, and worth coming back to. Together, she and Dave serve up real food, one recipe at a time.