Dreamy Silky Coconut Cake Recipe: A Tropical Treat
Decadent and moist, this coconut cake recipe weaves tropical flavors into a stunning dessert that sparks pure joy.
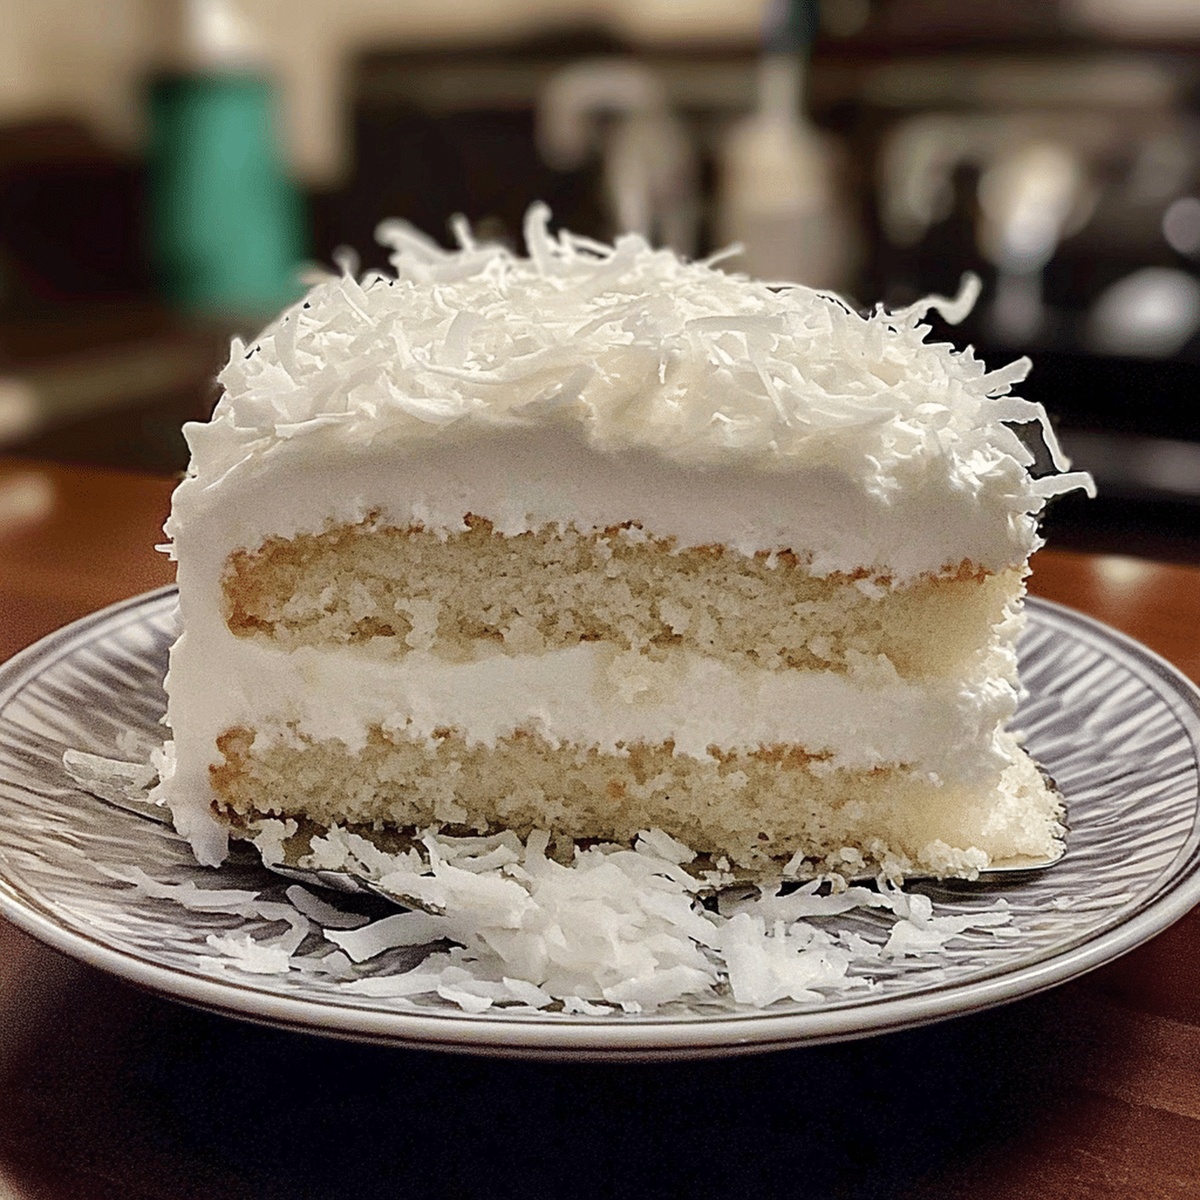
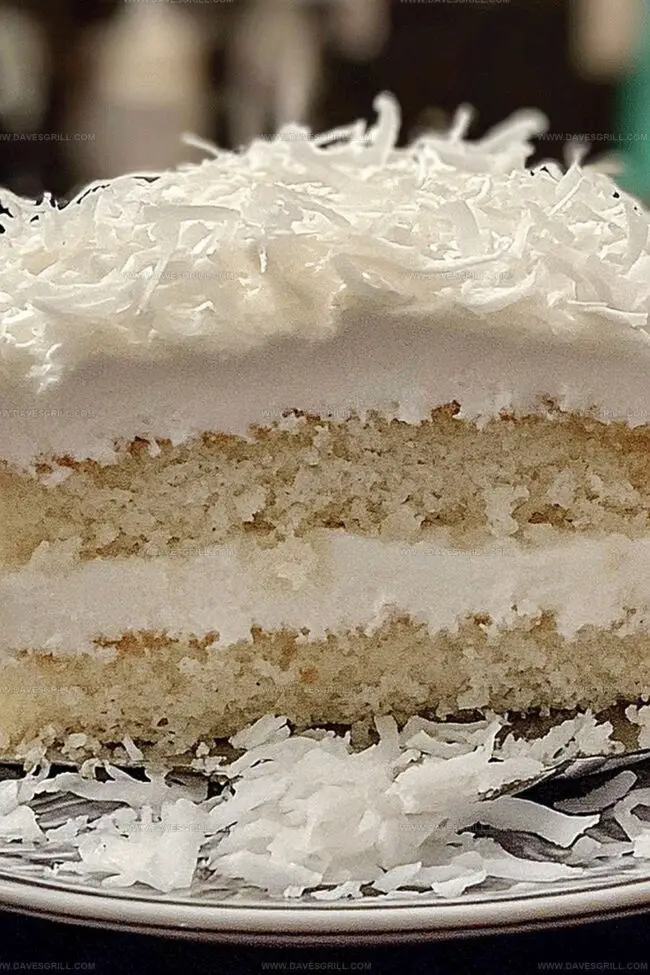
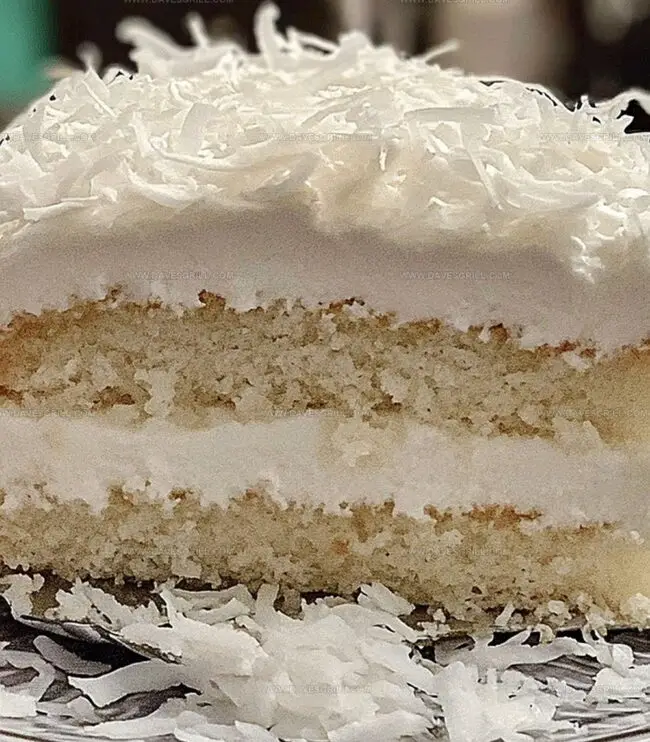
Rich layers of coconut-infused cake promise a delightful experience for anyone seeking sweet comfort.
Coconut enthusiasts will adore the delicate texture and pure flavor profile of this irresistible treat.
Each bite delivers a creamy, luxurious sensation that transports you to a sun-drenched paradise.
The carefully balanced ingredients create a harmonious blend of sweetness and subtle nuttiness.
Light, fluffy, and bursting with tropical charm, this cake transforms an ordinary afternoon into a special moment.
You’ll fall in love with every forkful of this heavenly dessert that celebrates the pure magic of coconut.
Quick Recipe Overview
Coconut Cake Ingredient Must-Haves
For Dry Ingredients:For Wet and Flavor Ingredients:For Texture and Garnish:Tools to Nail the Coconut Cake Experience
How to Make a Coconut Cake That Stands Out
Crank the oven to a toasty 350F and prep your cake pans by giving them a light butter massage and dusting of flour.
Whisk flour, baking powder, and salt together in a bowl until they’re smooth dance partners.
Beat butter and sugar in a large bowl until they transform into a fluffy, cloud-like mixture that looks light and dreamy.
Drop eggs into the butter mixture one by one, mixing thoroughly after each addition. Splash in vanilla and coconut extracts for extra flavor excitement.
Gently fold dry ingredients and coconut milk into the batter, switching between them. Mix just until everything looks harmonious – no overmixing allowed.
Fold shredded coconut into the batter, creating delightful texture and tropical vibes.
Pour batter into prepared pans and slide into the oven. Bake for 25-30 minutes until a toothpick comes out clean and golden.
Let cakes rest in pans for 10 minutes, then transfer to a cooling rack to reach room temperature before decorating or serving.
Sweet Tips to Elevate Coconut Cake Flavor
Serve Coconut Cake with a Twist
Coconut Cake Storage Tips You’ll Love
FAQs
This recipe uses both coconut milk and shredded coconut, creating a rich, intense coconut flavor throughout the entire cake, making it more authentic and deeply coconutty.
While you can use low-fat coconut milk, full-fat coconut milk provides better moisture and richer flavor, which helps create a more tender and delicious cake texture.
Insert a toothpick into the center of the cake – if it comes out clean with just a few crumbs, your cake is perfectly baked. The top should also be golden brown and slightly springy when touched.
Yes, using both extracts enhances the overall flavor profile. Vanilla provides depth, while coconut extract intensifies the tropical coconut taste, creating a more complex and delicious cake.
Print
Silky Coconut Cake Recipe
- Total Time: 50 minutes
- Yield: 13 1x
Description
Coconut cake lovers will adore this creamy recipe that blends tropical flavors with rich, silky textures. Sweet layers of coconut-infused goodness promise a delightful dessert experience you cannot resist.
Ingredients
- 4 large eggs
- 1 cup (240 ml/8 fl oz) canned coconut milk
- ¾ cup (170 g/6 oz) unsalted butter, softened
- 1 ¾ cups (350 g/12.35 oz) granulated sugar
- 2 ½ cups (315 g/11.1 oz) all-purpose flour
- 2 ½ tsps baking powder
- ½ tsp salt
- 1 cup (80 g/2.8 oz) sweetened shredded coconut
- 1 tsp vanilla extract
- 1 tsp coconut extract (optional)
- 1 ½ cups (360 ml/12 fl oz) heavy whipping cream, chilled
- 8 oz (225 g) cream cheese, softened
- 1 cup (120 g/4.2 oz) powdered sugar
- 1 cup (80 g/2.8 oz) sweetened shredded coconut (for topping)
Instructions
- Preparation: Preheat oven to 350F (175C) and prepare two 9-inch cake pans with non-stick spray or parchment paper.
- Dry Ingredient Blend: Whisk flour, baking powder, and salt in a medium bowl to ensure uniform distribution.
- Butter Mixture: Use an electric mixer to cream butter and sugar until pale and fluffy, approximately 2-3 minutes.
- Egg Integration: Add eggs one at a time, mixing thoroughly to create a smooth, uniform batter.
- Flavor Enhancement: Incorporate vanilla and coconut extracts, ensuring even flavor distribution throughout the mixture.
- Batter Development: Gradually fold dry ingredients into wet mixture, alternating with coconut milk to maintain a smooth consistency while avoiding overmixing.
- Coconut Incorporation: Gently fold shredded coconut into the batter, ensuring even distribution.
- Baking Process: Divide batter equally between prepared pans, smoothing surfaces, and bake for 25-30 minutes until a toothpick inserted in the center comes out clean.
- Cooling Stage: Rest cakes in pans for 10 minutes, then transfer to a wire rack to cool completely before proceeding with final preparation.
Notes
- Measure Ingredients Precisely: Use exact measurements for flour, sugar, and coconut milk to ensure the cake’s perfect texture and consistency.
- Avoid Overmixing Batter: Mix ingredients just until combined to prevent a tough, dense cake texture that can result from excessive stirring.
- Room Temperature Ingredients: Allow butter, eggs, and coconut milk to reach room temperature before mixing to create a smoother, more uniform batter.
- Check Oven Accuracy: Use an oven thermometer to verify the actual temperature, as some ovens may have slight variations from the set temperature.
- Prep Time: 20 minutes
- Cook Time: 30 minutes
- Category: Desserts
- Method: Baking
- Cuisine: American
Nutrition
- Serving Size: 13
- Calories: 400
- Sugar: 40 g
- Sodium: 150 mg
- Fat: 24 g
- Saturated Fat: 15 g
- Unsaturated Fat: 7 g
- Trans Fat: 0 g
- Carbohydrates: 43 g
- Fiber: 1 g
- Protein: 4 g
- Cholesterol: 100 mg
Emily Lawson
Content Creator & Culinary Specialist
Expertise
Education
Oregon Culinary Institute
Diploma in Culinary Arts
Focus: Emphasis on farm-to-table cooking, sustainable practices, and the fusion of global flavors with traditional grilling methods.
Emily Lawson is the content creator at Daves Grill, turning tasty ideas into clear, easy recipes. Based in Portland, she trained at the Oregon Culinary Institute and loves cooking with fresh, seasonal ingredients, especially grilled veggies and global flavors.
Emily mixes food writing with hands-on cooking to bring you recipes that feel fun, not stressful. Her goal is to make every dish simple, flavorful, and worth coming back to. Together, she and Dave serve up real food, one recipe at a time.