
Dreamy Silky Coconut Cream Pie Recipe for Sweet Bliss
Creamy desserts have a magical way of melting hearts, and this silky coconut cream pie recipe brings tropical dreams to your table.
The rich, velvety coconut cream pie captures the essence of sweet indulgence with every spoonful.
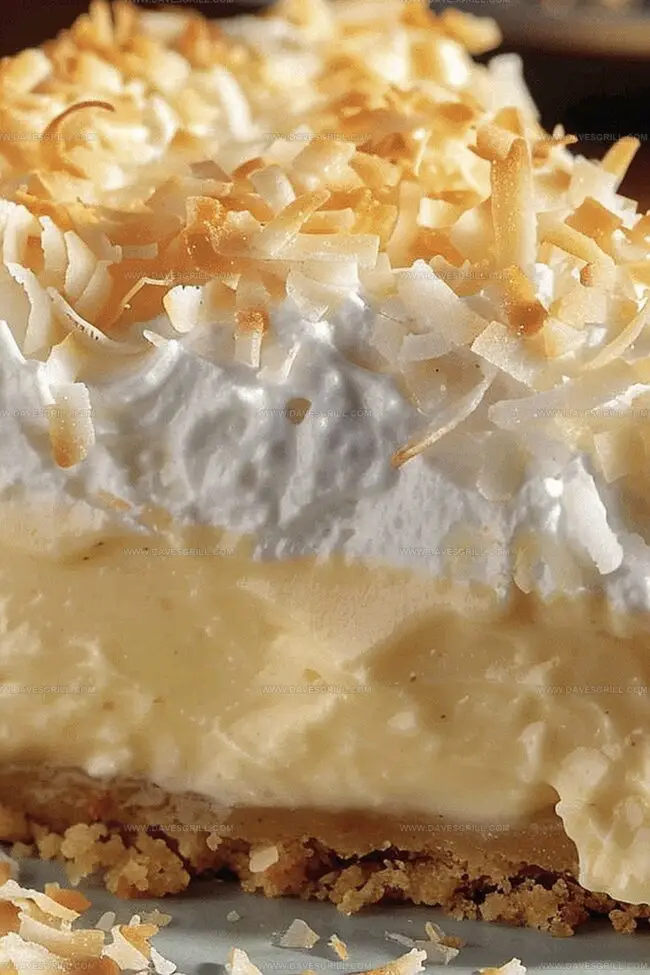
Layers of smooth custard nestle between a perfectly crisp graham cracker crust, creating a texture that dances on your palate.
Each slice promises a delightful blend of tropical coconut and luxurious cream that transports you to a sun-drenched paradise.
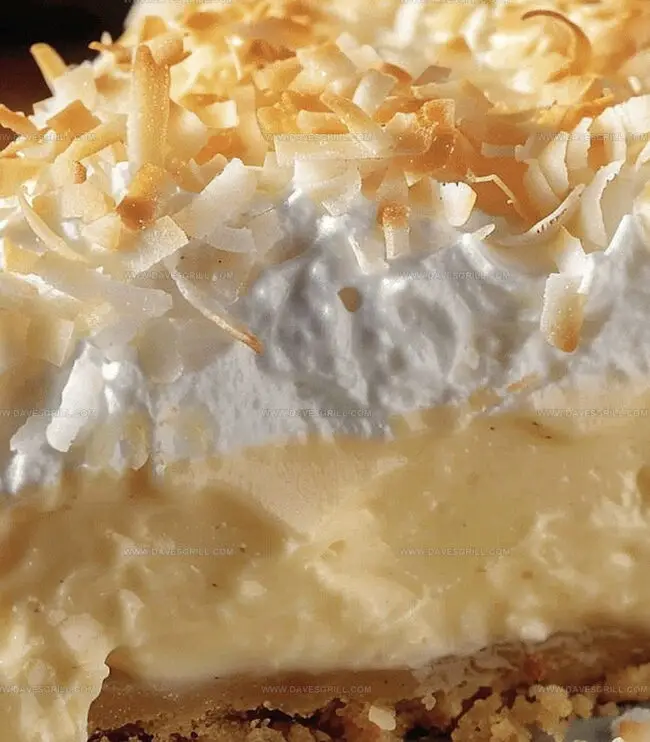
The golden-brown toasted coconut flakes sprinkled on top add a delightful crunch and visual appeal.
Whipped cream peaks crown this decadent dessert, making it a showstopper at any gathering.
Prepare to embark on a culinary journey that celebrates the irresistible charm of coconut in its most divine form.
Quick Recipe Overview
Coconut Cream Pie Ingredient List
For Custard Base:For Flavoring:For Pie Crust:What You’ll Need to Make Coconut Pie
Steps to Get a Smooth Coconut Filling
Blend tropical coconut milk with rich whole milk, sugar, golden egg yolks, and a pinch of salt in a cozy saucepan. Whisk everything together until smooth and dreamy.
Simmer the mixture over medium heat, stirring constantly. Watch as itally thickens and starts to bubble, creating a luscious custard that’ll make your taste buds dance.
Pull the pan off the heat and stir in pure vanilla extract and delicate shredded coconut. The aroma will transport you to a sunny beach paradise.
Gently pour the velvety custard into a pre-baked pie shell. Smooth the top with a spatula, making sure every inch looks invitingly perfect.
Refrigerate the pie until it’s completely cool and set. This allows the flavors to mingle and the texture to become wonderfully creamy and firm.
Ideas That Elevate the Coconut Flavor
Serve Pie That Looks Bakery-Ready
How to Store Coconut Cream Pie Properly
FAQs
While you can substitute low-fat milk, the pie will have a less rich and creamy texture. Whole milk provides better thickness and a more luxurious mouthfeel for the custard.
The custard is ready when it thickens and starts to bubble, and when it coats the back of a spoon. When you run your finger through the custard on the spoon, it should leave a clear line that doesn’t immediately fill back in.
Yes, cornstarch is crucial as it helps thicken the custard and gives the pie its smooth, creamy consistency. Without cornstarch, the filling would be runny and not set properly.
Absolutely! You can prepare the pie a day in advance and store it in the refrigerator. Just wait to add any whipped cream topping until just before serving to keep it looking fresh.
Print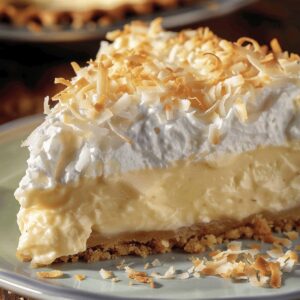
Silky Coconut Cream Pie Recipe
- Total Time: 4 hours 20 minutes
- Yield: 9 1x
Description
Creamy coconut cream pie celebrates tropical flavors with luscious, silky filling nestled in a buttery crust. Delectable coconut shavings and whipped cream crown this classic dessert that promises pure indulgence.
Ingredients
- 4 large egg yolks
- 400 ml (13.5 oz) coconut milk
- 300 ml whole milk
- 1 pre-baked 9-inch pie crust
- 150 g (¾ cup) granulated sugar
- 60 g (¼ cup) cornstarch
- 2 tbsps powdered sugar
- 50 g (½ cup) sweetened shredded coconut
- ¼ tsp salt
- 1 tsp vanilla extract
- ½ tsp vanilla extract
- 240 ml (1 cup) heavy whipping cream
- 30 g (¼ cup) toasted coconut flakes
Instructions
- Custard Preparation: Whisk coconut milk, whole milk, sugar, egg yolks, cornstarch, and salt in a saucepan until the mixture transforms into a velvety, uniform base.
- Heat Management: Simmer the mixture over medium heat, constantly stirring to prevent scorching and maintain a luxurious, silken consistency, watching for gradual thickening and gentle bubbling.
- Custard Development: Continue cooking until the mixture achieves a dense, pudding-like texture that elegantly coats the back of a spoon, signaling the perfect custard moment.
- Flavor Enhancement: Remove from heat and incorporate vanilla extract and shredded coconut, gently folding to distribute flavors evenly and create a rich, aromatic filling.
- Pie Assembly: Carefully transfer the luscious custard into the pre-baked pie crust, smoothing the surface with a spatula to create an inviting, even layer.
- Chilling Process: Allow the pie to cool completely at room temperature, then refrigerate for 2-3 hours to solidify the custard and intensify the coconut’s delicate flavor profile.
Notes
- Prevent Curdling: Whisk constantly and maintain medium heat to avoid egg yolks scrambling, ensuring a smooth, silky custard texture.
- Achieve Perfect Thickness: Watch for pudding-like consistency when the mixture coats the back of a spoon, signaling the ideal custard setting point.
- Enhance Coconut Flavor: Toast shredded coconut before adding to the filling for a deeper, nuttier flavor that elevates the overall taste experience.
- Dairy-Free Adaptation: Substitute whole milk with almond or oat milk, and use coconut cream instead of regular dairy for a vegan-friendly version of the pie.
- Prep Time: 20 minutes
- Cook Time: 4 hours
- Category: Desserts
- Method: Simmering
- Cuisine: American
Nutrition
- Serving Size: 9
- Calories: 380
- Sugar: 22 g
- Sodium: 150 mg
- Fat: 24 g
- Saturated Fat: 15 g
- Unsaturated Fat: 7 g
- Trans Fat: 0 g
- Carbohydrates: 38 g
- Fiber: 1 g
- Protein: 4 g
- Cholesterol: 130 mg
Emily Lawson
Content Creator & Culinary Specialist
Expertise
Education
Oregon Culinary Institute
Diploma in Culinary Arts
Focus: Emphasis on farm-to-table cooking, sustainable practices, and the fusion of global flavors with traditional grilling methods.
Emily Lawson is the content creator at Daves Grill, turning tasty ideas into clear, easy recipes. Based in Portland, she trained at the Oregon Culinary Institute and loves cooking with fresh, seasonal ingredients, especially grilled veggies and global flavors.
Emily mixes food writing with hands-on cooking to bring you recipes that feel fun, not stressful. Her goal is to make every dish simple, flavorful, and worth coming back to. Together, she and Dave serve up real food, one recipe at a time.