
Sparkling Sweet Cinnamon Rock Candy Recipe for Sugar Magic
Crafting homemade sweet cinnamon rock candy brings pure culinary magic to your kitchen.
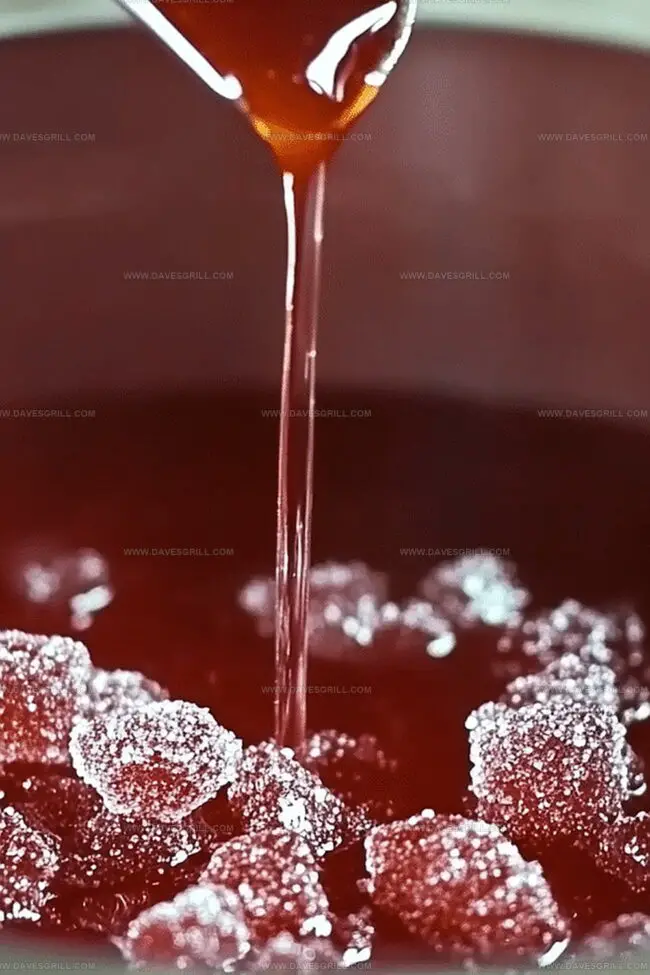
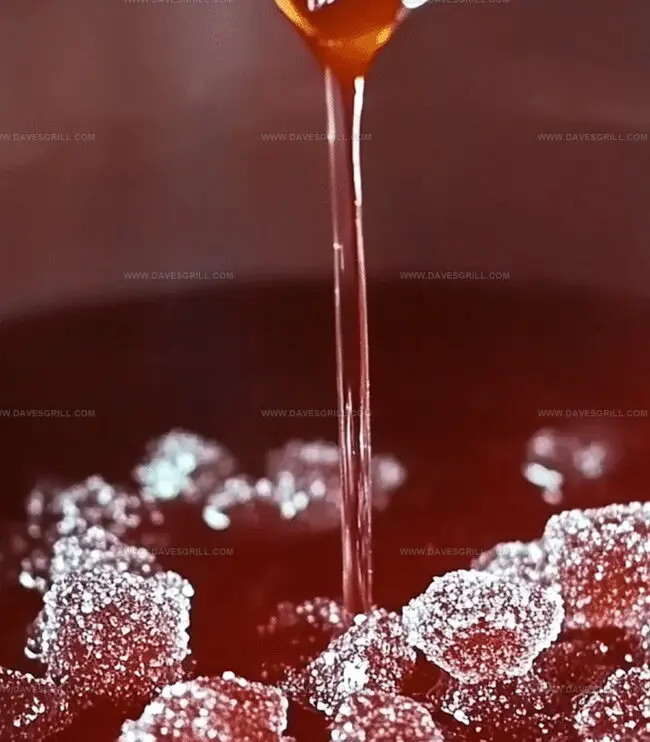
Sugar crystallization creates a delightful spicy-sweet treat that sparkles with festive charm.
Cinnamon lovers will adore this simple yet impressive confection that requires minimal ingredients and patience.
Watching sugar slowly transform into delicate, glistening crystals feels like a delicious science experiment.
Each shard of this rock candy delivers a warming, intense cinnamon kick that dances on your palate.
The process might seem intricate, but anyone can master this sugary art with a few basic techniques.
Prepare to delight your taste buds with this enchanting homemade candy that promises to become a cherished treat.
Quick Recipe Overview
Cinnamon Rock Candy Ingredients You’ll Need
For Base Ingredients:For Flavoring Ingredients:For Finishing Ingredients:Tools for Making Homemade Rock Candy
Candy Making: How to Cook Cinnamon Rock Bites
Clear a clean, flat surface and grab a baking sheet lined with parchment paper. Lightly dust with powdered sugar for easy candy removal.
Toss granulated sugar, corn syrup, and water into a hefty saucepan. Warm over medium heat, stirring until sugar vanishes completely.
Clip on a candy thermometer without touching the pan’s bottom. Let the mixture bubble and boil without stirring, tracking temperatures carefully.
Keep heating until the mixture hits exactly 300F. This sweet spot takes about 20-25 minutes – patience is key! Watch like a hawk to avoid burning.
Pull the pan off heat and quickly stir in cinnamon oil. Add a splash of red food coloring if you want some visual pop. Be careful – it might steam!
Pour the molten candy onto your prepared sheet. Tilt gently to create an even layer. Let it chill and harden at room temperature for about an hour.
Once totally solid, break the candy into delightful bite-sized pieces using a mallet or spoon’s back. Dust with powdered sugar and store in an airtight container for up to two weeks.
Flavor Switch-Ups for Rock Candy Fans
How to Display Cinnamon Rock Candy Gifts
Storage Tips for Crisp Cinnamon Rock Candy
Print
Sweet Cinnamon Rock Candy Recipe
- Total Time: 35 minutes
- Yield: 13 1x
Description
Sweet cinnamon rock candy delivers a spicy-sweet crunch that delights taste buds with its nostalgic charm. Homemade confections like this classic treat connect generations through simple sugary pleasures you’ll savor with pure delight.
Ingredients
- 3.75 cups (887.5 ml) granulated sugar
- 1.5 cups (355 ml) light corn syrup
- 1 cup (237 ml) water
- 1 tsp (5 ml) cinnamon oil
- Red food coloring (optional)
- Powdered sugar (for dusting)
- Candy thermometer
- Large saucepan
- Heat-resistant spoon
- Baking sheet or large heatproof surface
- Parchment paper or silicone mat
Instructions
- Preparation: Layer a parchment-lined baking sheet with a light powdered sugar coating to create a non-stick surface for candy creation.
- Sugar Syrup Creation: Merge granulated sugar, corn syrup, and water in a heavy saucepan, gently heating until the mixture transforms into a translucent liquid with completely dissolved sugar crystals.
- Temperature Monitoring: Secure a candy thermometer to the pan’s side, allowing the liquid to reach a vigorous boil without additional stirring, maintaining a consistent heat until the syrup precisely reaches 300F (typically 20-25 minutes).
- Flavor Infusion: Remove the saucepan from heat and rapidly integrate cinnamon oil and red food coloring, exercising caution with potential steam and rapid bubbling.
- Candy Forming: Execute a controlled pour of the molten mixture onto the prepared sheet, tilting to distribute an even, thin layer across the surface.
- Cooling and Crystallization: Allow the candy to rest undisturbed at room temperature for approximately one hour, enabling complete solidification and developing its characteristic brittle consistency.
- Fragmentation and Finishing: Fracture the hardened candy into irregular, bite-sized pieces using a mallet or rolling pin, then delicately dust with powdered sugar to prevent adhesion and enhance visual presentation.
- Storage: Transfer the finished cinnamon rock candy to an airtight container, preserving its crisp texture and intense flavor for up to two weeks at ambient temperature.
Notes
- Prevent Sugar Crystallization: Stir gently when dissolving sugar to avoid creating sugar crystals that can ruin the candy’s smooth texture.
- Temperature Precision: Use a reliable candy thermometer and watch carefully, as even a few degrees can dramatically change the candy’s final consistency.
- Handle Hot Syrup Safely: Wear long sleeves and use protective gloves when working with molten sugar to prevent painful burns from potential splatters.
- Manage Flavor Intensity: Adjust cinnamon oil quantity to personal taste, starting with less and adding incrementally to control the spice level without overwhelming the sweetness.
- Prep Time: 10 minutes
- Cook Time: 25 minutes
- Category: Desserts, Snacks
- Method: Boiling
- Cuisine: American
Nutrition
- Serving Size: 13
- Calories: 88
- Sugar: 18 g
- Sodium: 0 mg
- Fat: 0 g
- Saturated Fat: 0 g
- Unsaturated Fat: 0 g
- Trans Fat: 0 g
- Carbohydrates: 22 g
- Fiber: 0 g
- Protein: 0 g
- Cholesterol: 0 mg
Emily Lawson
Content Creator & Culinary Specialist
Expertise
Education
Oregon Culinary Institute
Diploma in Culinary Arts
Focus: Emphasis on farm-to-table cooking, sustainable practices, and the fusion of global flavors with traditional grilling methods.
Emily Lawson is the content creator at Daves Grill, turning tasty ideas into clear, easy recipes. Based in Portland, she trained at the Oregon Culinary Institute and loves cooking with fresh, seasonal ingredients, especially grilled veggies and global flavors.
Emily mixes food writing with hands-on cooking to bring you recipes that feel fun, not stressful. Her goal is to make every dish simple, flavorful, and worth coming back to. Together, she and Dave serve up real food, one recipe at a time.