Zesty Orange Creamsicle Truffles Recipe: Sweet Citrus Magic
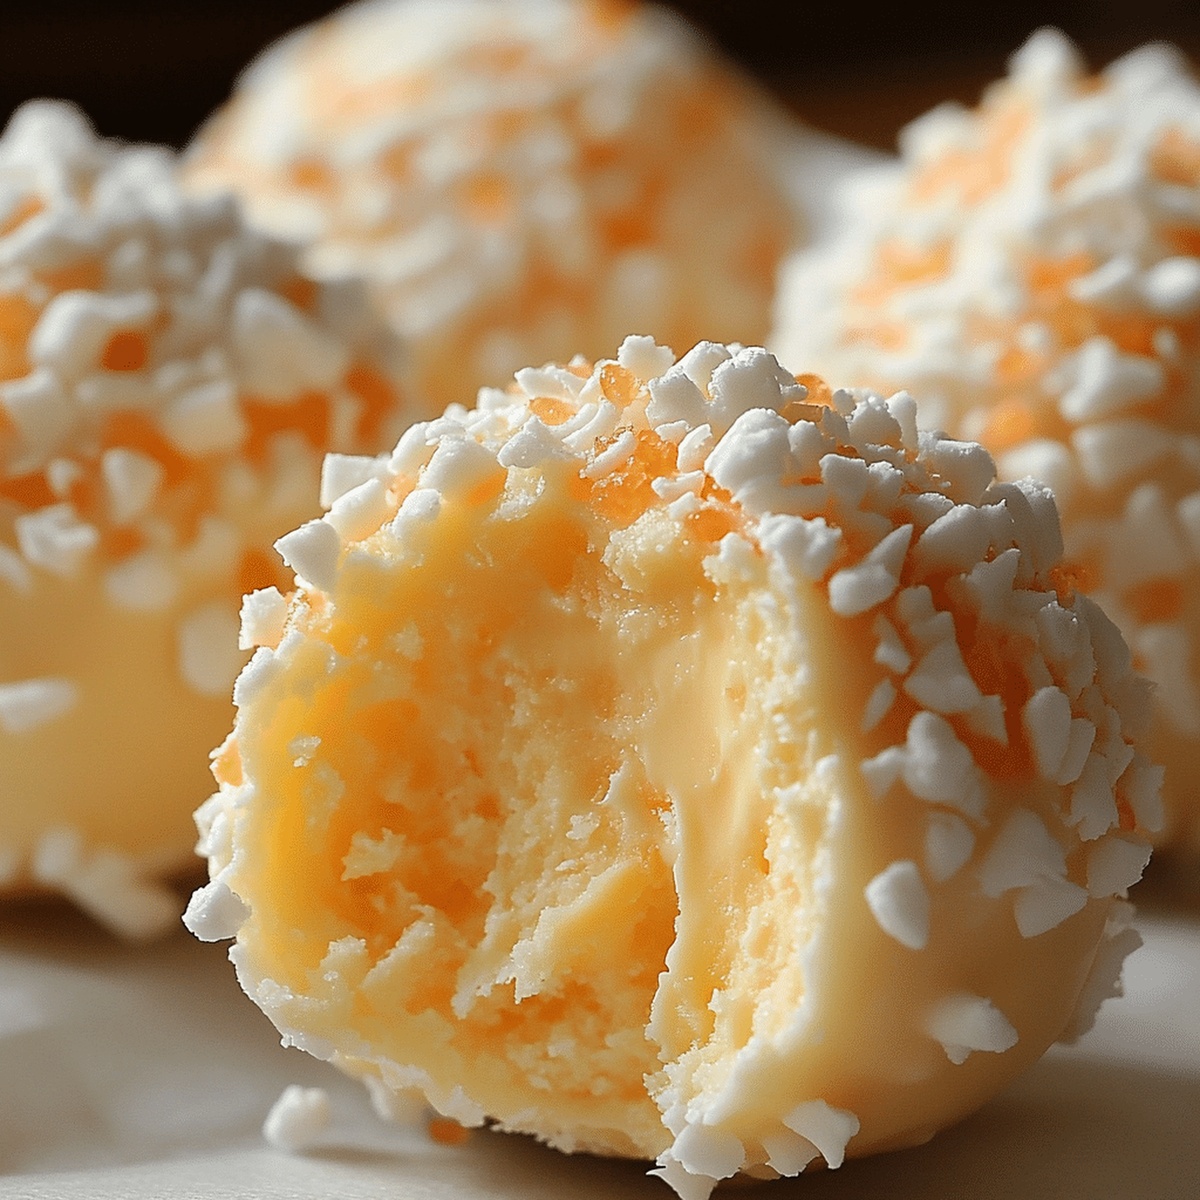
Creamy chocolate meets zesty citrus in these mouthwatering tangy orange creamsicle truffles that promise a burst of nostalgic flavor.
Sweet memories of summer afternoons come flooding back with each delectable bite.
The delightful blend of orange and white chocolate creates a perfect harmony of tastes.
Smooth, velvety, and packed with vibrant orange essence, these truffles are a true treat for dessert lovers.
Each truffle offers a delicate balance of rich creaminess and bright citrus notes.
Simple ingredients transform into an extraordinary confection that will impress even the most discerning palate.
You’ll want to savor every single heavenly morsel of this irresistible dessert.
Quick Recipe Overview
Gather Your Goods for No Bake Orange Creamsicle Truffles
For Truffle Base:For Coating:For Optional Decoration:Tools You’ll Use for No Bake Orange Creamsicle Truffles
Let’s Cook for No Bake Orange Creamsicle Truffles
Whip butter and powdered sugar into a silky smooth mixture, blending until velvety and light.
Incorporate vibrant orange juice concentrate, zesty orange rind, and rich vanilla extract, mixing thoroughly until ingredients dance together.
Crush vanilla wafers and fold into the mixture, kneading until a cohesive dough emerges that holds its shape perfectly.
Roll small portions of dough into delicate round spheres, placing them on a chilled parchment-lined surface to rest and firm up.
Gently melt white chocolate using careful microwave technique, stirring between short intervals to ensure silky smooth consistency.
Delicately dip each chilled truffle into molten white chocolate, allowing excess to cascade off for a elegant, thin layer.
Sprinkle with decorative elements like playful sprinkles or additional orange zest while chocolate coating remains soft and receptive.
Refrigerate truffles briefly to set their glossy exterior, then serve at preferred temperature for a refreshing, sweet indulgence.
Smart Tips + Tweaks for No Bake Orange Creamsicle Truffles
Plate It Right for No Bake Orange Creamsicle Truffles
Fridge Tips for No Bake Orange Creamsicle Truffles
Print
Tangy Orange Creamsicle Truffles Recipe
- Total Time: 50 minutes
- Yield: 25 1x
Description
Homemade no bake orange creamsicle truffles deliver a nostalgic summer dessert that blends tangy citrus with creamy sweetness. Cool confections blend white chocolate, cream cheese, and orange zest into delightful bite-sized treats you’ll savor.
Ingredients
- 2 cups (120 g) vanilla wafers, finely crushed
- 1 ½ cups (180 g) powdered sugar
- ½ cup (115 g) unsalted butter, softened
- ¼ cup (60 ml / 2 fl oz) orange juice concentrate, thawed
- ½ tsp vanilla extract
- 1 tsp orange zest (optional)
- 1 cup (200 g) white chocolate chips or candy melts
- Sprinkles
- Extra orange zest
Instructions
- Creaming: Whip butter and powdered sugar in a mixing bowl until achieving a smooth, fluffy consistency that’s light and airy.
- Flavor Infusion: Blend orange juice concentrate, orange zest, and vanilla extract into the butter mixture, ensuring a vibrant and harmonious flavor profile.
- Dough Formation: Fold crushed vanilla wafers into the mixture, kneading until a cohesive dough forms with a pronounced citrusy essence.
- Shaping: Craft uniform truffle spheres by portioning the dough and rolling between palms to create perfectly rounded treats.
- Chilling Preparation: Refrigerate the truffles for 30 minutes to stabilize their structure and enhance flavor melding.
- Chocolate Coating: Melt white chocolate chips in a microwave-safe bowl, stirring periodically to achieve a smooth, glossy coating.
- Dipping and Decorating: Submerge each chilled truffle in melted white chocolate, allowing excess to drip off, then garnish with sprinkles or additional orange zest while the coating remains wet.
- Final Setting: Return truffles to the refrigerator for 15-20 minutes, allowing the chocolate coating to completely solidify and develop a pristine finish.
- Serving: Enjoy the truffles chilled or allow them to softly warm to room temperature for a creamy, melt-in-your-mouth experience.
Notes
- Chill Dough Thoroughly: Refrigerate the mixture for at least 30 minutes to enhance texture and make rolling easier, preventing sticky hands and uneven truffles.
- Melt Chocolate Carefully: Use low microwave power and stir frequently to avoid burning white chocolate, ensuring a smooth, glossy coating for perfect truffle finish.
- Control Moisture Levels: Pat orange zest dry before adding to prevent excess liquid from compromising dough consistency and texture.
- Customize Coating Options: Experiment with different coatings like crushed graham crackers or colored sugar for varied flavor profiles and visual appeal.
- Prep Time: 20 minutes
- Cook Time: 30 minutes
- Category: Desserts, Snacks
- Method: Blending
- Cuisine: American
Nutrition
- Serving Size: 25
- Calories: 109
- Sugar: 10 g
- Sodium: 43 mg
- Fat: 6 g
- Saturated Fat: 4 g
- Unsaturated Fat: 2 g
- Trans Fat: 0 g
- Carbohydrates: 13 g
- Fiber: 0 g
- Protein: 1 g
- Cholesterol: 15 mg
Emily Lawson
Content Creator & Culinary Specialist
Expertise
Education
Oregon Culinary Institute
Diploma in Culinary Arts
Focus: Emphasis on farm-to-table cooking, sustainable practices, and the fusion of global flavors with traditional grilling methods.
Emily Lawson is the content creator at Daves Grill, turning tasty ideas into clear, easy recipes. Based in Portland, she trained at the Oregon Culinary Institute and loves cooking with fresh, seasonal ingredients, especially grilled veggies and global flavors.
Emily mixes food writing with hands-on cooking to bring you recipes that feel fun, not stressful. Her goal is to make every dish simple, flavorful, and worth coming back to. Together, she and Dave serve up real food, one recipe at a time.