Seven-Layer Magic Bars Recipe Heavenly Sweet Treat
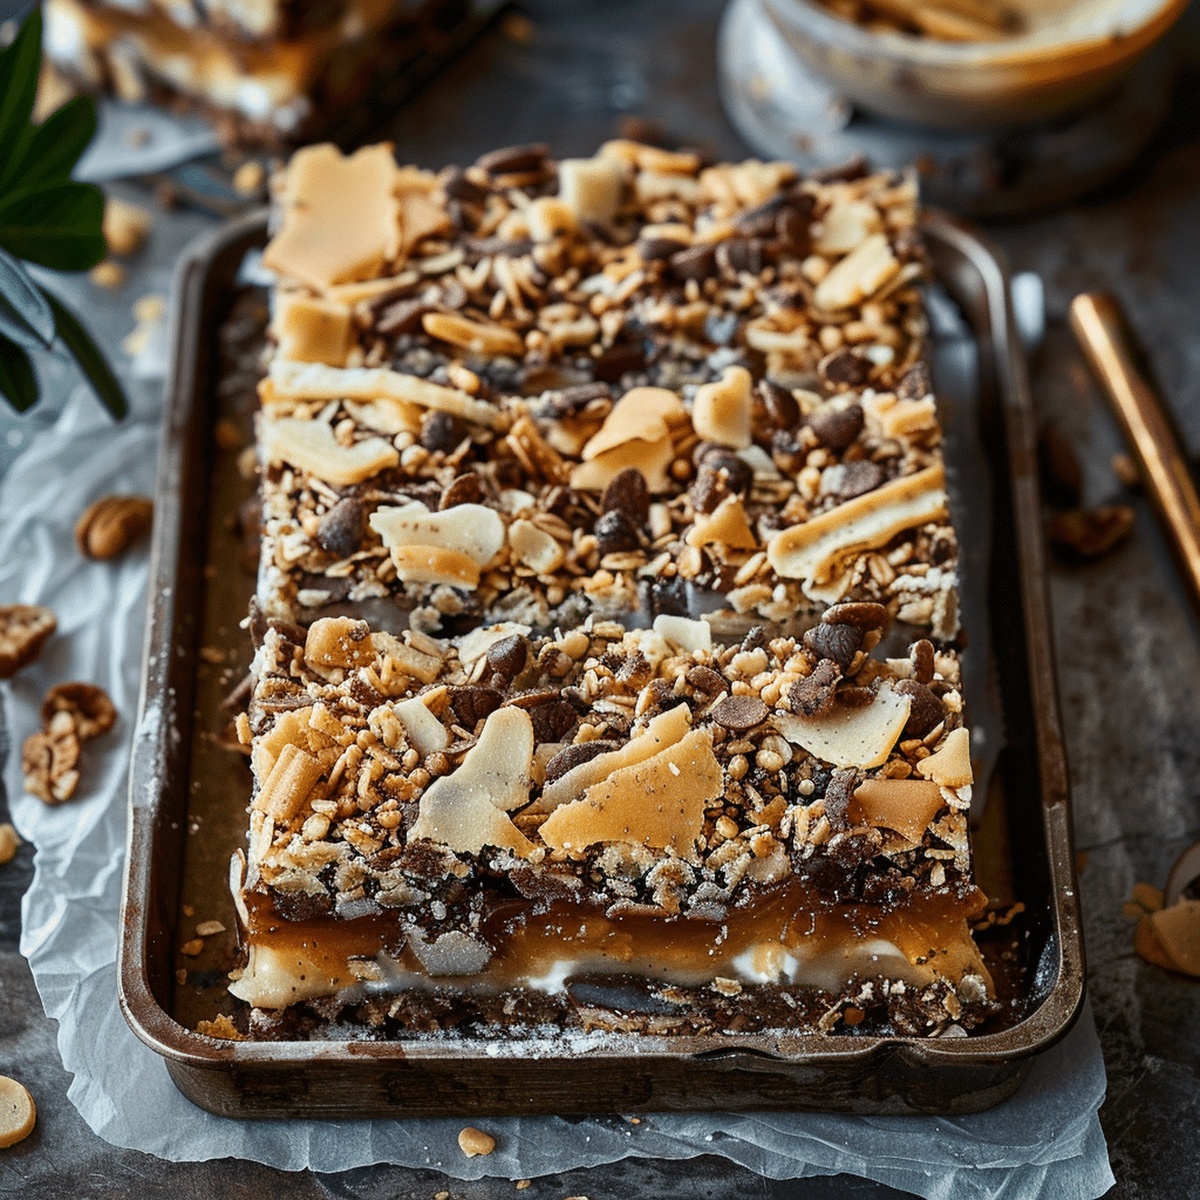
Sweet chocolate dreams collide with ultimate 7-layer magic bars that promise a symphony of flavor in every decadent bite.
Layers of graham cracker crust create a sturdy foundation for this nostalgic dessert.
Condensed milk drizzles between crisp nuts and smooth chocolate chips, weaving rich textures into each incredible square.
Coconut flakes add delightful crunch and tropical whispers to the mix.
Butterscotch morsels bring unexpected depth that surprises and delights unexpected palates.
Simple ingredients transform into a sensational treat that feels like pure indulgence.
Bake these bars and watch magic unfold right before your eyes.
Why Ultimate 7-Layer Bars Are a Sweet Tooth’s Dream
Ingredients for Layered Magic Bar Goodness
Base Layer:Chocolate and Sweet Layers:Texture and Crunch Layers:How to Build Your Ultimate 7-Layer Bars
Step 1: Set Up Baking Station
Preheat oven to 350F (175C). Line a 9×13-inch baking pan with parchment paper, creating slight overhangs on sides for easy lifting later.
Step 2: Create Crispy Graham Base
Mix graham cracker crumbs with melted butter in a bowl. Press mixture firmly and evenly across bottom of prepared pan, creating a solid foundation for delicious layers.
Step 3: Build Delectable Layers
Arrange layers in this sequence:Carefully distribute each ingredient across entire surface, ensuring complete coverage.
Step 4: Bake Until Golden
Slide pan into preheated oven. Bake for 25-30 minutes until edges turn golden brown and center looks set but slightly jiggly.
Step 5: Cool and Slice
Remove from oven and let bars cool completely inside pan. Once cooled, use parchment paper handles to lift entire dessert onto cutting board. Slice into square pieces using sharp knife. Serve and watch everyone smile!
Tips to Keep Layers Perfectly Balanced
Storing and Serving 7-Layer Bars
Sweet Pairings for These Ultimate Bars
Fun Layer Swaps for 7-Layer Bars
Print
Ultimate 7-Layer Magic Bars Recipe
- Total Time: 40 minutes
- Yield: 12 1x
Description
Layers of pure bliss define these 7-layer magic bars, where chocolate, coconut, and condensed milk create a symphony of sweet indulgence. Sweet memories and comfort converge in each irresistible bite you’ll savor.
Ingredients
Main Base Ingredients:
- 1 ½ cups (360 ml) graham cracker crumbs
- ½ cup (113 grams) unsalted butter, melted
Chips and Nuts:
- 1 cup (170 grams) semi-sweet chocolate chips
- 1 cup (170 grams) butterscotch chips
- 1 cup (100 grams) chopped pecans or walnuts
Binding and Topping Ingredients:
- 1 (14 ounces / 397 grams) can sweetened condensed milk
- 1 ⅓ cups (110 grams) shredded sweetened coconut
Instructions
- Craft a solid foundation by transforming graham cracker crumbs and melted butter into a compact, uniform base within a parchment-lined 9×13-inch baking vessel.
- Construct a delectable landscape by meticulously scattering chocolate chips across the graham cracker terrain.
- Enhance the chocolatey realm by dispersing butterscotch chips, creating a complementary flavor mosaic.
- Blanket the chip-laden surface with a delicate snowfall of shredded coconut, introducing textural intrigue.
- Introduce chopped nuts to generate an additional layer of crunch and nutty complexity.
- Cascade sweetened condensed milk across the entire landscape, ensuring complete coverage and binding all elements together.
- Transfer the assembled masterpiece into a preheated 350F (175C) oven, allowing the ingredients to meld and transform for 25-30 minutes.
- Monitor the edges, seeking a golden-brown hue and a set consistency as indicators of perfect completion.
- Extract from the oven and permit a complete cooling period within the pan, enabling structural integrity.
- Leverage the parchment paper overhang to gracefully elevate the entire creation from its baking home.
- Slice into precise squares, revealing the intricate layers of flavor and texture, ready to be savored.
Notes
- Ensure graham cracker crust is tightly packed to create a solid, crisp base that holds the layers together without crumbling.
- Use room temperature sweetened condensed milk for even distribution and better absorption across all layers.
- Choose high-quality chocolate and butterscotch chips for enhanced flavor complexity and rich, indulgent taste.
- Experiment with nut variations like pecans or almonds to customize texture and introduce different nutty undertones to the classic recipe.
- Prep Time: 10 minutes
- Cook Time: 30 minutes
- Category: Desserts, Snacks
- Method: Baking
- Cuisine: American
Nutrition
- Serving Size: 12
- Calories: 280
- Sugar: 22 g
- Sodium: 100 mg
- Fat: 16 g
- Saturated Fat: 10 g
- Unsaturated Fat: 6 g
- Trans Fat: 0 g
- Carbohydrates: 34 g
- Fiber: 2 g
- Protein: 3 g
- Cholesterol: 30 mg
Dave Mitchell
Founder & Chief Recipe Developer
Expertise
Education
Asheville-Buncombe Technical Community College
Associate of Applied Science in Culinary Arts
Focus: Comprehensive training in culinary techniques, kitchen management, and menu planning, with a special emphasis on grilling and outdoor cooking.
Dave Mitchell is the heart behind Daves Grill, a cook, writer, and lover of all things grilled. He studied Culinary Arts at Asheville-Buncombe Technical Community College and spent years cooking, testing, and sharing recipes that actually work.
Dave started Daves Grill to keep things simple: one great recipe at a time. His food is bold, easy to follow, and made for real people with regular kitchens. From juicy steaks to quick sides, Dave’s recipes bring the heat without the hassle.