
Dreamy Silky Butterscotch Pie Recipe: Golden Sweetness in Every Bite
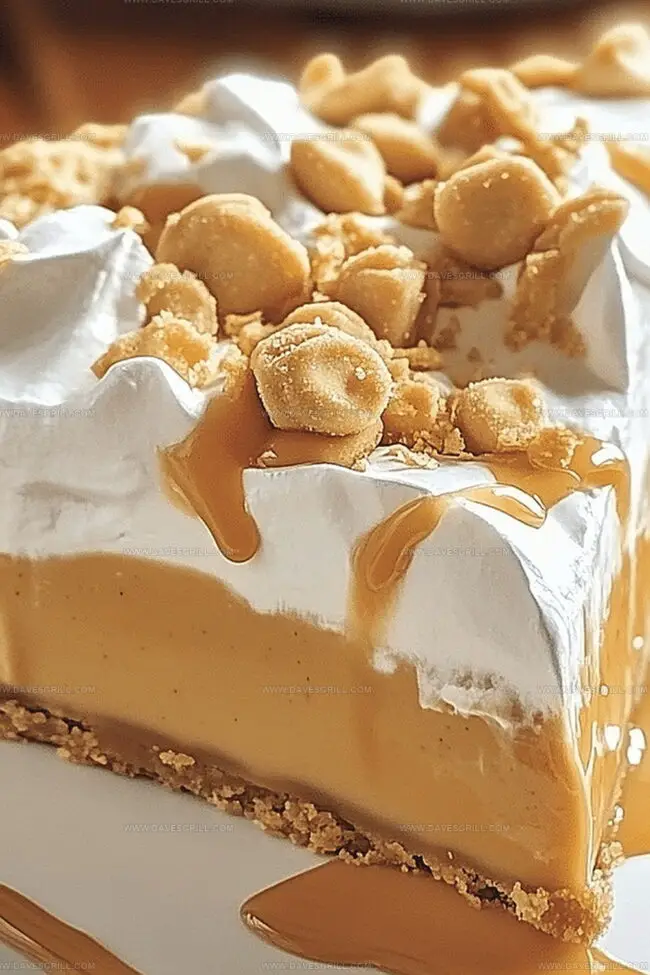
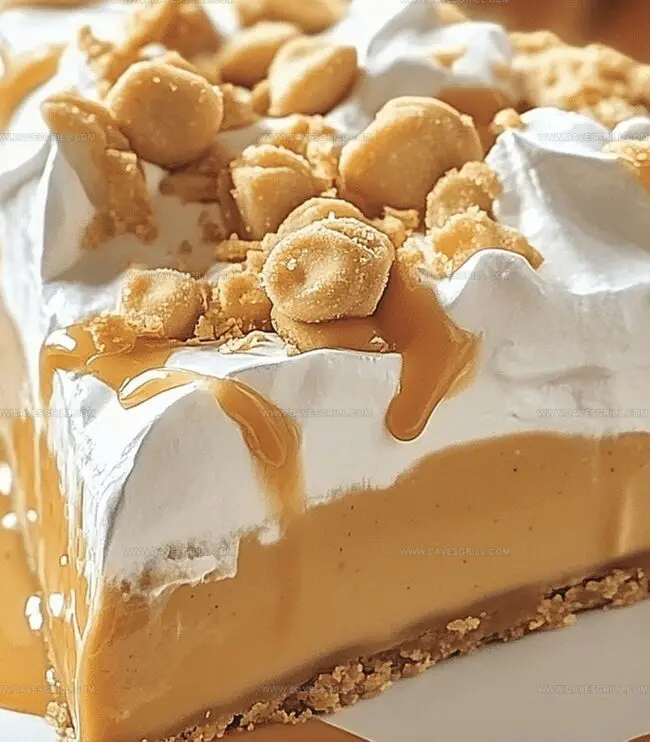
Sweet and decadent, this butterscotch pie captures the essence of comfort baking with its rich, golden butterscotch filling nestled in a flaky crust.
The magic of butterscotch pie emerges from layers of deep caramel notes and creamy texture that dance across your palate.
Brown sugar and butter create a symphony of flavor that transforms a simple dessert into a memorable experience.
Each slice promises a smooth, indulgent journey through classic American comfort food.
Warm spices and a velvety filling make this pie a standout at any gathering.
The recipe balances sweetness with subtle complexity, ensuring every bite feels like a warm culinary embrace.
Prepare to fall in love with this irresistible dessert that will have everyone asking for seconds.
Quick Recipe Overview
What You’ll Need for No-Bake Butterscotch Pie
For Crust:For Filling:For Topping:Tools That Make No-Bake Butterscotch Pie Simple
Assemble No-Bake Butterscotch Pie in Just Minutes
Crush graham crackers into fine crumbs and mix with sugar and melted butter. Press the mixture firmly into a pie pan, ensuring an even layer. Pack the crumbs tightly using your fingers or a spoon. Refrigerate the crust for half an hour to solidify.
Whisk brown sugar, cornstarch, and salt in a saucepan. Slowly add milk, stirring until smooth. Heat the mixture, constantly stirring, until it thickens and bubbles gently.
Whisk egg yolks in a separate bowl. Carefully pour some hot butterscotch into the eggs, mixing continuously. Return the egg mixture to the saucepan, stirring constantly. Boil briefly and cook for two more minutes.
Remove from heat and blend in butter and vanilla until silky. Allow filling to cool for 15 minutes.
Pour cooled filling into the prepared crust. Smooth the surface with a spatula. Let the pie rest at room temperature briefly, then refrigerate for at least four hours to set completely.
Just before serving, crown the pie with a luscious layer of whipped cream. Sprinkle butterscotch chips on top for extra crunch and sweetness.
Flavor Tips for Silky No-Bake Butterscotch Pie
Serve This Pie Chilled for a Creamy Finish
Store Butterscotch Pie in the Fridge Until Ready
FAQs
The key ingredients are brown sugar, cornstarch, milk, egg yolks, butter, and vanilla extract. These ingredients create the rich, creamy butterscotch flavor that makes the pie delicious.
Tempering prevents the egg yolks from scrambling when added to the hot butterscotch mixture. By slowly adding hot liquid to the eggs while whisking, you gradually raise their temperature and create a smooth, silky filling.
Yes, this pie is perfect for making ahead. You can prepare it a day before serving and let it chill overnight in the refrigerator. This actually helps the filling set perfectly and allows the flavors to develop.
No special equipment is needed. You’ll just require basic kitchen tools like a saucepan, whisk, pie pan, and mixing bowls. A spatula helps smooth the filling, but it’s not absolutely essential.
Print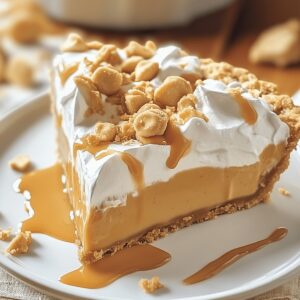
Silky Butterscotch Pie Recipe
- Total Time: 2 hours 50 minutes
- Yield: 9 1x
Description
Luscious No-Bake Butterscotch Pie brings creamy caramel notes from classic Southern dessert traditions. Smooth graham cracker crust and rich butterscotch pudding create an irresistible dessert you can savor in minutes without heating the oven.
Ingredients
- 1 package (3.4 oz / 96 g) butterscotch instant pudding mix
- 2 cups (480 ml) cold whole milk
- 1 cup (240 ml) heavy cream
- ½ cup (120 ml) heavy cream, whipped to soft peaks
- 2 tbsps powdered sugar
- ½ tsp vanilla extract
- Butterscotch chips
- Shaved chocolate
Instructions
- Crust Preparation: Combine graham cracker crumbs, sugar, and melted butter into a uniform mixture, then firmly press into a 9-inch pie pan, ensuring complete bottom and side coverage. Refrigerate for 30 minutes to solidify.
- Butterscotch Base: In a saucepan, blend brown sugar, cornstarch, and salt. Gradually introduce milk while stirring, creating a smooth liquid. Heat over medium temperature, stirring constantly until the mixture thickens and bubbles gently.
- Egg Integration: Whisk egg yolks separately, then carefully temper by streaming hot butterscotch mixture into them while whisking vigorously. Return the tempered egg mixture to the saucepan, stirring consistently and cooking until it reaches a gentle boil.
- Flavor Enhancement: Remove from heat and incorporate butter and vanilla extract, stirring until achieving a silky, uniform consistency. Allow filling to cool for 10-15 minutes.
- Pie Assembly: Pour the lukewarm filling into the prepared graham cracker crust, smoothing the surface with a spatula. Let rest briefly at room temperature before transferring to the refrigerator.
- Chilling and Garnishing: Refrigerate for a minimum of 4 hours or overnight until fully set. Before serving, adorn with a generous layer of whipped cream and optional butterscotch chips for added visual and flavor complexity.
Notes
- Crust Compression Technique: Press graham cracker mixture firmly and evenly to prevent crumbling and ensure a solid, compact base that holds together when sliced.
- Temperature Control for Filling: Maintain medium heat while stirring continuously to prevent scorching and achieve a smooth, thick butterscotch consistency without burning.
- Egg Tempering Precision: Slowly stream hot mixture into egg yolks while whisking rapidly to prevent scrambling and create a silky, uniform filling texture.
- Chilling Strategy: Allow minimum 4-hour refrigeration to set filling completely, with overnight chilling recommended for optimal flavor development and perfect slice presentation.
- Prep Time: 20 minutes
- Cook Time: 2 hours 30 minutes
- Category: Desserts
- Method: Boiling
- Cuisine: American
Nutrition
- Serving Size: 9
- Calories: 340
- Sugar: 20 g
- Sodium: 160 mg
- Fat: 24 g
- Saturated Fat: 14 g
- Unsaturated Fat: 10 g
- Trans Fat: 0 g
- Carbohydrates: 28 g
- Fiber: 0 g
- Protein: 3 g
- Cholesterol: 70 mg
Emily Lawson
Content Creator & Culinary Specialist
Expertise
Education
Oregon Culinary Institute
Diploma in Culinary Arts
Focus: Emphasis on farm-to-table cooking, sustainable practices, and the fusion of global flavors with traditional grilling methods.
Emily Lawson is the content creator at Daves Grill, turning tasty ideas into clear, easy recipes. Based in Portland, she trained at the Oregon Culinary Institute and loves cooking with fresh, seasonal ingredients, especially grilled veggies and global flavors.
Emily mixes food writing with hands-on cooking to bring you recipes that feel fun, not stressful. Her goal is to make every dish simple, flavorful, and worth coming back to. Together, she and Dave serve up real food, one recipe at a time.