
Quick Zesty Lemon-Lime Cherry Pistachio Cheesecake Recipe
Creamy cheesecake with a zesty lemon-lime twist becomes an irresistible dessert that dances between tangy and sweet.
Pistachios add a delightful crunch to this luxurious treat.
The vibrant citrus notes perfectly complement the rich cream cheese base.
Cherries bring a burst of ruby-red color and fruity brightness to each slice.
This dessert promises to be a crowd-pleaser at any gathering.
Every bite delivers a symphony of flavors that will leave you wanting more.
Prepare to indulge in a cheesecake that breaks all the traditional dessert boundaries.
Quick Recipe Overview
Cheesecake Ingredient Rundown for a Flavor Burst
For Crust:For Filling:For Topping:Tools That Help You Build This Bold Dessert
Make Lemon-Lime Cherry Pistachio Cheesecake Shine
Create a buttery foundation by mixing graham cracker crumbs with crushed pistachios and a touch of sweetness. Press the mixture firmly into a springform pan and bake briefly to set the delicious foundation.
Blend cream cheese until silky smooth, gradually incorporating eggs and creating a luscious mixture. Infuse with zesty lemon and lime flavors, giving the cheesecake a bright, tangy personality.
Gently pour the filling over the prepared crust, then nestle the pan into a water bath. Bake carefully, allowing the cheesecake to develop a luxurious, velvety texture with a slightly wobbling center.
Let the cheesecake rest inside the oven after baking, allowing it to gradually cool and prevent cracking. Transfer to the refrigerator and let it chill thoroughly, developing rich, deep flavors.
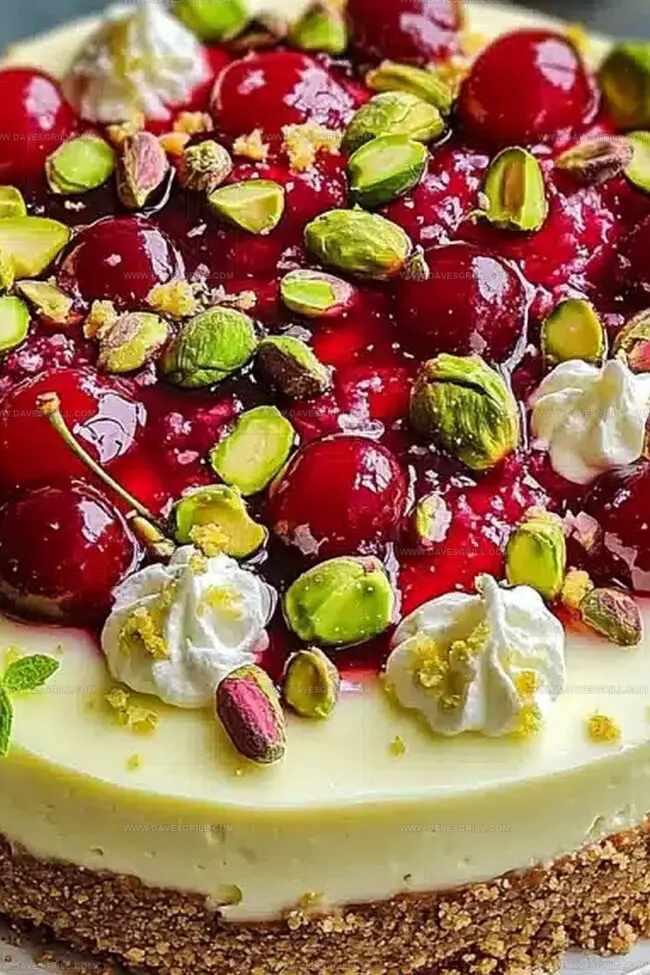
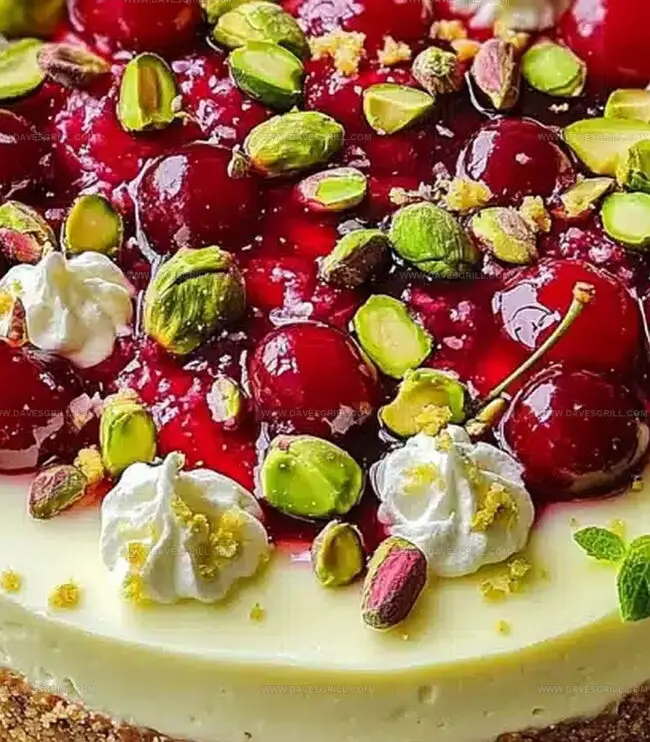
Top the chilled cheesecake with vibrant cherry filling, creating a stunning visual contrast. Sprinkle chopped pistachios around the edges for an elegant, crunchy finish.
Release the springform pan, slice into elegant wedges, and serve this decadent dessert chilled, ready to impress and delight.
Tips That Let Each Layer Pop with Taste
Serve at Parties or Family Gatherings
Store It Covered to Preserve Every Layer
FAQs
Yes, you can substitute pistachios with almonds or walnuts for a similar crunchy texture in the crust and topping.
Use a water bath during baking, avoid overmixing the batter, and let the cheesecake cool slowly in the oven with the door slightly open to prevent sudden temperature changes.
While you can use just one citrus, the combination of lemon and lime creates a more complex, bright flavor profile that makes this cheesecake unique.
Absolutely! This cheesecake can be prepared up to 2-3 days in advance and stored in the refrigerator, which actually helps enhance its flavor and texture.
Print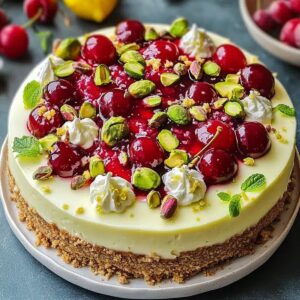
Zesty Lemon-Lime Cherry Pistachio Cheesecake
- Total Time: 5 hours 30 minutes
- Yield: 13 1x
Description
Signature Lemon-Lime Cherry Pistachio Cheesecake blends zesty citrus with sweet cherries and nutty pistachios. Luxurious layers promise a sensational dessert experience that delights sophisticated palates.
Ingredients
- 3 (8 oz / 227 g) blocks cream cheese, softened
- 1 cup (200 g / 7.1 ounces) granulated sugar
- 3 large eggs
- 6 tbsps (85 g / 3 oz) unsalted butter, melted
- ½ cup (120 ml / 4 fl oz) sour cream
- 1 ½ cups (150 g / 5.3 oz) graham cracker crumbs
- 1 cup (250 ml / 8.5 fl oz) cherry pie filling
- ¼ cup (30 g / 1.1 oz) finely chopped pistachios
- ¼ cup (30 g / 1.1 oz) chopped pistachios
- 2 tbsps all-purpose flour
- 2 tbsps fresh lemon juice
- 1 tbsp fresh lime juice
- 1 tsp lemon zest
- 1 tsp lime zest
- ½ tsp vanilla extract
- ¼ cup (60 g / 2.1 oz) granulated sugar
Instructions
- Crust Preparation: Combine graham cracker crumbs, pistachios, sugar, and melted butter into a cohesive mixture. Press firmly and evenly into a greased 9-inch springform pan, creating a compact base.
- Crust Toasting: Bake the crust at 350F (175C) for 10 minutes until golden, then allow to cool completely, developing a rich, nutty undertone.
- Filling Creation: Blend cream cheese and sugar using an electric mixer until velvety smooth. Integrate eggs one at a time, ensuring complete incorporation and a luxurious texture.
- Flavor Infusion: Gently fold sour cream, flour, lemon and lime juices, citrus zests, and vanilla extract into the mixture, blending until ingredients are perfectly harmonized without overmixing.
- Assembly and Water Bath: Pour the silky filling over the cooled crust, smoothing the surface. Place the springform pan inside a larger roasting pan filled with hot water to create a gentle moisture environment.
- Baking Process: Bake for 60-70 minutes, looking for set edges and a subtle center wobble that indicates perfect doneness. Turn off the oven, leaving the door slightly open to allow gradual cooling and prevent surface cracking.
- Chilling and Setting: Remove from the water bath and refrigerate for a minimum of 4 hours, or preferably overnight, to develop a sublime texture and allow flavors to meld completely.
- Final Presentation: Spread cherry pie filling across the top of the chilled cheesecake. Sprinkle crushed pistachios for a delightful textural contrast and visual elegance.
- Serving: Carefully release the springform pan, slice into refined portions, and serve chilled for an exquisite dessert experience.
Notes
- Prevent Crust Crumbling: Press graham cracker and pistachio mixture firmly and evenly to create a solid, compact base that won’t fall apart when slicing.
- Master Water Bath Technique: Wrap springform pan’s exterior with aluminum foil to prevent water seepage and ensure even, gentle baking without compromising the delicate cheesecake texture.
- Avoid Overmixing Danger: Blend cheesecake filling gently and minimally to prevent incorporating excess air, which causes unwanted cracks and a dense, heavy texture.
- Temperature Control Is Key: Allow cheesecake to cool gradually inside the oven with door slightly open to prevent sudden temperature changes that lead to surface cracking.
- Prep Time: 30 minutes
- Cook Time: 5 hours
- Category: Desserts
- Method: Baking
- Cuisine: American
Nutrition
- Serving Size: 13
- Calories: 300
- Sugar: 22 g
- Sodium: 200 mg
- Fat: 18 g
- Saturated Fat: 10 g
- Unsaturated Fat: 7 g
- Trans Fat: 0 g
- Carbohydrates: 30 g
- Fiber: 1 g
- Protein: 5 g
- Cholesterol: 60 mg
Emily Lawson
Content Creator & Culinary Specialist
Expertise
Education
Oregon Culinary Institute
Diploma in Culinary Arts
Focus: Emphasis on farm-to-table cooking, sustainable practices, and the fusion of global flavors with traditional grilling methods.
Emily Lawson is the content creator at Daves Grill, turning tasty ideas into clear, easy recipes. Based in Portland, she trained at the Oregon Culinary Institute and loves cooking with fresh, seasonal ingredients, especially grilled veggies and global flavors.
Emily mixes food writing with hands-on cooking to bring you recipes that feel fun, not stressful. Her goal is to make every dish simple, flavorful, and worth coming back to. Together, she and Dave serve up real food, one recipe at a time.