The Most Addictive Carmelitas Recipe for Sweet Tooth Joy
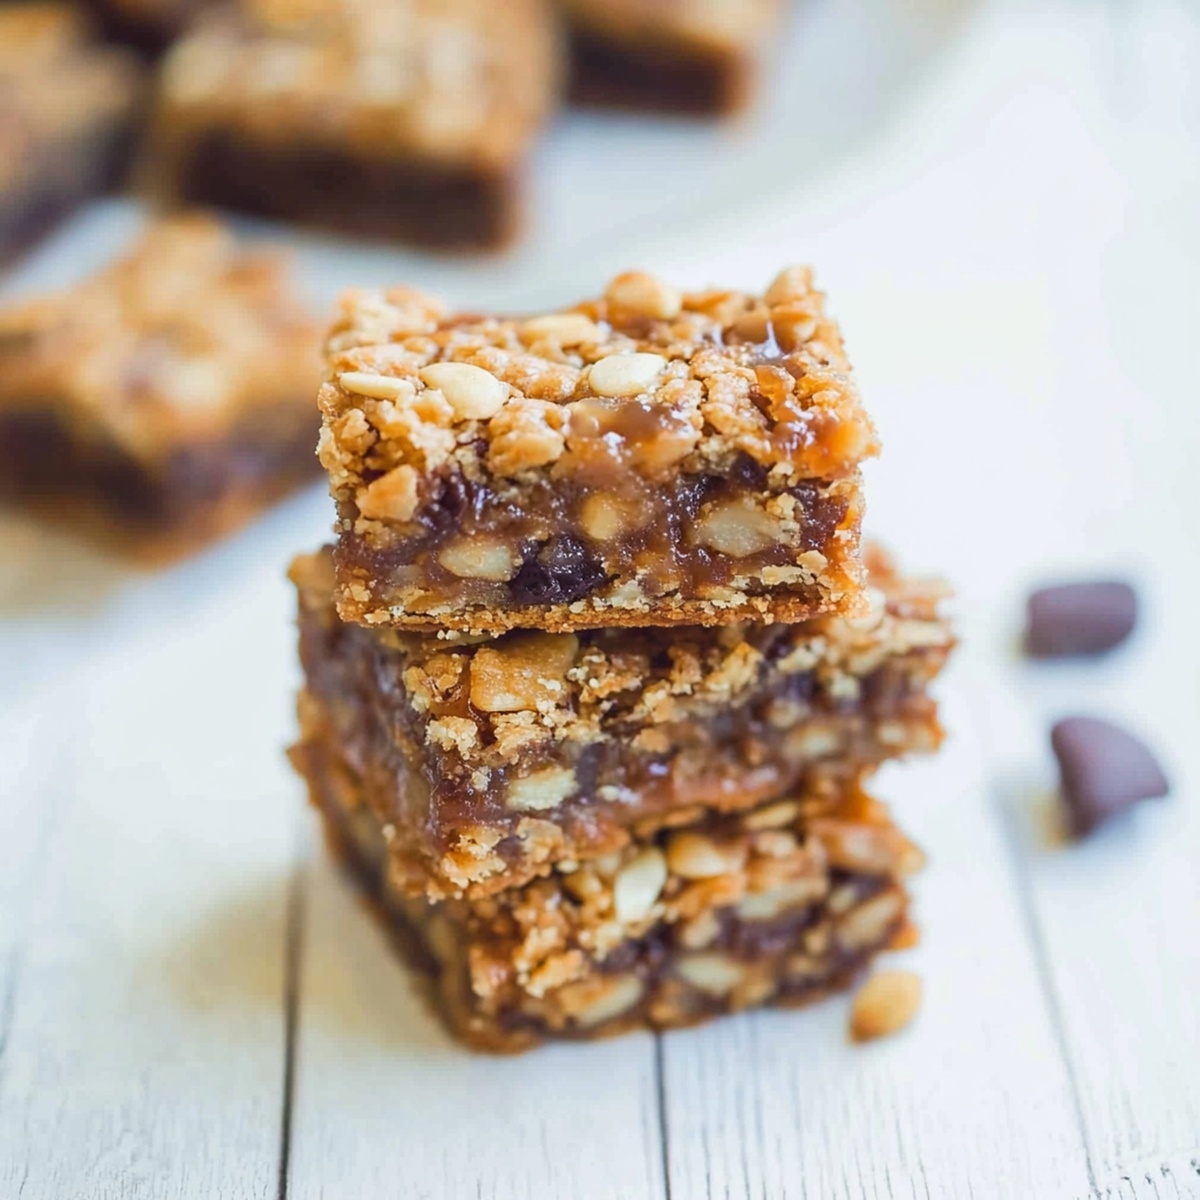
Sweet dreams meet reality when these gooey caramel chocolate chip caramelitas hit your kitchen counter.
Layers of buttery oats create a crumbly foundation for decadent chocolate and rich caramel.
Every bite promises a symphony of textures that dance across your palate.
Crisp edges give way to molten centers packed with unexpected deliciousness.
Memories of childhood bakeries blend seamlessly with sophisticated dessert crafting.
Simple ingredients merge into something extraordinary through careful technique and a dash of love.
Grab a plate and let these irresistible bars become your next obsession.
What Makes Carmelitas So Addictive

Carmelitas Ingredient Checklist
Base Layer Ingredients:Dry Base Ingredients:Filling and Topping Ingredients:Steps To Make Carmelitas
Step 1: Prepare the Baking Station
Warm up the oven to 350°F. Grab an 8×8-inch baking pan and line it with parchment paper or give it a generous butter coating.
Step 2: Create the Crumbly Base
In a spacious mixing bowl, combine:Whisk these ingredients until they form a smooth, harmonious blend.
Step 3: Build the Oat Mixture
Fold in:Mix thoroughly until the mixture transforms into a thick, crumbly texture.
Step 4: Form the First Layer
Press half of the oat mixture firmly into the bottom of the prepared pan, creating a solid foundation.
Step 5: Initial Baking
Slide the pan into the preheated oven and bake for 10 minutes until the base sets slightly.
Step 6: Prepare the Caramel Drizzle
While the base bakes, melt together:Use the microwave, zapping in 30-second bursts and stirring between each interval until silky smooth.
Step 7: Layer the Chocolate and Caramel
Once the base emerges from the oven, sprinkle chocolate chips evenly across the surface. Gently pour the molten caramel over the chips, spreading it to create a luxurious blanket.
Step 8: Add the Crumbly Topping
Scatter the remaining oat mixture over the caramel layer, creating a rustic, uneven covering.
Step 9: Final Baking
Return the pan to the oven and bake for 15-18 minutes. Look for a golden-brown top and bubbly edges that signal perfection.
Step 10: Cool and Slice
Allow the Carmelitas to cool completely – patience is key! Let them rest for at least 2 hours so the caramel can set firmly. Slice into bars and enjoy the gooey, rich masterpiece you’ve created.
Smart Tips For Carmelitas Success
How To Store Carmelitas For Later
Good Matches For Carmelitas
Tasty Tweaks For Carmelitas
Carmelitas FAQ Section
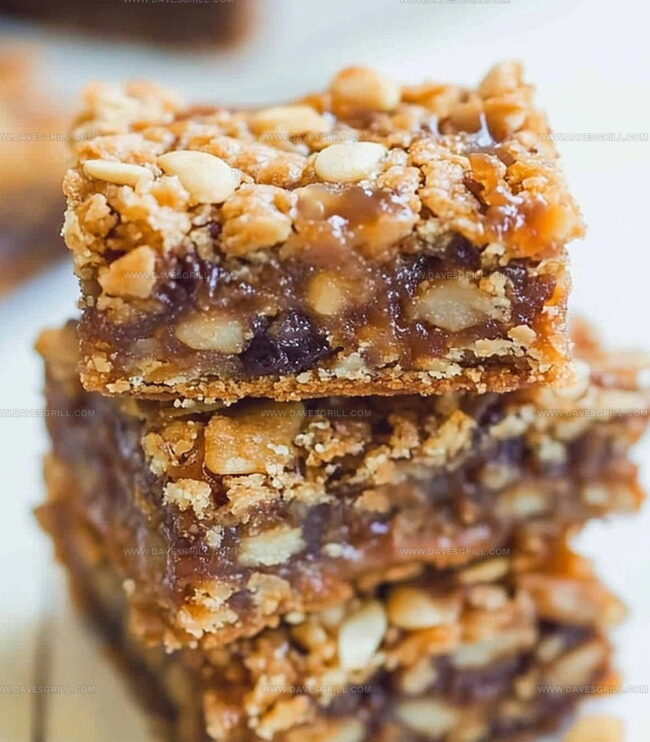
These bars combine the rich, gooey goodness of caramel with chocolate and a buttery oat crust, creating an irresistible dessert that’s both chewy and crumbly.
Absolutely! While chocolate chips work best, you can experiment with milk, dark, or semi-sweet chocolate to match your taste preferences.
Cooling allows the caramel to set properly, ensuring clean cuts and preventing the bars from falling apart when you slice them. Patience is key to getting that perfect texture.
Yes! Carmelitas are perfect for preparing in advance. They actually taste even better the next day as the flavors meld together, making them great for potlucks or weekend desserts.
Print
Carmelitas Recipe
- Total Time: 40 minutes
- Yield: 16 1x
Description
Chocolate and caramel intertwine magically in Carmelitas, creating an irresistible dessert that melts hearts with each gooey bite. Rich oatmeal cookie layers embrace silky caramel and chocolate chips, promising pure indulgence you’ll crave again and again.
Ingredients
Main Ingredients:
- 1 cup (227 grams) unsalted butter, melted
- 1 cup (220 grams) brown sugar, packed
- 1 ¼ cups (156 grams) all-purpose flour
- 1 cup (90 grams) old-fashioned oats
- 1 cup (170 grams) semisweet chocolate chips
Caramel Components:
- 1 (11 ounces/312 grams) bag caramel bits or 30 soft caramels, unwrapped
- ¼ cup (60 milliliters) heavy cream
Seasoning Ingredients:
- 1 teaspoon vanilla extract
- ½ teaspoon baking soda
- ¼ teaspoon salt
Instructions
- Prepare a cozy baking environment by warming the oven to 350F and crafting a perfectly lined baking vessel with parchment paper or a generous butter coating.
- Craft a luxurious base by whisking melted butter, rich brown sugar, and aromatic vanilla into a silky, harmonious mixture.
- Integrate dry ingredients – flour, hearty oats, baking soda, and salt – creating a textured, crumbly foundation that promises delectable layers.
- Gently compress half of the oat mixture into the prepared dish, forming a sturdy, even base layer that will cradle the upcoming flavors.
- Allow the crust to transform in the oven for 10 minutes, developing a golden, promising landscape.
- Meanwhile, orchestrate a velvety caramel sauce by tenderly melting caramels with heavy cream, stirring patiently until achieving a smooth, glossy consistency.
- Strategically scatter chocolate chips across the freshly baked, warm crust, then cascade the molten caramel mixture, spreading with delicate precision.
- Artfully sprinkle the remaining oat mixture over the caramel landscape, creating a rustic, textured topping.
- Return the creation to the oven, allowing it to bake for 15-18 minutes until the surface achieves a beautiful golden hue and edges bubble with anticipation.
- Exercise patience by letting the dessert cool completely, ideally for two hours, which enables the caramel to set and flavors to harmonize before slicing into decadent bars.
Notes
- Chilling the bars helps create clean, precise cuts and prevents caramel from oozing.
- Swap regular flour with gluten-free blend for celiac or gluten-sensitive individuals to make the recipe inclusive.
- Use dark chocolate chips for a richer, less sweet flavor profile that complements the caramel’s richness.
- Enhance texture by toasting oats briefly before mixing for a deeper, nuttier undertone in the base layer.
- Prep Time: 15 minutes
- Cook Time: 25 minutes
- Category: Desserts, Snacks
- Method: Baking
- Cuisine: American
Nutrition
- Serving Size: 16
- Calories: 237
- Sugar: 15 g
- Sodium: 85 mg
- Fat: 11 g
- Saturated Fat: 6 g
- Unsaturated Fat: 4 g
- Trans Fat: 0 g
- Carbohydrates: 34 g
- Fiber: 1 g
- Protein: 2 g
- Cholesterol: 31 mg
Dave Mitchell
Founder & Chief Recipe Developer
Expertise
Education
Asheville-Buncombe Technical Community College
Associate of Applied Science in Culinary Arts
Focus: Comprehensive training in culinary techniques, kitchen management, and menu planning, with a special emphasis on grilling and outdoor cooking.
Dave Mitchell is the heart behind Daves Grill, a cook, writer, and lover of all things grilled. He studied Culinary Arts at Asheville-Buncombe Technical Community College and spent years cooking, testing, and sharing recipes that actually work.
Dave started Daves Grill to keep things simple: one great recipe at a time. His food is bold, easy to follow, and made for real people with regular kitchens. From juicy steaks to quick sides, Dave’s recipes bring the heat without the hassle.