Irresistible Cheesy Garlic Chicken Wraps Recipe for All Ages
Tucking into a delightful garlic chicken wrap sparks immediate culinary excitement for hungry souls.
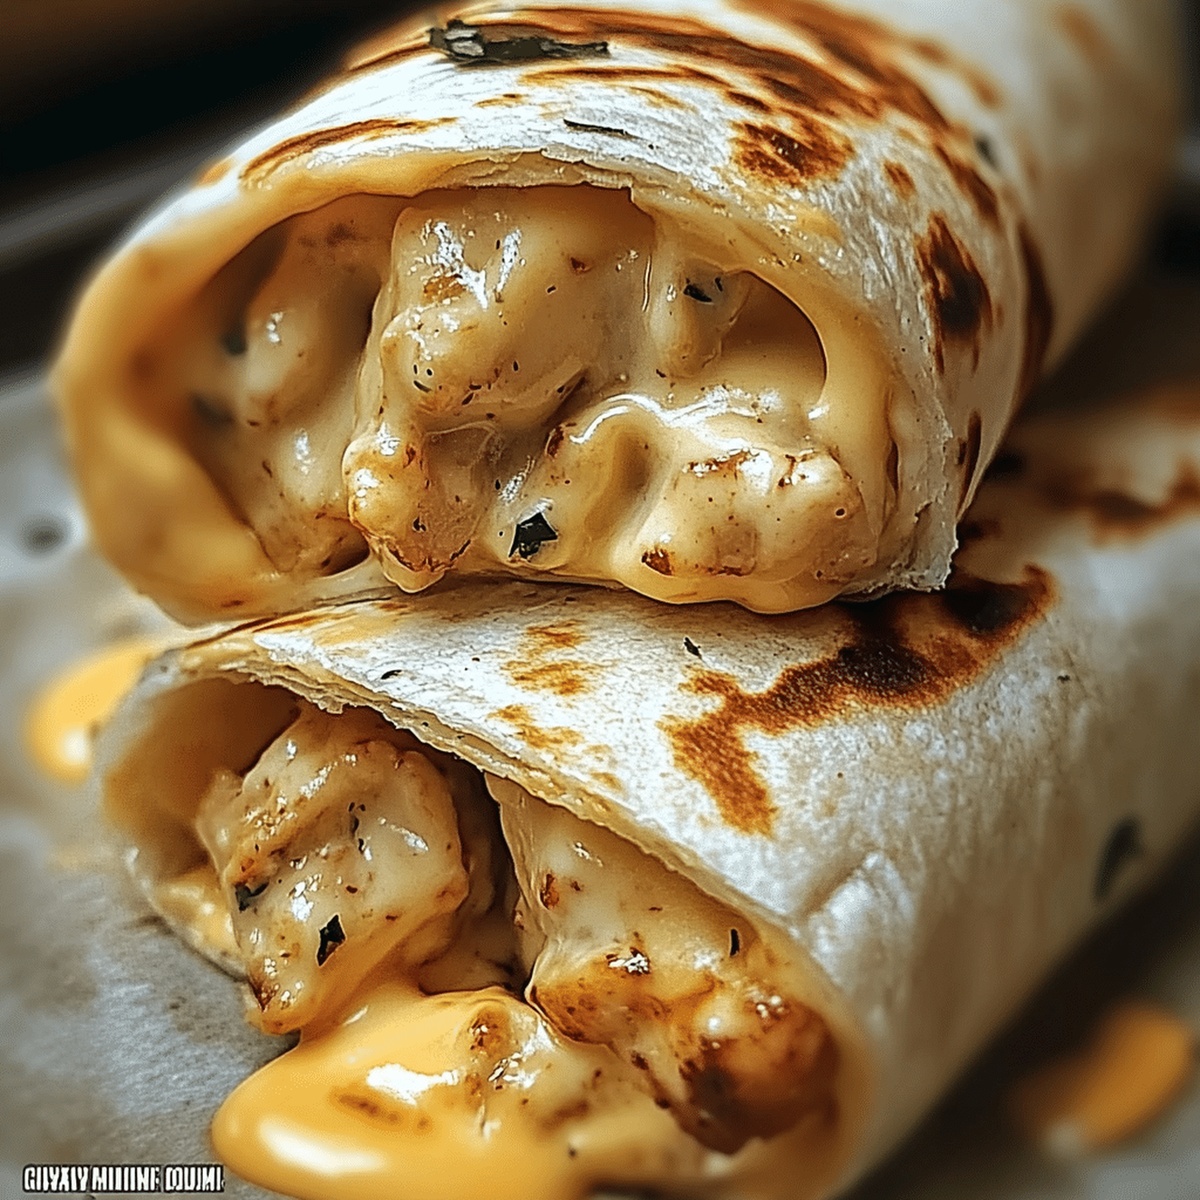
Creamy cheese melts perfectly against warm, tender meat inside these compact bundles.
Crisp vegetables add a satisfying crunch that complements the rich protein.
Seasoned home cooks understand how simple ingredients can create magic on a plate.
Quick assembly means minimal kitchen time with maximum flavor impact.
Layers of savory goodness promise a meal that satisfies completely.
You’ll want to roll these up and savor every delicious bite.
Cheesy Garlic Chicken Wraps That Hit the Spot
Ingredients for Chicken Garlic Wrap Success
Main Proteins:Cheese and Dairy:Wrap and Seasoning Components:Optional Add-ins:Dipping Sauce Options:Roll-Up Instructions for Cheesy Chicken Wraps
Step 1: Sizzle The Chicken
Heat olive oil in a large skillet over medium heat. Toss in minced garlic and let it dance for 30 seconds. Add chicken and sprinkle with garlic powder, Italian seasoning, salt, and pepper. Cook the chicken, stirring occasionally, until it’s perfectly golden and cooked through, about 6-8 minutes. Transfer the chicken to a separate plate.
Step 2: Layer The Flavor Carriers
Spread out tortillas on a clean surface. Generously scatter shredded cheese across each tortilla. Distribute the sizzling chicken evenly. Feel free to add extra goodies like fresh spinach or creamy avocado slices.
Step 3: Wrap With Precision
Carefully fold the sides of each tortilla inward. Roll tightly, ensuring all the delicious fillings stay snugly inside. Create a neat, compact wrap that promises a burst of flavors.
Step 4: Crisp To Perfection
Return the skillet to medium heat. Add a touch of olive oil or butter. Place each wrap seam-side down, allowing them to transform into crispy golden delights. Cook for 2-3 minutes on each side until they develop a beautiful, crunchy exterior. Brush with melted butter and sprinkle a hint of garlic powder for an extra flavor kick.
Step 5: Serve And Devour
Slice the wraps diagonally and plate immediately. Pair with your favorite dipping sauce like zesty marinara or cool ranch. Enjoy the mouthwatering combination of crispy wrap, melted cheese, and perfectly seasoned chicken.
Garlic Wrap Tips You’ll Be Glad You Know
Store and Reheat Chicken Wraps Easily
Tasty Sides for Cheesy Chicken Wraps
Wrap Variations to Try Next
Print
Cheesy Garlic Chicken Wraps Recipe
- Total Time: 20 minutes
- Yield: 4 1x
Description
Garlic chicken wraps elevate simple ingredients into a mouthwatering meal that dances with flavor. Home cooks can easily craft these savory wraps, blending tender chicken, melted cheese, and aromatic garlic for a quick and satisfying dinner that delights everyone at the table.
Ingredients
Protein:
- 2 chicken breasts, thinly sliced
Dairy and Cheese:
- 1 cup shredded mozzarella cheese
- ¼ cup mayonnaise or garlic aioli (optional)
Seasonings and Vegetables:
- 1 tablespoon olive oil
- 3 cloves garlic, minced
- 1 teaspoon paprika
- ½ teaspoon salt
- ½ teaspoon black pepper
- ½ cup fresh spinach leaves
- ½ cup cherry tomatoes, halved
- ¼ cup red onion, thinly sliced
Wrap:
- 4 large tortillas
Instructions
- Infuse olive oil with minced garlic in a skillet over medium heat, releasing aromatic flavors for 30 seconds.
- Introduce sliced chicken to the fragrant oil, seasoning with garlic powder, Italian herbs, salt, and pepper. Sauté until the chicken is thoroughly cooked and tender, approximately 6-8 minutes.
- Remove chicken from heat and let it rest momentarily while preparing tortillas.
- Spread tortillas flat on a clean surface, creating a canvas for layering delectable ingredients.
- Distribute shredded cheese generously across each tortilla, ensuring complete coverage.
- Carefully arrange the cooked chicken atop the cheese, creating a savory foundation.
- Incorporate optional toppings like fresh spinach or creamy avocado slices for added texture and flavor.
- Skillfully fold the tortilla sides inward, then roll tightly to encapsulate the filling securely.
- Return the skillet to medium heat, adding a touch of olive oil or butter to create a crispy exterior.
- Position wraps seam-side down, allowing each side to transform into a golden, crisp shell for 2-3 minutes.
- Enhance the flavor profile by brushing melted butter on top and sprinkling with an extra dash of garlic powder.
- Slice wraps diagonally to reveal the melted cheese and juicy chicken interior.
- Serve immediately with a complementary dipping sauce like zesty marinara or creamy ranch for a complete culinary experience.
Notes
- Toast tortillas briefly before filling to enhance their flavor and prevent sogginess.
- Slice chicken against the grain for maximum tenderness and easier chewing.
- Use pre-shredded cheese or shred your own for fresher, more melty results.
- Swap chicken with tofu or plant-based protein for vegetarian-friendly version.
- Prep Time: 10 minutes
- Cook Time: 10 minutes
- Category: Lunch, Dinner, Snacks
- Method: Sautéing
- Cuisine: American
Nutrition
- Serving Size: 4
- Calories: 550
- Sugar: 3g
- Sodium: 800mg
- Fat: 30g
- Saturated Fat: 10g
- Unsaturated Fat: 15g
- Trans Fat: 0g
- Carbohydrates: 45g
- Fiber: 3g
- Protein: 35g
- Cholesterol: 85mg
Dave Mitchell
Founder & Chief Recipe Developer
Expertise
Education
Asheville-Buncombe Technical Community College
Associate of Applied Science in Culinary Arts
Focus: Comprehensive training in culinary techniques, kitchen management, and menu planning, with a special emphasis on grilling and outdoor cooking.
Dave Mitchell is the heart behind Daves Grill, a cook, writer, and lover of all things grilled. He studied Culinary Arts at Asheville-Buncombe Technical Community College and spent years cooking, testing, and sharing recipes that actually work.
Dave started Daves Grill to keep things simple: one great recipe at a time. His food is bold, easy to follow, and made for real people with regular kitchens. From juicy steaks to quick sides, Dave’s recipes bring the heat without the hassle.