
Sinfully Rich Dirt Cake Recipe: A Playful Sweet Treat
Chocolate lovers rejoice with this irresistible dirt cake that celebrates childhood nostalgia and rich, creamy decadence.
Layers of crumbled cookies and luscious pudding create a dessert that instantly transports you back to sweet memories.
This classic dirt cake recipe combines simple ingredients into a playful, indulgent treat that delights both kids and adults.
Crushed Oreo cookies mimic rich, dark soil while smooth cream cheese and pudding create a luxurious base.
The dessert brings a whimsical touch to any gathering, promising smiles and pure enjoyment.
Each spoonful promises a perfect balance of textures and flavors that will have everyone asking for seconds.
Prepare to dive into a dessert that’s as fun to make as it is to devour.
Quick Recipe Overview
Dirt Cake Recipe Ingredients That Bring It to Life
For Crust and Topping:For Creamy Filling Base:For Filling Liquid and Binding:Tools to Layer and Chill the Perfect Dirt Cake Dessert
Assemble the Classic Dirt Cake Recipe Step by Step
Pulverize Oreo cookies into fine crumbs using a food processor or by crushing inside a sealed bag with a rolling pin. Create a crumbly foundation for the dessert.
Blend cream cheese, butter, and powdered sugar until silky smooth. Incorporate pudding mix and milk, stirring until the mixture thickens. Gently fold in whipped topping for a luxurious texture.
In a serving dish, build alternating layers starting with cookie crumbs, then spreading creamy filling. Repeat the layering process, ensuring the top layer is cookie crumbs.
Scatter remaining cookie crumbs across the surface. Strategically place gummy worms to create a whimsical dirt-like appearance that will surprise and delight guests.
Refrigerate the dessert for a minimum of 4 hours, allowing flavors to meld and the cake to firm up. The longer it chills, the more delicious and structured it becomes.
Tips That Make This Dirt Cake a Childhood Favorite
Serve Dirt Cake with Worms, Cups, or Scoops
Store Dirt Cake to Keep It Cool and Creamy
FAQs
Yes, Dirt Cake is completely kid-friendly and a fun dessert that children love. The recipe uses standard ingredients like cookies, cream cheese, and pudding, making it safe and enjoyable for all ages.
Absolutely! You can crush Oreo cookies by placing them in a sealed plastic bag and using a rolling pin or the bottom of a heavy pan to break them into fine crumbs. This method works just as well as a food processor.
The filling should look smooth, creamy, and free of lumps. When you fold in the whipped topping, the mixture should be uniform in color and have a light, fluffy consistency without any streaks.
Don’t overmix the filling, as this can make it dense. Ensure cream cheese and butter are at room temperature for smooth blending. Chill the dessert thoroughly to help it set and enhance the flavors.
Print
Decadent Dirt Cake Recipe
- Total Time: 2 hours 20 minutes
- Yield: 9 1x
Description
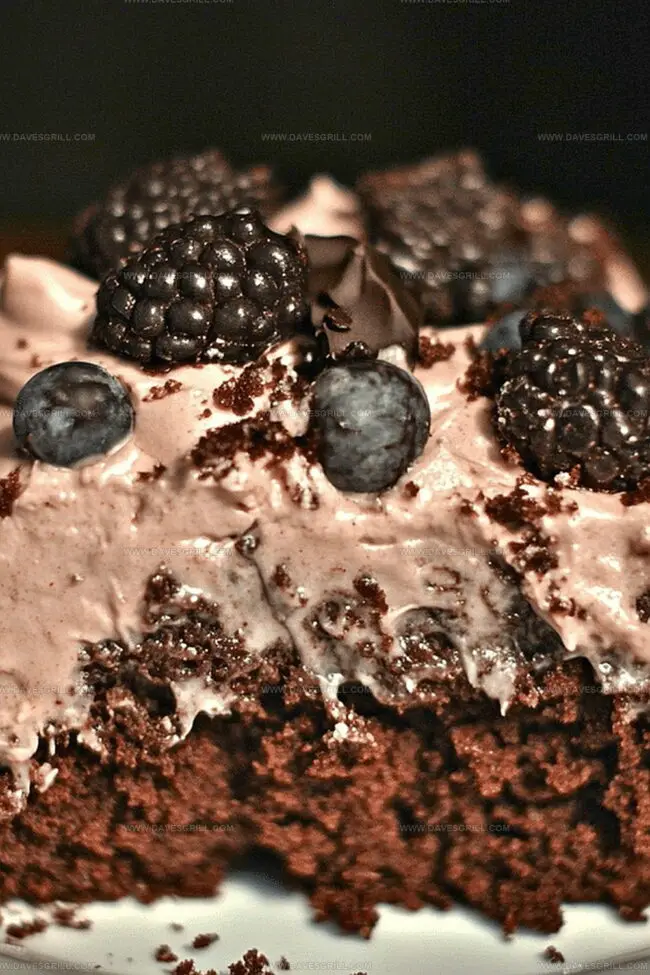
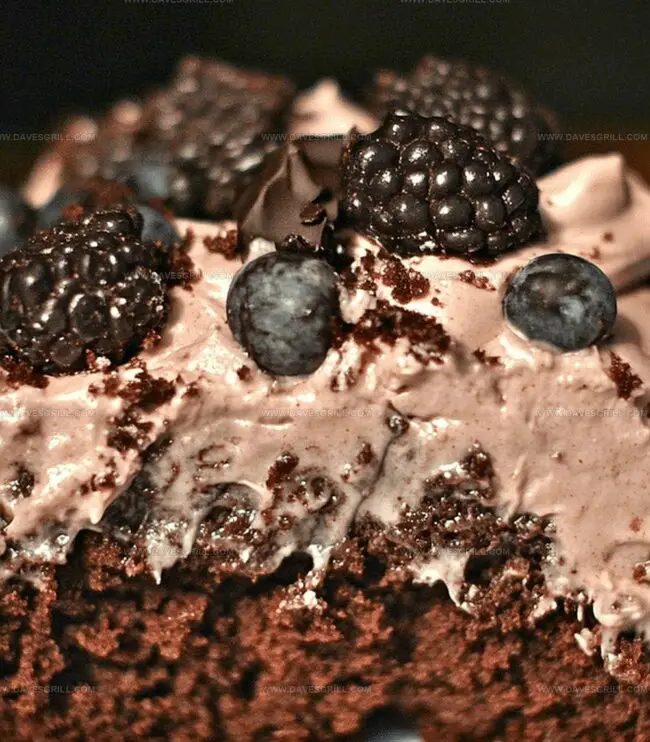
Dirt Cake celebrates childhood nostalgia with layers of chocolate pudding, crushed cookies, and playful presentation. Creamy textures and chocolate crumbles create a whimsical dessert you can enjoy with friends and family.
Ingredients
- 2 pkg (90 g / 3.4 oz) instant vanilla pudding mix
- 2 cups (480 ml) milk
- 1 container (225 g / 8 oz) whipped topping, thawed
- 1 pkg (225 g / 8 oz) cream cheese, softened
- ½ cup (100 g) granulated sugar
- 1 tsp vanilla extract
- 300 g (10 oz) chocolate sandwich cookies, crushed
- Gummy worms (optional)
- Chocolate shavings or sprinkles (optional)
Instructions
- Crumb Preparation: Transform Oreo cookies into ultrafine particles using a food processor or rolling pin, separating crumbs into two equal portions for base and topping layers.
- Cream Fusion: Whip cream cheese, butter, and powdered sugar until achieving a velvety consistency. Incorporate vanilla pudding mix and milk, whisking until mixture substantially thickens.
- Layering Foundation: Spread initial cookie crumb layer across the bottom of a transparent serving vessel. Carefully distribute half of the cream mixture over the crumb base.
- Structural Assembly: Add second cookie crumb section, topping with remaining cream mixture to create a stratified dessert profile. Ensure even distribution for balanced texture.
- Decorative Finishing: Liberally dust the surface with reserved cookie crumbs to mimic rich soil-like appearance. Artfully position gummy worms across the top for playful visual appeal.
- Chilling and Maturation: Refrigerate the completed dessert for a minimum of four hours, preferably overnight. This resting period allows flavor melding and structural stabilization, guaranteeing optimal taste and consistent texture when served.
Notes
Crush Cookies Perfectly: Use a food processor or sealed bag with rolling pin to create uniform, fine crumbs without large chunks for smooth texture.
Prevent Cream Mixture Lumps: Ensure cream cheese and butter are completely softened at room temperature before mixing to achieve silky, lump-free consistency.
Maintain Dessert Structure: Layer ingredients gently and evenly, avoiding pressing down too hard to preserve light, airy texture and prevent dense compaction.
Customize Dietary Options: Substitute regular Oreos with gluten-free cookies, use low-fat cream cheese, and replace whipped topping with coconut cream for alternative dietary needs.
- Prep Time: 20 minutes
- Cook Time: 2 hours
- Category: Desserts
- Method: None
- Cuisine: American
Nutrition
- Serving Size: 9
- Calories: 263
- Sugar: 22 g
- Sodium: 214 mg
- Fat: 11 g
- Saturated Fat: 6 g
- Unsaturated Fat: 3 g
- Trans Fat: 0 g
- Carbohydrates: 37 g
- Fiber: 1 g
- Protein: 4 g
- Cholesterol: 34 mg
Emily Lawson
Content Creator & Culinary Specialist
Expertise
Education
Oregon Culinary Institute
Diploma in Culinary Arts
Focus: Emphasis on farm-to-table cooking, sustainable practices, and the fusion of global flavors with traditional grilling methods.
Emily Lawson is the content creator at Daves Grill, turning tasty ideas into clear, easy recipes. Based in Portland, she trained at the Oregon Culinary Institute and loves cooking with fresh, seasonal ingredients, especially grilled veggies and global flavors.
Emily mixes food writing with hands-on cooking to bring you recipes that feel fun, not stressful. Her goal is to make every dish simple, flavorful, and worth coming back to. Together, she and Dave serve up real food, one recipe at a time.